Loading ...
Loading ...
Loading ...
• 6 •
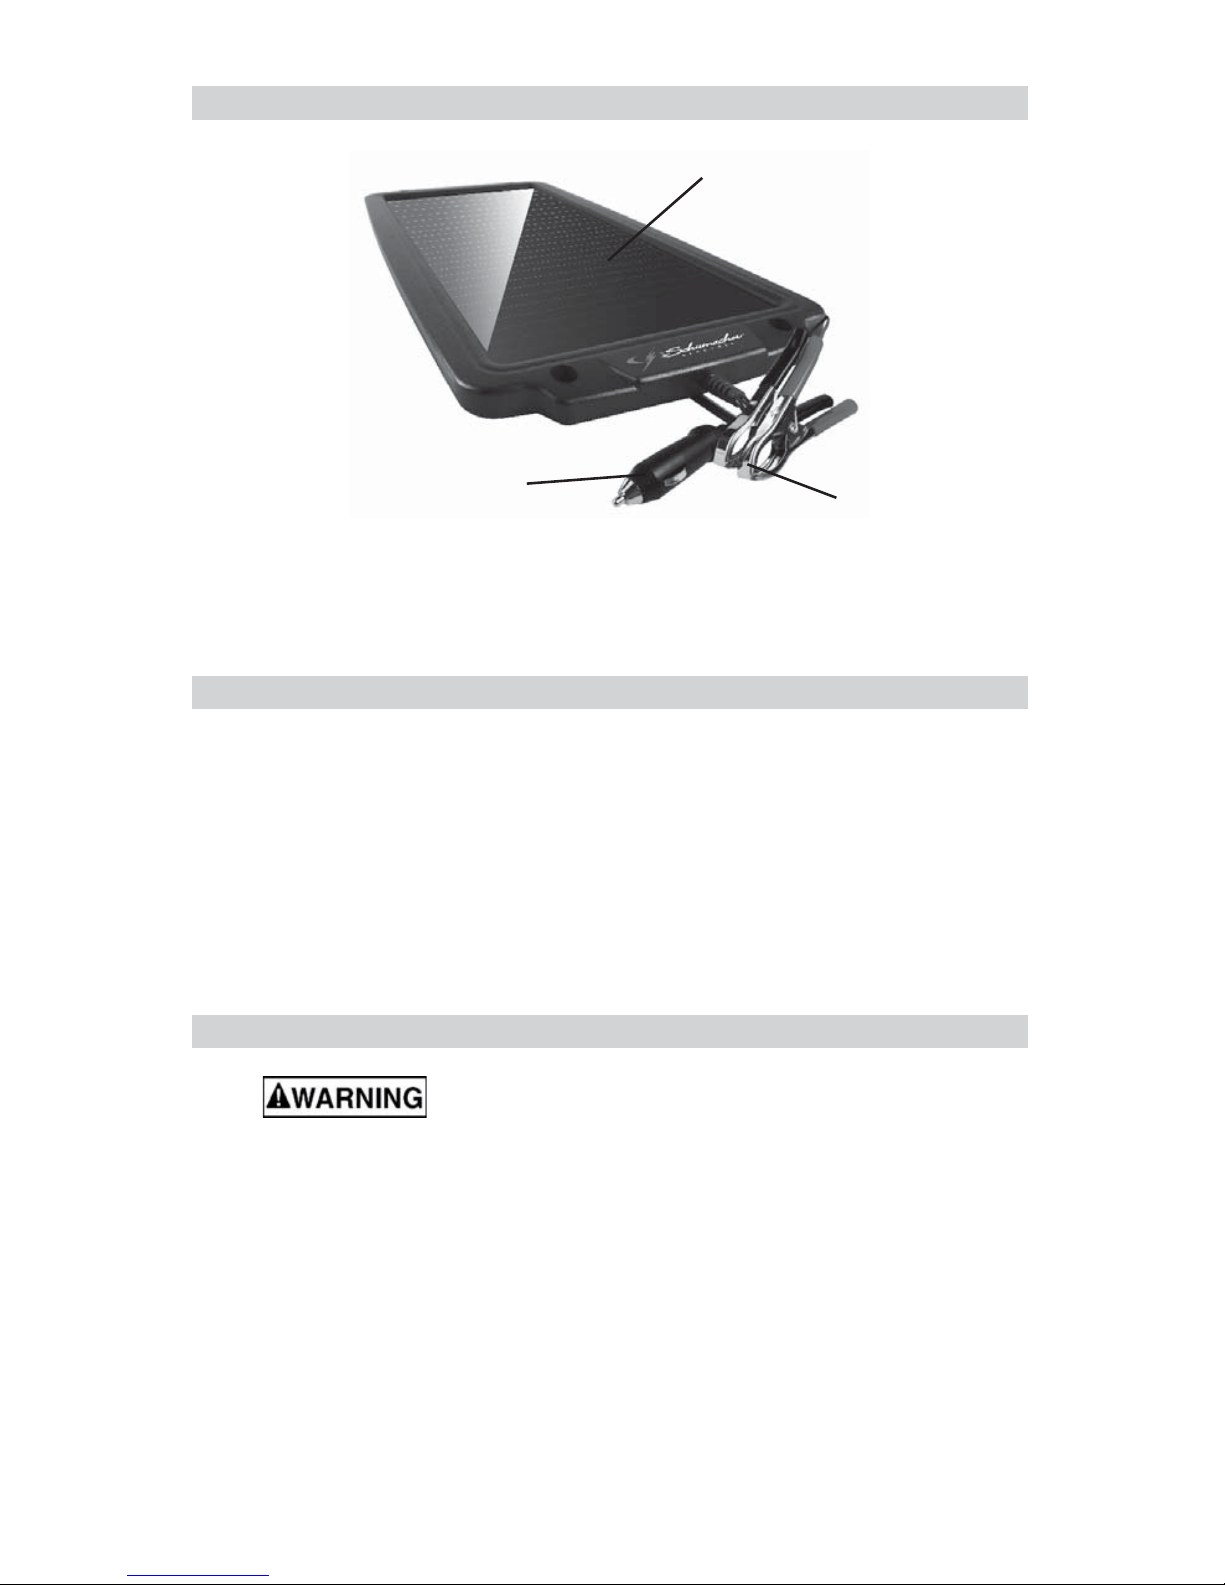
8. FEATURES
1. Solar Panel
2. Battery Clip Cable Assembly
3. 12V Accessory Plug Cable
Assembly
4. Mounting Screws (not shown)
1
2
3
9. ASSEMBLY AND MOUNTING INSTRUCTIONS
Remove all cord wraps and uncoil the cables prior to using the solar battery
maintainer.
To mount the solar battery maintainer;
1. Using the solar panel as a template (guide), mark the location of the four
pre-molded mounting holes on a secure, fl at surface.
2. If necessary, drill four 7/64” (0.109) dia. pilot holes.
3. Mount the solar panel using the four stainless steel screws provided.
NOTE: Do not over tighten the screws or you will break the plastic frame of the
solar panel.
10. OPERATING INSTRUCTIONS
This solar battery maintainer must be properly assembled in
accordance with the assembly instructions before it is used.
The solar battery maintainer does not have an ON/OFF switch. The On and
Off commands are controlled by placing the solar panel in the sun only after
the battery connections have been made.
Charging
1. Ensure that all of the solar battery maintainer components are in place and
in good working condition, for example, the plastic boots on the battery clips.
2. Decide whether you are going to use the 12 volt power plug or the battery
clips to connect the solar panel to the vehicle. Connect the proper cable to
the solar panel making sure the connection is secure.
◦ If using the 12 volt power plug, plug the connector into the
vehicle’s power outlet making sure the connection is secure.
◦ If using the battery clips, Connect the battery following the
precautions listed in sections 6 and 7.
Downloaded from www.ManualsFile.com manuals search engine
Loading ...
Loading ...
Loading ...