Loading ...
Loading ...
Loading ...
5. Clean the condenser coils regularly. Coils may need to be
cleaned as often as every other month. This may help save
energy.
Style I - Condenser coils behind base grille:
• Remove the base grille (see the "Door Removal" section).
• Use a vacuum with an extended attachment to clean the
condenser coils when they are dusty or dirty.
• Replace the base grille when finished.
Style 2 - Condenser coils in back of the refrigerator:
• Pull refrigerator out away from the wall (see the
"Unpacking Your Refrigerator" section).
• Vacuum coils when they are dusty or dirty.
• Roll refrigerator back into place. Make sure to leave 1 in.
(2.5 cm) between the cabinet back and the wall.
• Check to see if the refrigerator is level.
6. Plug in refrigerator or reconnect power.
NOTE: Not all appliance bulbs will fit your refrigerator. Be sure to
replace the bulb with one of the same size and shape. The
dispenser light requires a heavy duty 1O-watt bulb. All other lights
require a 40-watt appliance bulb. Replacement bulbs are
available from your dealer.
1. Unplug refrigerator or disconnect power.
2. Remove light shield when applicable as shown.
NOTE: To clean the light shield, wash it with warm water and
liquid detergent. Rinse and dry the shield well.
3o Remove light bulb and replace with one of the same size,
shape and wattage.
4. Replace light shield when applicable as shown.
5. Plug in refrigerator or reconnect power.
Dispenser Light (on some models}
Reach through the dispenser area to remove and replace light
bulb.
1. Dispenser Light
Refrigerator Control Panel Light
Reach behind the refrigerator control panel to remove and
replace light bulb.
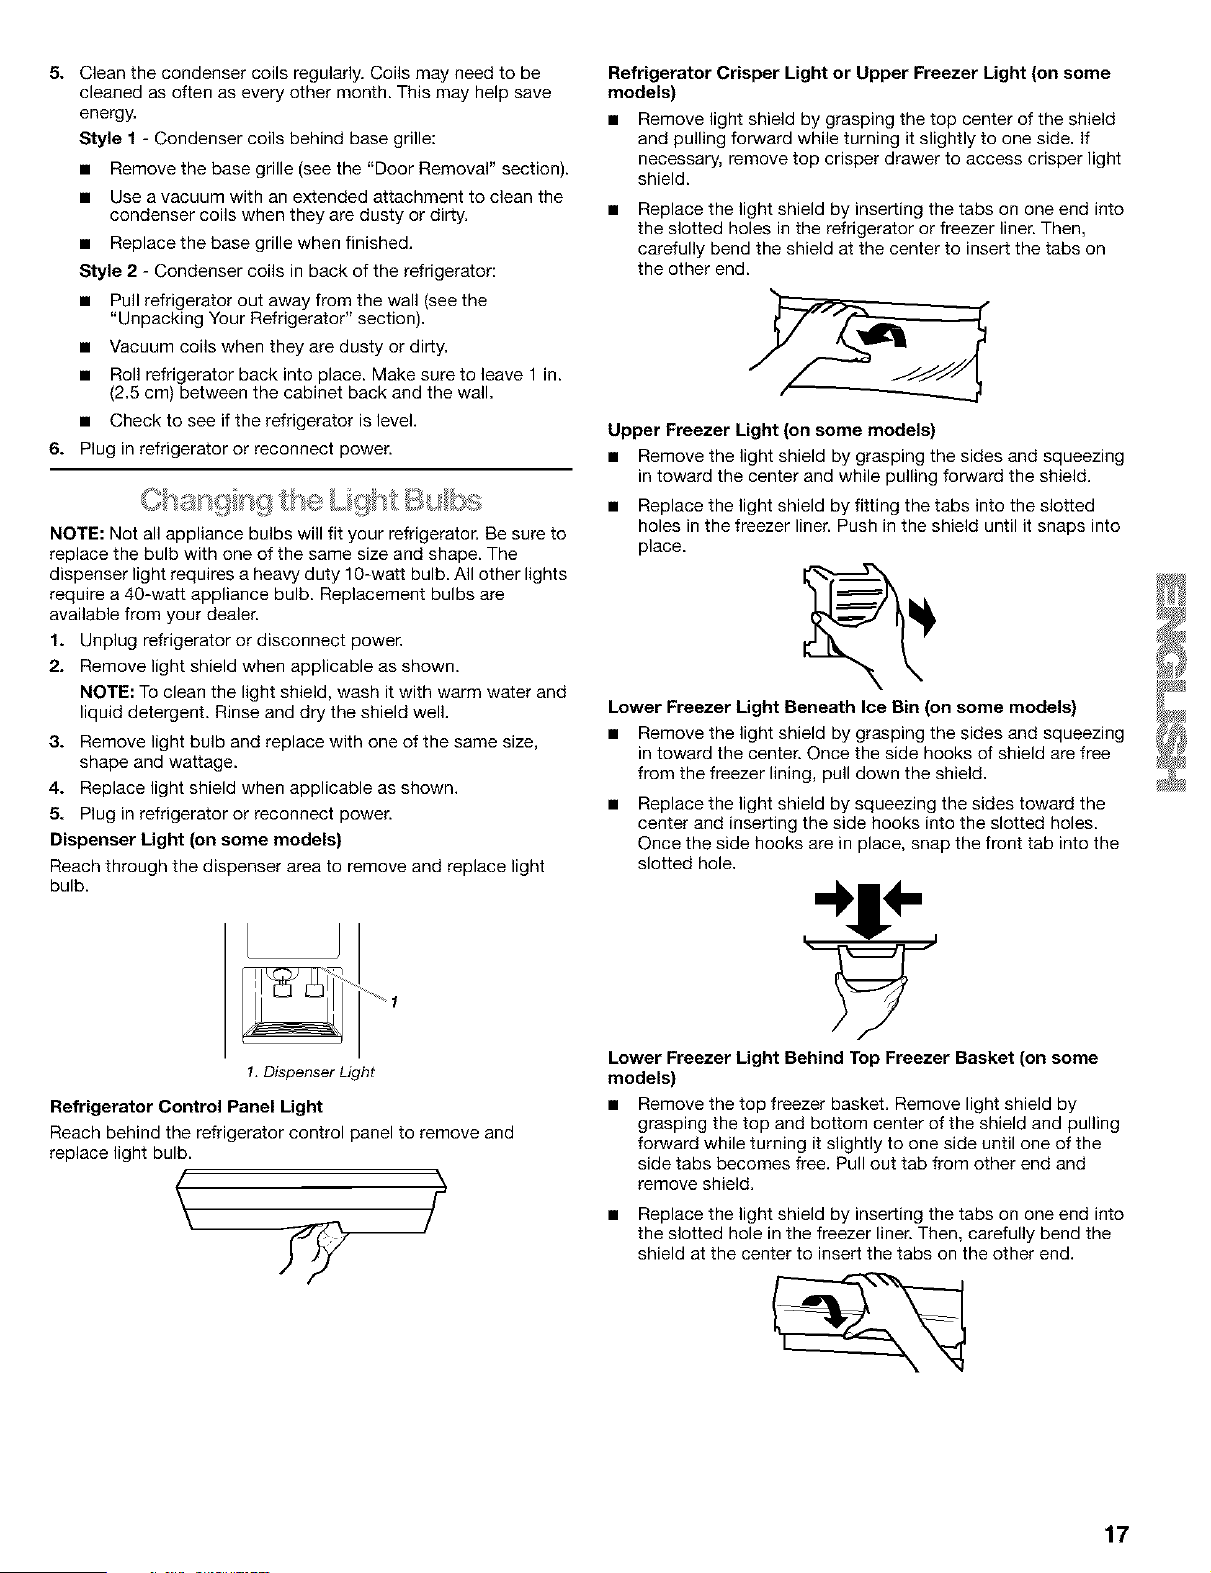
Refrigerator Crisper Light or Upper Freezer Light (on some
models)
• Remove light shield by grasping the top center of the shield
and pulling forward while turning it slightly to one side. If
necessary, remove top crisper drawer to access crisper light
shield.
• Replace the light shield by inserting the tabs on one end into
the slotted holes in the refrigerator or freezer liner. Then,
carefully bend the shield at the center to insert the tabs on
the other end.
Upper Freezer Light (on some models)
• Remove the light shield by grasping the sides and squeezing
in toward the center and while pulling forward the shield.
• Replace the light shield by fitting the tabs into the slotted
holes in the freezer liner. Push in the shield until it snaps into
place.
Lower Freezer Light Beneath Ice Bin (on some models)
• Remove the light shield by grasping the sides and squeezing
in toward the center. Once the side hooks of shield are free
from the freezer lining, pull down the shield.
• Replace the light shield by squeezing the sides toward the
center and inserting the side hooks into the slotted holes.
Once the side hooks are in place, snap the front tab into the
slotted hole.
Lower Freezer Light Behind Top Freezer Basket (on some
models)
• Remove the top freezer basket. Remove light shield by
grasping the top and bottom center of the shield and pulling
forward while turning it slightly to one side until one of the
side tabs becomes free. Pull out tab from other end and
remove shield.
• Replace the light shield by inserting the tabs on one end into
the slotted hole in the freezer liner. Then, carefully bend the
shield at the center to insert the tabs on the other end.
17
Loading ...
Loading ...
Loading ...