Loading ...
Loading ...
Loading ...
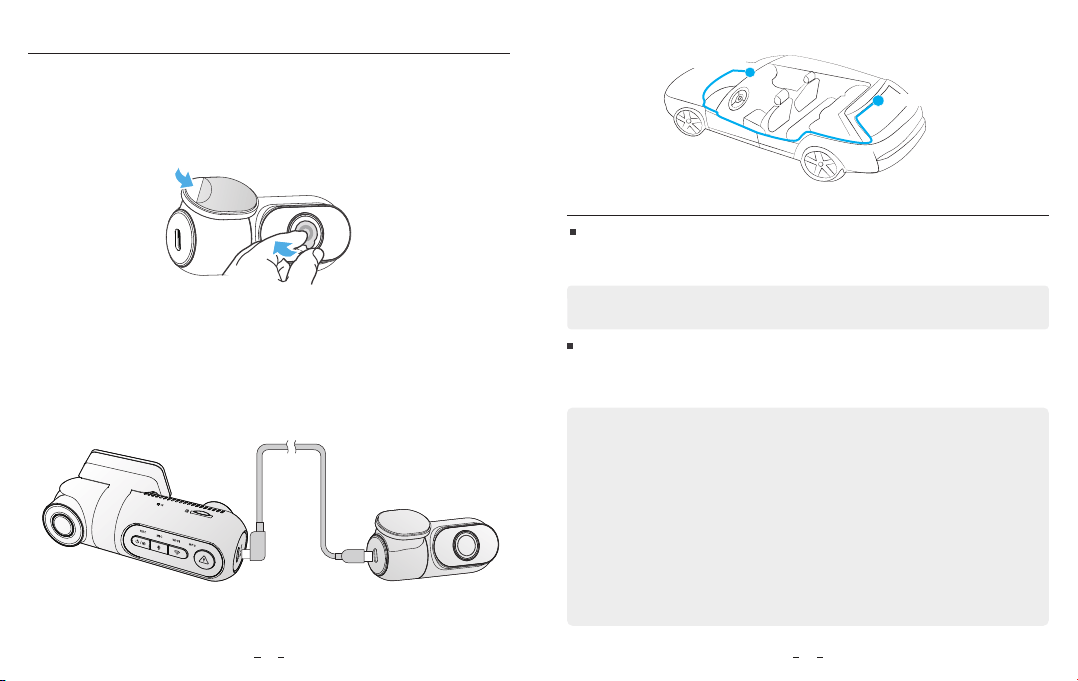
Remove the front camera
4. Remove Cameras
To remove the front camera from its bracket, slide the camera to the right
and pull the front camera out of the mounting bracket.
Note: When you want to plug and unplug the front camera or rear camera,
please turn off the camera first.
Remove the rear camera
Unplug the rear camera cable from the rear camera port and remove
the entire mount from the glass.
Tips
1. Do not install / mount the camera in a location that interferes with the
driver’s visibility and safety.
2. Install / mount the camera close to the rearview mirror so that both sides of the
scene being recorded are equally covered by the camera’s FOV (field of view).
3. To ensure a clear view on rainy days, the lens should be positioned within the
windshield wiper’s sweeping range.
4. Do not install / mount the camera on or near airbag panels.
5. Installation / mounting location should not be affected by sun control film
(window tint). There should not be any other electronic equipment close to the
camera for optimal performance.
3. Install Rear Camera (Optional)
1. Select an installation location.
2. Wipe clean the installation surface of the windscreen with a dry cloth.
Select a location on the windscreen, without defrost grid wires, and where
the camera can record the entire rear view.
3. Peel the protection film OFF the sticky pad and camera lens.
4. Fix the rear camera on the selected location.
5. Connecting with Rear Camera.
Power off the product and connect the rear camera cable to the front
camera (main unit). Cable routing should be as shown in the following two
diagrams. Use the cable clips to help fix the two cables conveniently and safely.
1
2
Rear Camera
Front Camera
Rear
11 12
Rear
Loading ...
Loading ...
Loading ...