
Loading ...
Loading ...
Loading ...
|lUJ _,[l'] :11=|o]ll 1:1:| I:T'_
FREEHAND CUTTING AND ROUTING
When the router base accessory is installed on the cutting
tool, it will function as a small router to be used for
freehand cutting of irregular shaped patterns You can cut
patterns out of the workpnese with the cutting bit or route
pettems into the workplece with small router bvts
FREEHAND CUI-I'ING
1 Adjust the cutting batdepth to lie" longer then the
thickness of the material being cut
2 Turn the switch ON while firmly holding the tool
3 When starting the cut ms=dethe workplece, place the
bit at an angle to allow the bit to cut its way into the
workpuece (see Fig 6)
4 Use the two height adjusting knobs to guide the bit
through the workplece
FREEHAND ROUTING
Use therouterbasew0thsmallrouterbitstoperform
variousfreehandroutingprojects(see Fig 19)
1 Remove 1/8"collet and insert ¼" collet (see Fig 3)
2 Install router bit and securely tighten
3 Adjust router base height to the con'ect routing depth
4. Turn the swutchON makingsurethe routerbutis not
touchinganything.
5. Holding the tool by the two height adjusting knobs,
carefully lower the bit onto the workplece and guide
the bit around the desired pattern
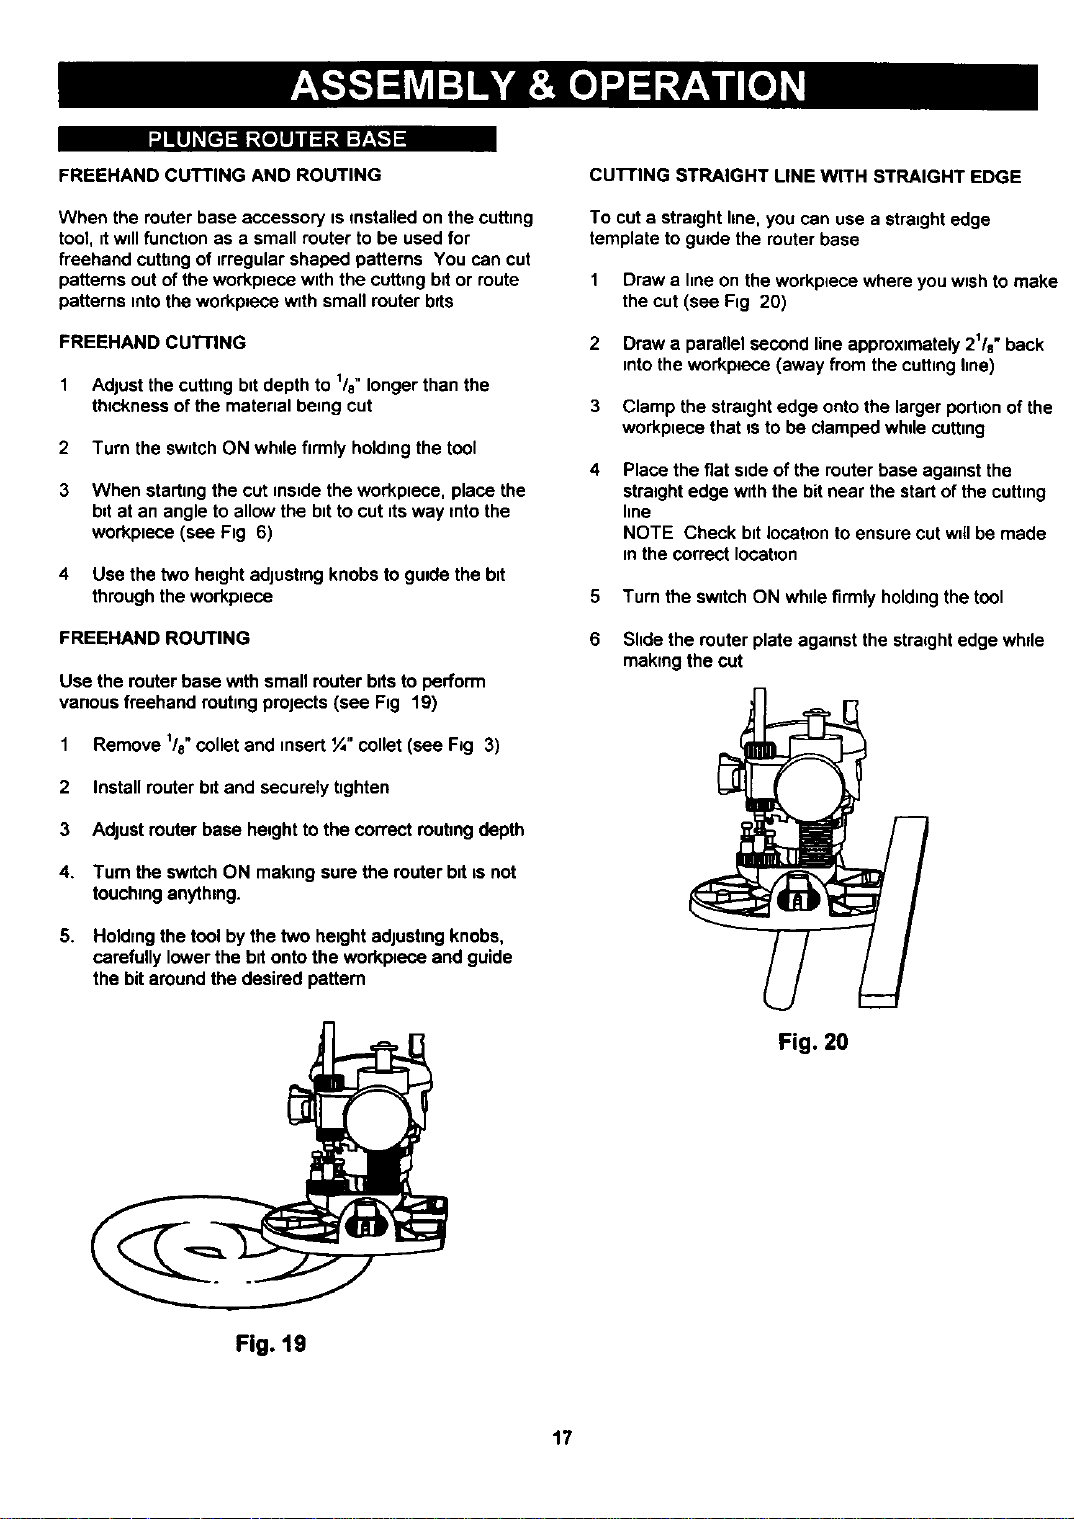
CU'I-rlNG STRAIGHT LINE WITH STRAIGHT EDGE
To cuta straightline,youcan usea straightedge
templateto guidethe routerbase
1
2
Draw a hne on the workplece where you wushto make
the cut (see Fig 20)
Draw a parallel second line approxtmately 21/e"back
into the workpaeco (away from the cutting line)
3 Clamp the straight edge onto the larger portion of the
workpuece that msto be clamped while cutting
Place the fiat side of the router base against the
straight edge with the bit near the start of the cutting
line
NOTE Check bit Iocateonto ensure cut wnllbe made
in the correct Iocabon
5 Turn the switch ON whde firmly holding the tool
6 Slidethe routerplateagainstthe stra=ghtedge whde
makingthe cut
Fig. 20
Fig. 19
17
Loading ...
Loading ...
Loading ...