Loading ...
Loading ...
Loading ...
19
General Installation Guidelines
Due to our policy of continuous product innovation, some specifications may change without notification.
©LG Electronics U.S.A., Inc., Englewood Cliffs, NJ. All rights reserved. “LG” is a registered trademark of LG Corp.
GENERAL INSTALLATION GUIDELINES
Rigging and Lifting / Outdoor Unit Mounting
Rigging and Lifting Instructions
Wear protective gloves and safety goggles when handling equipment. Sharp edges will cause personal injury.
Dispose of the packing materials safely.
• Packing materials, such as nails and other metal or wooden parts, will cause puncture wounds or other injuries.
• Tear apart and throw away plastic packaging bags so that children will not play with them and risk suffocation and death.
• Be very careful when transporting the product. There is a risk of the product falling and causing physical injury.
• Use appropriate moving equipment to transport each frame; ensure the equipment is capable of supporting the weights listed.
• Some products use polypropylene bands for packaging. Do not use polypropylene bands to lift the unit.
• Support the outdoor unit at a minimum of four points to avoid slippage from rigging apparatus.
• Make sure the outdoor unit is in its original packaging to avoid damage during local transport.
• At the time of delivery, the package must be checked for any damage (exterior and interior). Report any damage to the carrier claims agent
immediately.
• Handle the outdoor unit with care. Keep the outdoor unit upright to avoid damaging inside components.
• If a forklift is to transport the outdoor unit, the forklift arms must pass through the openings at the bottom.
• If a crane is to suspend the outdoor unit, it is required that two (2) ropes at least twenty-three (23) feet in length be used. Pass the ropes under
the unit. Pass the rope through the two (2) forklift slots each at the front and rear of the outdoor unit.
• 7RSUHYHQWGDPDJHWRWKHRXWGRRUXQLWDOZD\VOLIWWKHXQLWZLWKWKHURSHVDWWDFKHGDWIRXUSRLQWVDWDQDQJOHRI
• Always include padding to protect the outdoor unit from rope damage, and take into consideration the outdoor unit’s center of gravity.
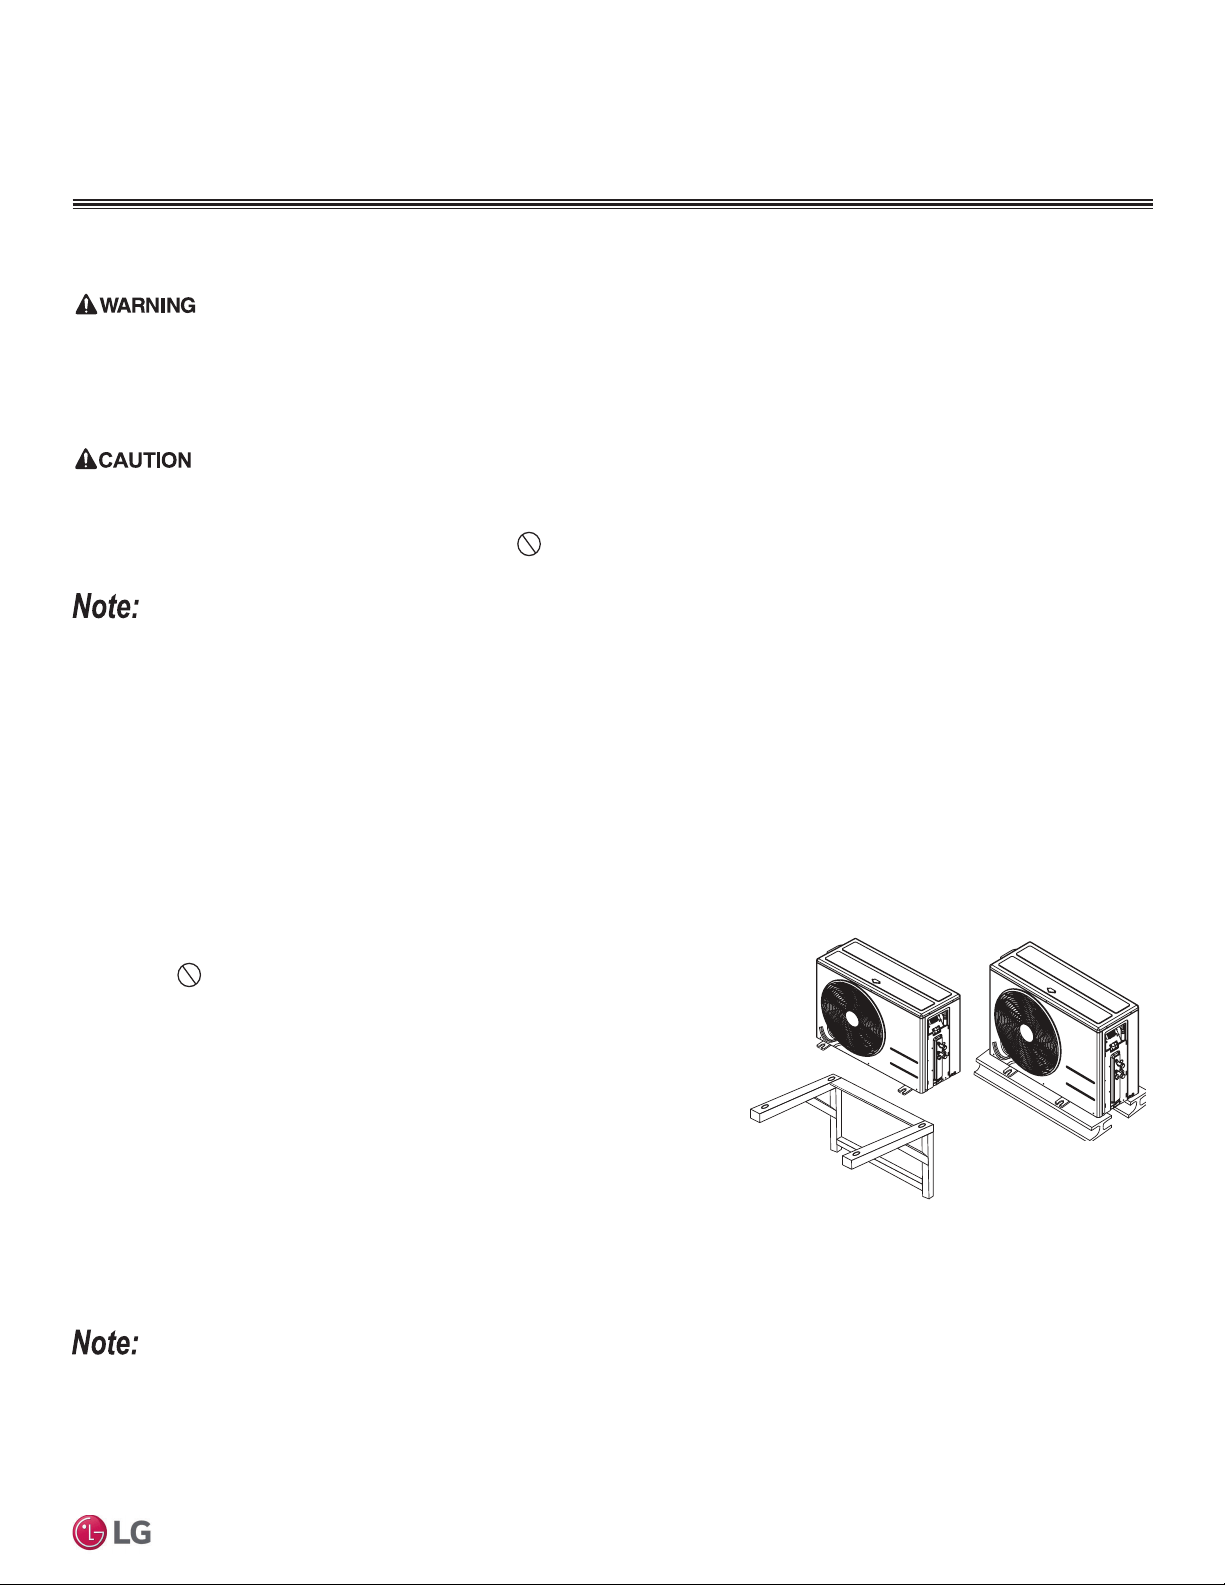
General Outdoor Unit Mounting
Any underlying structure or foundation must be designed to support the weight of the
outdoor unit. Avoid placing the unit in a low lying area where water and ice will
accumulate. Securely attach the outdoor unit to a condenser pad, base rails, or a
mounting platform that is solidly anchored to the ground or building structure. When
installing the outdoor unit on the wall or roof top, securely anchor the mounting base
to account for wind, earthquakes, or vibration.
Anchoring the Outdoor Unit
• Tightly anchor the outdoor unit with a bolt and nut to a concrete or rigid platform
(see next page for more details).
• When installing on a wall (with field-supplied brackets), roof, or rooftop, securely
anchor the mounting platform with nails, taking into consideration the possibility of
strong winds or earthquakes.
• If there is a possibility of vibration from the outdoor unit transmitting to the building,
add an anti-vibration material.
Follow applicable local codes for clearance, mounting, anchor and vibration attenuation
requirements.
Figure 5: Examples of Outdoor Unit Mounting Methods.
Loading ...
Loading ...
Loading ...