Loading ...
Loading ...
Loading ...
Page 11
Notes:
· When you remove the bucket, do not touch any parts
inside of the unit. Doing so may damage the product.
· Be sure to push the bucket gently all the way into the
unit. Banging the bucket against anything or failing
to push it in securely may cause the unit not to
operate.
· If the pump hose drops when you remove the
bucket, you must reinstall the pump hose properly to
the unit before replace the bucket into the unit.
· When you remove the bucket,if there is some water
in the unit you must dry it.
· When the unit is on, if the bucket is removed, the
compressor and the fan turn off, then the unit will
beep 8 times and the digital display shows Eb.
· When the unit is off, if the bucket is removed, the unit
will beep 8 times and the digital display shows Eb.
· Water can be automatically emptied into a floor drain
by attaching the unit with a water hose(ld≥Φ5/16
′′,
not included) with a female threaded end(ID:M=1
′′,
not included)
Note: On some models, the female threaded end is
include.
· Remove the plastic cover from the back drain outlet
of the unit and set aside, then insert the drain hose
through the drain outlet of the unit and lead the
drain hose to the floor drain or a suitable drainage
facility.
· Water can be automatically emptied into a floor drain
or a suitable drainage facility by attaching the pump
drain outlet with a pump drain hose(Φod=1
/
4
′′,
supplied).
· Remove the continuous drain hose from the unit and
install the plastic cover to the continuous drain hose
outlet of the unit by clockwise rotation.
· Resert the pump drain hose into the pump drain hose
outlet for depth of 15mm at least, then lead the water
hose to the floor drain or a suitable drainage facility.
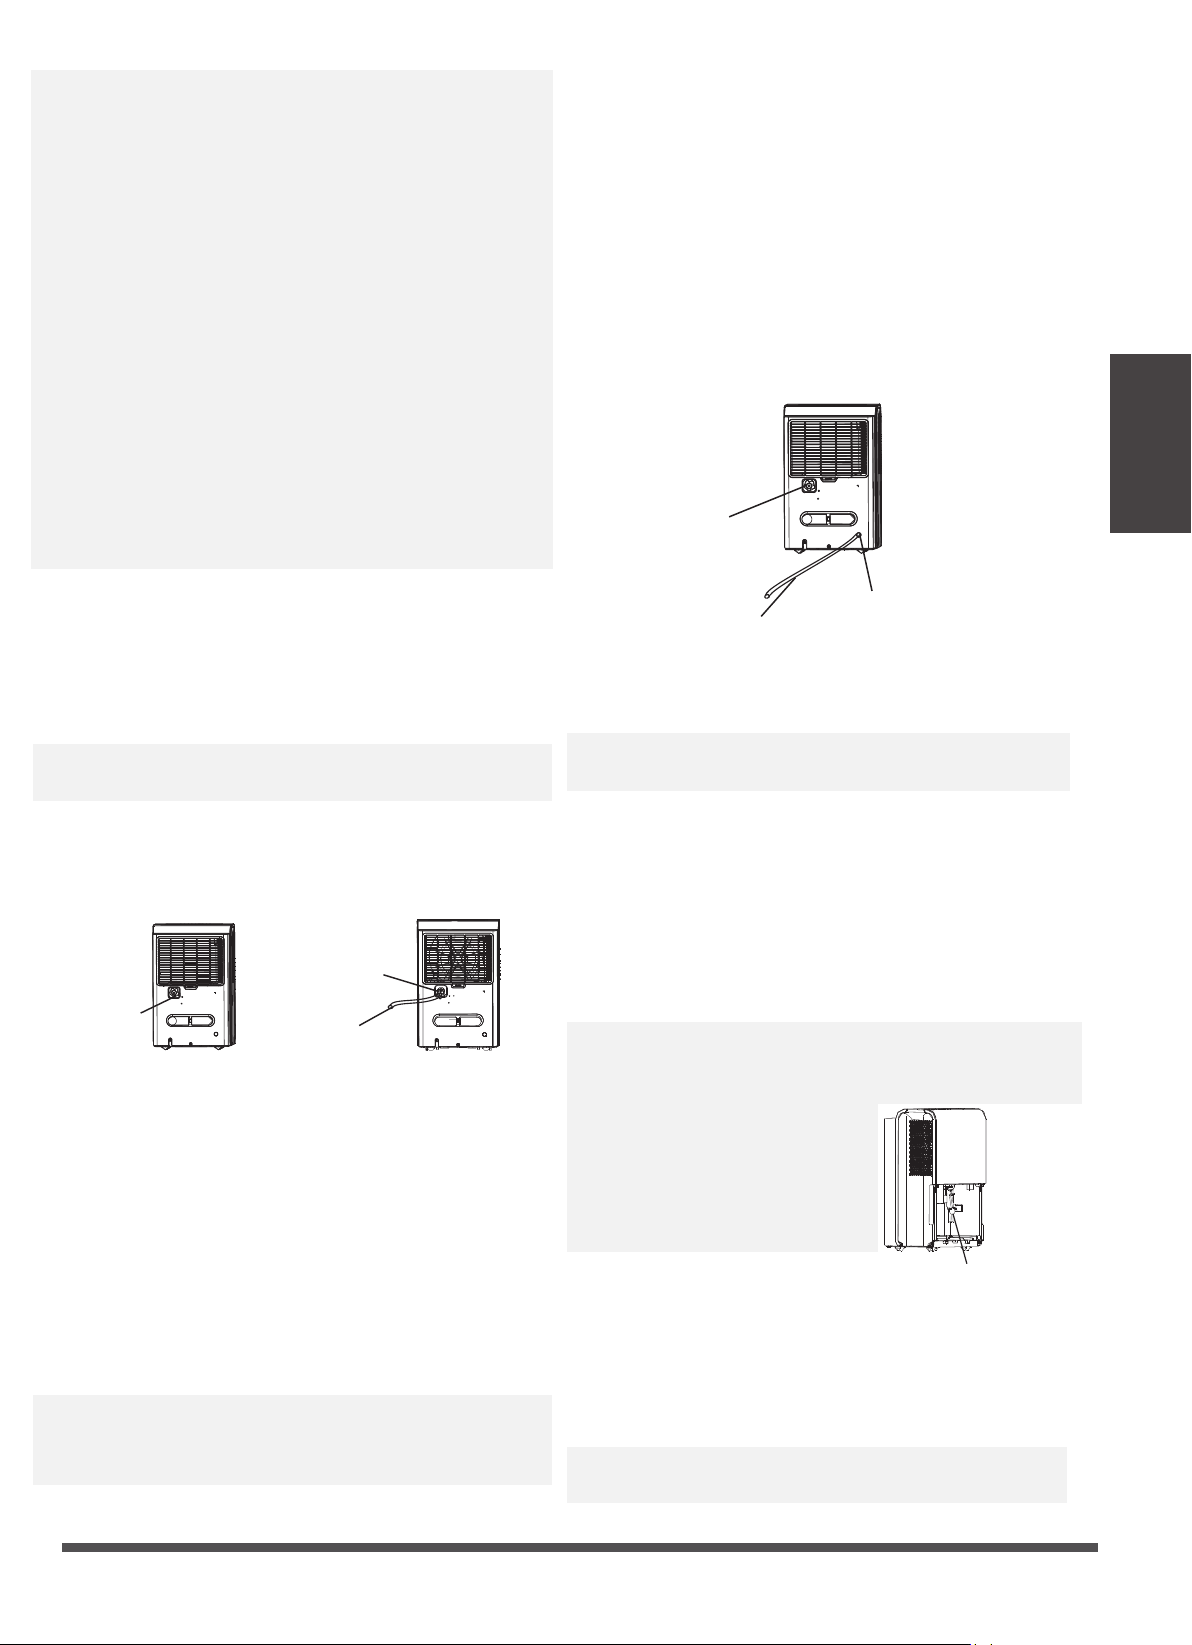
2. Continuous draining
Remove the plastic
cover by couter-
clockwise rotation.
Drain hose
Female threaded end
· When you remove the plastic cover, if there is some
water in the back drain outlet of the unit you must
dry it. Make sure the hose is secure so there are no
leaks and the end of the hose is level or down to let
the water flow smoothely.
· Direct the hose toward the drain, making sure that
there are no kinks that will stop the water flowing.
Make sure the water hose is lower than the drain hose
outlet of the unit.
· Select the desired humidity setting and fan speed on
the unit for continuous draining to start.
Note: When the continuous draining feature is not
being used, remove the drain hose from the outlet, and
dry the water in the continuous drain hose outlet.
3. Pump draining (on some models)
· Press the pump pad of the unit to activated the pump
operation. When the bucket is full the pump starts to
work.
Note: The pump may cause big noise when it starts to
work for 3~5 minutes. It is a normal phenomenon.
· Make sure the hose is secure so there are no leaks.
· Direct the hose toward the drain, making sure that
there are no kinks that will stop the water flowing.
· Place the end of the hose into the drain and make
sure the end of the hose is level or down to let the
water flow smoothly. Do never let it up.
· select the desired humidity setting and fan speed on
the unit for pump draining to start.
Note: The pump operation on light blinks at 1Hz when
the pump is operational failure. Please turn off the unit
and plug the power cord out. Check the following
things:
· Cleaning the filter of the pump.
-Remove the bucket from the
unit, take down the pump and
clean the filter of the pump.
Pump drain hose
Pump drain
hose outlet
Reinstall the
plastic cover
Filter of the pump
· Check that the pump drain hose does not link or back.
· Empty the water of the bucket.
· Reinstall the pump hose if it drops and reinstall the
bucket properly. Turn on the unit. If the error repeats,
call for service.
Note: Do not use this operation when the outdoor
temperature is equal to or less than 0 C (32 F),
o o
Operating
Instructions
Loading ...
Loading ...
Loading ...