SMC 5700WDB
EN User Manual CD Micro system

2 EN
EN
Copyright © Fast ČR, a. s. 09/2021
Table of contents
1 Safety Instructions ......................... 3
Safety precautions .........................................4
Remote control instructions ....................... 5
Features ........................................................... 6
Supply content ..............................................6
Important notices .......................................... 6
Cleaning and maintenance .........................7
2 Device description ......................... 8
Description of the main unit ...................... 8
Description of the remote control ............. 9
3 Getting Started .............................10
Speakers connection ...................................10
Connecting the radio antenna ..................10
Power supply connection ..........................10
Remote control setup .................................10
Initial settings ................................................. 11
Starting ...........................................................12
Switching to the stand-by mode. ............12
Source menu ................................................12
4 Listening to internet radio ............. 13
Using the menu in the Internet radio
mode ...............................................................13
Storing internet radio stations ..................13
Select a preset Internet radio station ...... 14
Displaying internet radio information......14
5 Listening to podcasts ..................... 14
6 Listening to DAB radio .................. 15
DAB radio station presets ..........................15
Storing DAB radio station presets ...........15
Selecting a preset DAB radio station ......15
Using the menu in the DAB radio
mode ............................................................... 15
Displaying DAB information ......................16
7 Listening to FM radio .................... 17
FM radio station presets ............................ 17
Storing FM radio stations .......................... 17
Storing FM radio stations
automatically ................................................ 17
Selecting a preset FM radio station ........ 17
Using the menu in the FM radio mode . 17
Displaying RDS information ......................18
8 Using the system settings menu .....18
Network settings ..........................................19
Time/date setting ........................................19
System language setting ...........................19
Reset all settings..........................................19
Checking the software update
information ....................................................19
Display the software version ....................20
Backlight adjustment .................................20
9 Using the main menu ................... 20
Setting the alarm .........................................21
Setting the automatic shut off mode ......21
10 Other functions ............................ 22
Sound playback via Bluetooth ................22
Volume setting ............................................22
Mute ............................................................... 22
CD playback .................................................22
Playback from USB devices ....................22
Charging your device .................................23
Listening from external devices ..............23
11 Technical specifi cations ................24

EN 3
EN
SAFETY INSTRUCTIONS
Copyright © Fast ČR, a. s. 09/2021
CONGRATULATIONS FOR
PURCHASING THIS HOME CD MICRO
SYSTEM. IT IS CHARACTERISED BY
ITS ADVANCED DESIGN, MODERN
APPEARANCE, EXCEPTIONALLY RICH
SOUND AND IMPLEMENTATION OF
THE LATEST TECHNOLOGIES. IT’S
OPERATED WITH USER-FRIENDLY
CONTROLS.
1 Safety Instructions
This product has been designed with the
utmost safety in mind. However, incorrect
use may lead to electric shock or fi re. This
is why users should observe the following
instructions when using this device.
This CD player uses a semiconductor unit
and contains no user serviceable parts.
Do not disassemble this device, otherwise
you are exposed to the risk of electric
shock. If any damage to this product
occurs, please have this product repaired
by a qualifi ed service technician.
Power source
Power supply of this unit must be match
the serial plate data.
Ventilation
Ventilation openings on the main cover
are designed to protect this CD player
from overheating. Do not block or cover
these ventilation openings. Do not place
this appliance on bed or sofa.
Heat source
Keep this unit out of heat sources like
stove or direct sunlight.
Water and humidity
Do not use this unit in humid
environment, e.g. in bathrooms, kitchens,
damp cellars etc.
Cleaning
Prior to cleaning, please disconnect
power fi rst. For cleaning, don’t use liquid
detergents or caustic liquids - just clean
the unit with a soft cloth.
Disc drive door
While closing the disk drive door, take
care not to pinch your fi ngers.
Heavy objects
Do not place heavy objects on the unit,
otherwise damage might occur.
Connecting other devices
Before connecting other devices to this
CD player, please make sure to disconnect
power. Otherwise damage to the unit or
personal injury might occur.
Laser unit
If the cover is open with the CD player
turned on, don’t look at the laser directly
with unprotected vision, otherwise serious
damage to your sight might occur.
Disc
Don’t use a disk which is cracked, warped
or repaired to prevent fault or shortening
the unit’s lifetime.
Faults to be repaired
If any of the following problems occurs,
please disconnect power to the unit and
contact a qualifi ed service technician.
A. Power cord or plug is damaged.
B. Liquids or other foreign objects have
penetrated inside the product.
C. The appliance was exposed to rain or
water.
D. D. If the unit does not work even if
it’s being operated according to the
instructions, don’t press any buttons
other than those described in these
instructions. Otherwise, damage to
this unit may occur along with a more
demanding repair.

SAFETY INSTRUCTIONS
4 EN
EN
Copyright © Fast ČR, a. s. 09/2021
E. This unit has fallen on the ground
from a big height.
F. Burns can be smelled from the
product inside.
Maintenance
If you don’t have enough technical
knowledge necessary to maintain
this unit, don’t attempt to repair it by
yourself. By removing the cover, you
are exposed to a risk of electric shock. If
needed, please contact a qualifi ed service
technician.
Replacement of parts
If you need to replace any part of this unit,
ask your service technician to make a
replacement for equal spare part models.
If other spare part models are used for
replacement, serious damage, electric
shock or shortening the unit’s lifetime may
occur.
Safety check
When done with the maintenance, ask
your service technician to perform an
on-site safety check to make sure that the
unit’s operation is safe.
Note: Before using this product, read
these instructions carefully and keep it
well for future use.
Safety precautions
1. Always use original transport box and
packaging to carry the CD player.
Manufacturer’s packaging provides the
best method of protecting the player
from damage.
2. Do not place the CD player close to
volatile substances and prevent the
player from being in contact with
rubber or plastic products that could
leave marks on the unit’s cover for
prolonged periods of time.
3. After a prolonged use, the top cover
and rear panel may get hot - this is a
normal condition, not failure.
4. If you plan to leave the CD player
unused, please remove the CD disc,
close the disc drive and turn the
power off.
5. If the player hasn’t been used for a
long time, some buttons may fail to
function. To eliminate this condition,
we recommend to use the unit from
time to time or have it protected from
moisture.
Safety precautions for placement
If this CD player is placed next to TV set,
radio or video recorder, sound distortion
may occur. For this reason, keep the CD
player well away from such equipment
types.
Safety precautions for cleaning
1. To clean the product, please use a fi ne
cloth.
2. To remove stains, use a cloth
moistened in a small amount of
diluted cleaning agent. Please do not
use any solvents such as thinners,
petrol solvents and volatile substances
that could damage the player’s cover.
3. When cleaning the CD player with
a cloth containing chemicals please
observe the instructions for use.
EN 5
EN
SAFETY INSTRUCTIONS
Copyright © Fast ČR, a. s. 09/2021
Note: Cleaning and adjustment of
internal parts may only be performed
by skilled service technicians, otherwise
damage to the player and/or shortening
the lifetime may occur.
Safety precautions for using the disc
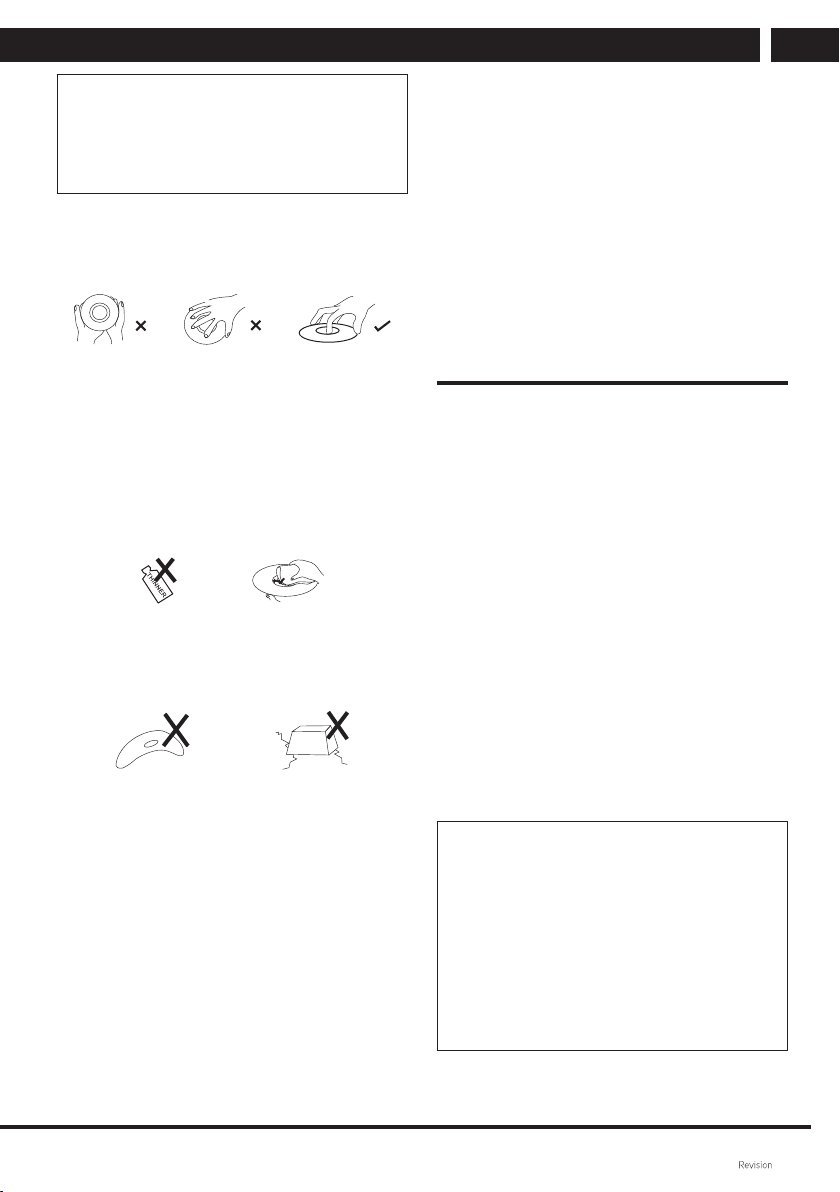
1. How to grip the disc: do not touch the
record side
2. Cleaning the disc: clean the disc by
wiping with a fi ne cloth from centre to
the edges. If the image and/or sound
quality was affected by fi ngerprints or
dust on the disc, wipe the disc with
a moistened cloth and then wipe dry.
For protect the disc from damage, do
not use toluene, cleaning agents or
antistatic sprays for cleaning.
3. Disc storage: insert the disk in its case
and avoid placing it in humid or dusty
environment or in places exposed to
direct sunlight.
Safety precautions for batteries
If you use the batteries in an improper
manner, electrolyte leakage or battery
corrosion might occur. For this reason,
please follow the instructions below
correctly.
1. When inserting the batteries in the
remote control, take care to observe
correct polarity (positive and negative).
2. Do not recharge non-rechargeable
batteries, disassemble the batteries
and do not throw them in fi re.
3. Do not use different battery types
together and do not mix new and
discharged batteries.
4. Do not leave damaged or discharged
batteries in the remote.
5. If the remote control is not to be
used for an extended period of time,
remove the batteries to prevent it from
damage by electrolyte leakage.
6. If the remote control is not working
correctly or its operational range is
reduced, change all batteries for new
ones.
7. If electrolyte leakage occurs, fi rst clean
the battery case, then replace the
batteries with new ones.
Remote control instructions
If the remote control is not used correctly,
the signal reception by the CD player will
be poor or none. For this reason, please
use it correctly following the instructions
below.
1. Keep the remote control’s transmitting
part out of strong light sources such
as sunlight to avoid the reception
getting worse or being prevented.
2. Aim the remote control at the receiver
window on the CD player.
3. Take care not to drop the remote
control on the fl oor and do not expose
it to strong impacts.
4. Do not allow water other liquid to
enter the remote control.
5. Do not disassemble the remote
control.
Note:
1. Maximum distance between the
remote control and the CD player is
approximately 7m.
2. Use the remote control at an angle
of max. 30 degrees to the sensor
window.
3. Insert the batteries in the battery
compartment fi rst, then use the
remote control.
SAFETY INSTRUCTIONS
6 EN
EN
Copyright © Fast ČR, a. s. 09/2021
Features
Before starting to connect and operate this
product, please read this manual carefully.
Save this user’s manual for possible future
use.
• Supports CD, MP3, CD-R, CD-RW etc.
• Contains a USB port.
• Contains Bluetooth.
• Remote control with a complete
functionality.
• FM stereo tuner with RDS system.
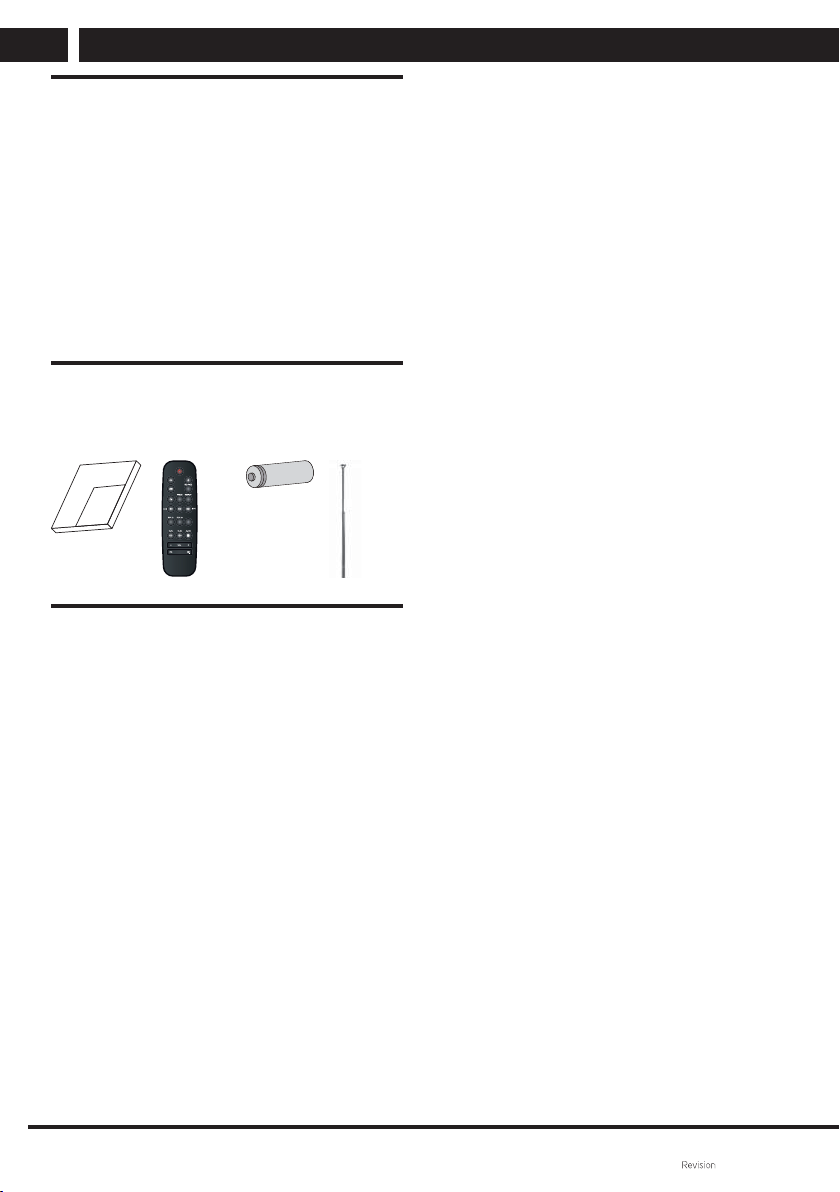
Supply content
User's
manual
Remote
control
Battery Antenna
U
se
r manual
TONE
Important notices
• Read this user's manual. Please follow
the instructions in this user’s manual.
• Pay attention to all warnings.
• Adhere to all instructions.
• Use only manufacturer recommended
accessories.
• Do not place sources of an open fl ame
such as lit candles on the appliance.
• Use this appliance in the mild climate
zone only.
• Neither manufacturer, nor dealer of
this appliance bears any responsibility
whatsoever for any direct or indirect
damages caused by the non-
observance of the instructions for
installing, setup, service or cleaning
this appliance set forth in this user’s
manual.
• Protect this appliance from
overturning, falling on the fl oor,
impacts, shocks and vibrations,
moisture and dust.
• This appliance may only be operated
by children of appropriate age who
were informed on correct and safe use
of this appliance.
• Allow for clearance on both
equipment sides necessary for correct
air circulation. This will dissipate the
heat generated during operation.
Covering the ventilation holes in
this appliance cover will increase
the risk of overheating and damage
to the appliance. It required that
the ventilation holes should not be
blocked e.g. By newspapers, table
clothes, curtains etc. Follow the
installation instructions in this user’s
manual.
• Do not install this appliance in direct
sunlight or near sources of heat, e.g.
heat registers, exchangers, stoves or
other equipment (including amplifi ers)
that generate heat. Hight temperatures
shorten the lifetime of electronic
components inside the equipment
signifi cantly. Do not use or leave the
appliance near open fi re.
• This appliance should not be exposed
to dripping or running water and it’s
forbidden to put objects with water,
e.g. vases on the appliance. Protect
this appliance from rain, water drops
or exposure to any liquid and do not
leave or install the appliance outdoors.
Do not use this appliance outdoors.
Non-observance of these instructions
results in the risk of electric shock or
fi r e .
• Do not use this appliance near water.
• Protect this appliance from
overturning, falling on the fl oor,
impacts, shocks and vibrations,
moisture and dust.

EN 7
EN
SAFETY INSTRUCTIONS
Copyright © Fast ČR, a. s. 09/2021
• Inspect the appliance on regular basis.
Never use a damaged appliance.
• The device is equipped with special
passive radiators that provide for a
rich and natural sound even from a
small space and function similarly to
a subwoofer. Do not cover them or
block their function.
Cleaning and maintenance
• To prevent electric shock or fi re, do not
open this equipment’s cabinet - there
are no user serviceable or adjustable
parts inside to be handled without
appropriate tools or qualifi cation.
If any adjustment or repair of this
equipment is required, please reach
out to a professional service centre.
• If any unusual event occurs during
this equipment operation such as
distinct smell of burning insulation
or smoke being emitted from the
equipment, power the equipment off
immediately, disconnect it from the
power supply and stop using it until
you obtain the results of an inspection
performed by professional service
centre technicians.
• Please refer all repairs of to qualifi ed
technicians. The repairs are required if
this equipment was damaged in any
manner, e.g. liquid was spilt on the
equipment, foreign objects entered
the equipment, the equipment was
exposed to rain or moisture, the
equipment does not work as usual or
was dropped on the fl oor.
• Clean only with a dry cloth.
• Do not clean the appliance with
petrol, thinner or any other solvents
and do not use abrasive cleaning
agents, wire wool or wire sponges.
DEVICE DESCRIPTION
8 EN
EN
Copyright © Fast ČR, a. s. 09/2021
2 Device description
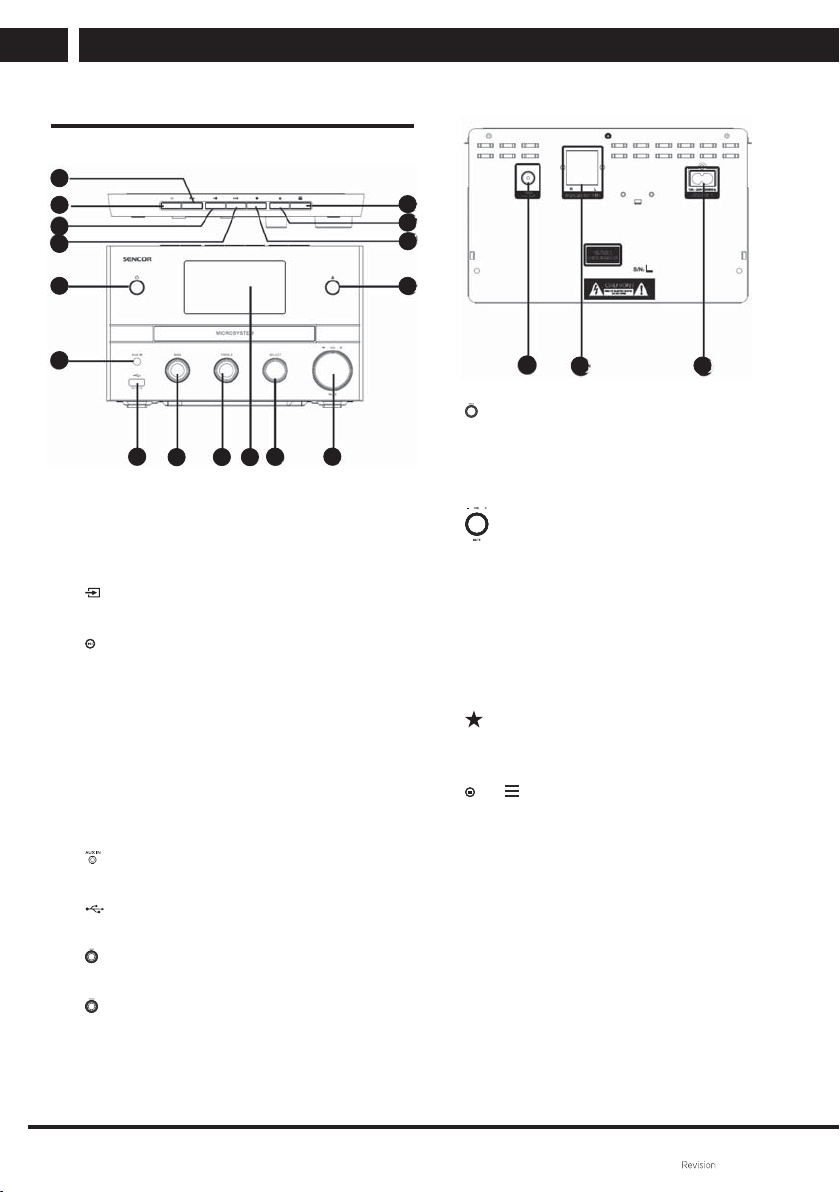
Description of the main unit
1
2
3
4
5
6
7
8 9 10
11 12
13
14
15
16
1
• Skip to previous track.
• Track search.
• FM station search backwards.
2
SOURCE
• Press to open the menu.
3
• Start or pause playback.
4
• Skip to next track.
• Track search.
• FM station search forward.
5
• Turning the unit on or switching to
standby.
6
AUX IN (External input)
• Connecting external audio devices.
7
• Connecting USB memory devices.
8
BASS
Turn to set bass.
9
TREBLE
Turn to set treble.
0 Display screen
• Current status display.
17
18 19
qa SELECT
• Turn for navigation in menu options.
• Turn to fi ne tune the frequency in
FM mode.
• Press to confi rm a selection.
qs VOL control (Volume) / MUTE
• Turn to adjust volume.
• Press to mute or unmute the sound.
qd
• CD tray open/close.
qf
• Stop playback.
• Delete a program.
qg
PRESET
• Storing broadcast stations.
• Showing the list of preset stations.
qh
MENU
• Access the main menu in operating
mode.
• Press and hold to display
information in FM/DAB mode.
qj FM/DAB antenna
• Antenna socket.
qk SPEAKER OUT jack (speaker output)
ql Mains cord jack
EN 9
EN
DEVICE DESCRIPTION
Copyright © Fast ČR, a. s. 09/2021
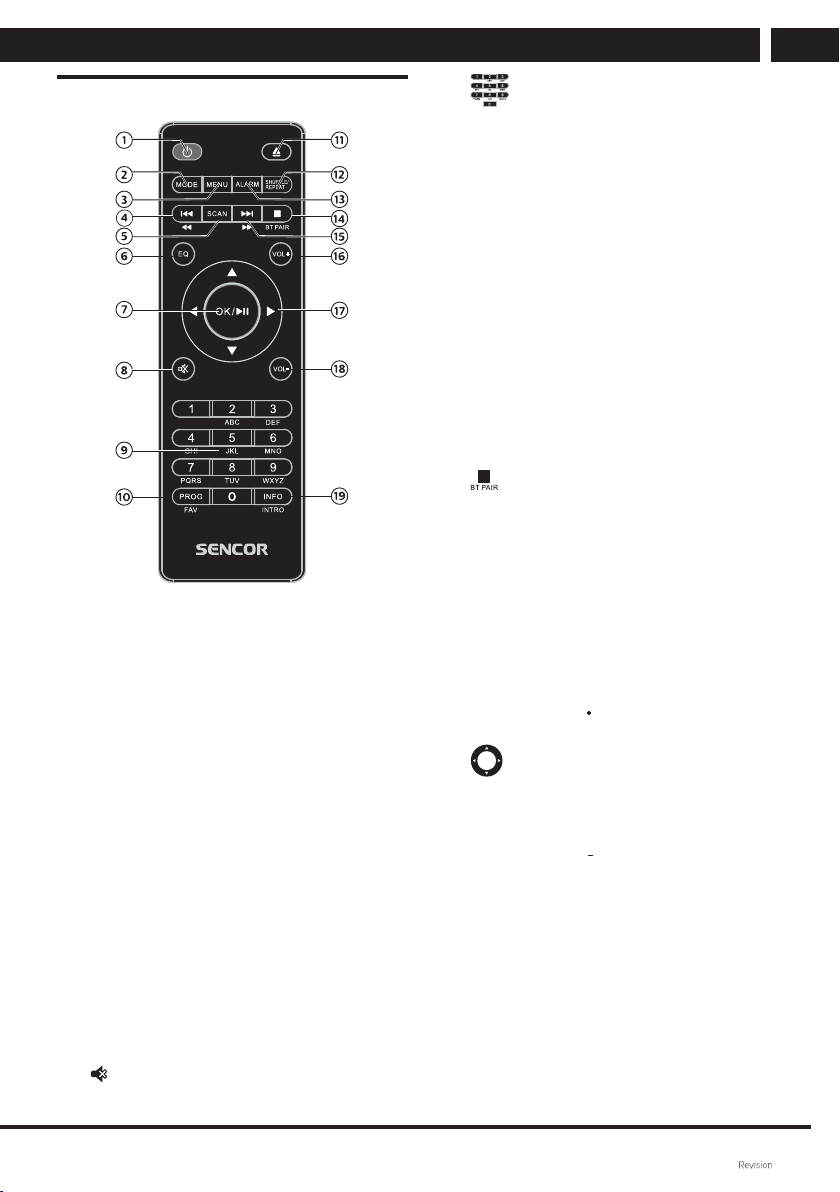
Description of the remote control
1
• Turning the unit on or switching to
standby.
2 MODE
• Press to open the source mode.
3 MENU
• Press to open the menu.
4
• Skip to previous track.
• Track search.
• FM station search backwards.
5 SCAN
• Storing broadcast stations
automatically
6 EQ (Equaliser)
• Selecting a preset sound effect.
7 OK
(
)
• Confi rm selection
• Press to start, pause or resume.
8
MUTE (Mute the sound)
• Mute or restore volume.
9
• Use the numeric keypad to enter
numbers.
0 PROG/FAV (Program/Favourites)
• Stop programming.
• Showing the station list.
• Storing a station manually
qa
OPEN/CLOSE
• CD tray open/close.
qs SHUFFLE/REPEAT (Random/Repeat
playback)
• Press to switch to the random
playback mode.
• Repeat playback mode selection.
qd ALARM
• Setting the alarm timer.
qf
• Stop the playback or delete a
program.
• Press to activate the pairing
function in Bluetooth mode or
disconnect the paired device.
qg
• Skip to next track.
• Track search.
• FM station search forward.
qh VOL (Volume)
• Volume up
qj
DIRECTION ARROW BUTTONS
(LEFT/RIGHT/UP/DOWN)
• Navigation in menu options.
• Time setting
qk VOL (Volume)
• Volume down.
ql INFO/INTRO (Information/
Introduction)
• Display playback information.
• During playback, press the INTRO
button to play the fi rst 10 seconds
of each track.
GETTING STARTED
10 EN
EN
Copyright © Fast ČR, a. s. 09/2021
3 Getting Started
Warning
• Use of controls or adjustments or performance
of procedures other than those specifi ed herein
may result in hazardous radiation exposure or
other unsafe situation.
Always follow the instructions in this
chapter, in that order.
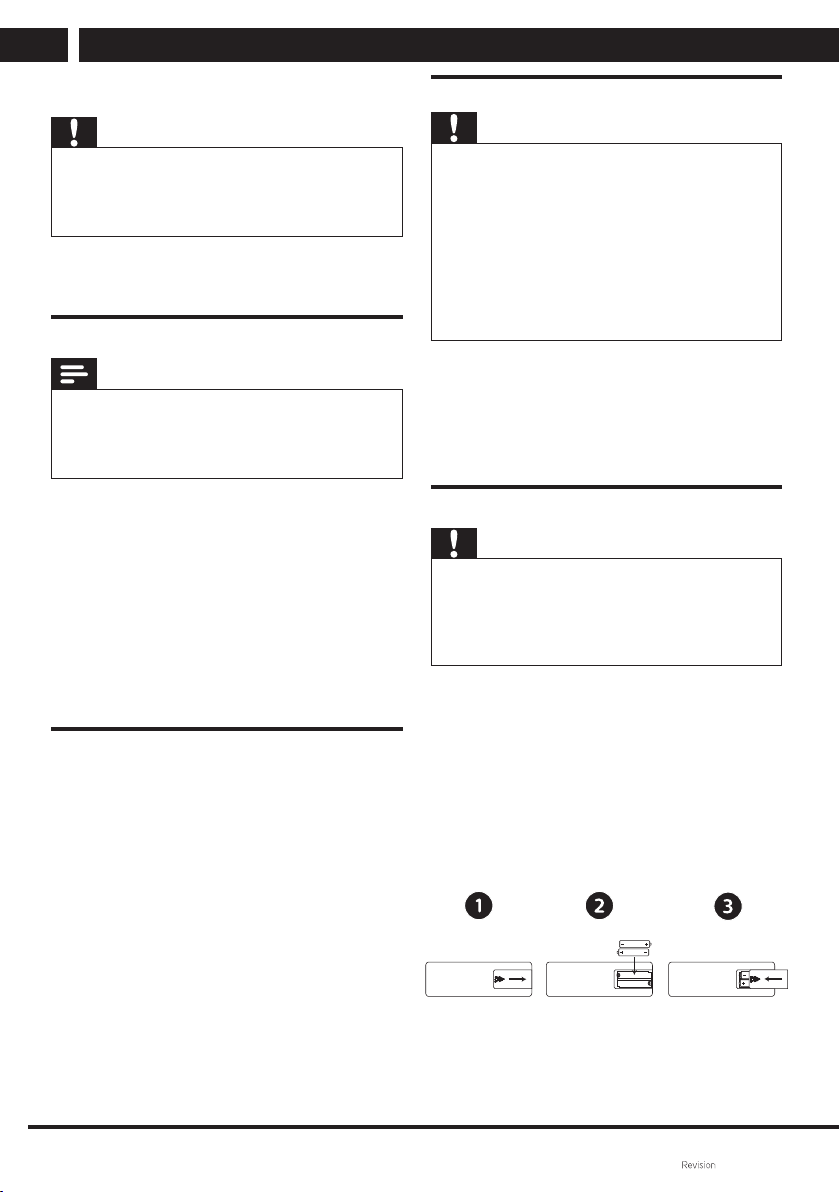
Speakers connection
Note
• Insert the stripped parts of the individual speaker
wires completely into the sockets.
• To ensure better sound quality, use only the
supplied speakers.
1 For the right speaker, use the jacks on
the back of the unit marked “R”.
2 Insert the red wire into the red (+)
terminal and the black wire into the
black (-) terminal.
3 For the left speaker, use the jacks on
the back of the unit marked “L”.
4 Repear step 2 to insert left speaker
wires.
Connecting the radio antenna
Connect an FM / DAB antenna to this unit
before listening to the radio.
Power supply connection
Warning
• Prior powering the equipment on, check that the
voltage in your electric installation matches the
voltage on the equipment name plate.
• Risk of electric shock! Before connecting the
AC power cord (mains lead), make sure that the
plug is securely fastened. When disconnecting
the AC power cord, always hold the plug; never
pull on the cable itself.
• Before connecting the AC power cord, ensure
that all other connections are made.
To operate this unit, connect the mains
cord to a power outlet with AC~ 100 -
240V, 50/60Hz and turn it on by pressing
the STANDBY button on the front panel.
Remote control setup
Warning
• If you plan to leave the remote control unused
for an extended period of time, remove the
batteries.
• Batteries contain chemicals and must be
disposed of in accordance with local regulations.
Inserting batteries into the remote control:
1 Open the battery compartment.
2 Insert the supplied AAA batteries with
the correct polarity (+/-) according to
the polarity marks shown under the
battery cover.
3 Close the battery compartment.
EN 11
EN
GETTING STARTED
Copyright © Fast ČR, a. s. 09/2021
Initial settings
• When the power is turned on for the
fi rst time [Setup wizard] appears on
the display panel. Use the following
instructions to set some basic
parameters.
To listen to Internet radio, you must
fi rst set up a Wi-Fi connection. Wi-Fi
Protected Setup (WPS) is a standard
created by the Wi-Fi Alliance to
easily create a secure wireless home
network. If your wireless router
supports the WPS standard, you can
quickly and securely connect the radio
to the router using one of two setup
methods: Push Button Confi guration
(PBC) or Personal Identifi cation
Number (PIN). For routers without
WPS support, you have the additional
option of connecting the radio to a
wireless router.
Note
• Familiarize yourself with the network router
before connecting to the network.
• Make sure your home Wi-Fi network is enabled.
In the fi rst step, you will be prompted to
select the Language to which the receiver
will be set. Turn the SELECT knob or
press the remote control arrows to select
required language and confi rm.
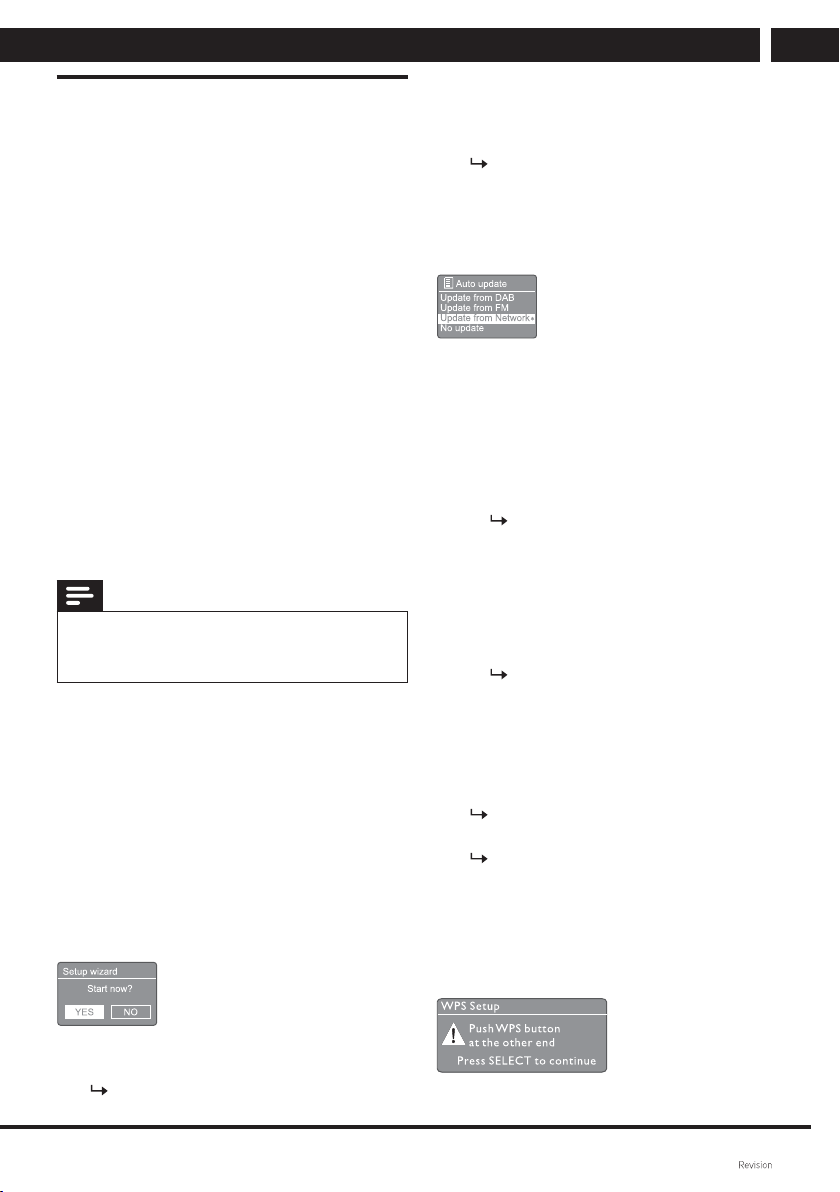
1 When the [Setup wizard] is displayed,
turn the SELECT knob to select [YES]
to start the setup. If you select [NO],
you will be asked to start the wizard
later.
2 Press SELECT to confi rm.
[12/24 hour format] will be shown.
3 Turn the SELECT control knob to
select 12 or 24 hour format.
4 Press SELECT to confi rm.
A list of automatic updates will be
shown.
5 Repeat steps 3 to 4 to select whether
to synchronize the time with radio
stations.
• [Update from DAB]: synchronize
time for DAB stations.
• [Update from FM]: synchronize time
for FM stations.
• [Update from Network]: time
synchronization for internet radio
stations.
If you select [Update from
Network], repeat steps 3 to
4 to set the time zone, and
then repeat steps 3 to 4 to set
daylight saving time.
• [No update]: disable time
synchronization.
If you select [No update], repeat
steps 3 to 4 to set date and time.
6 Repeat steps 3 to 4 to select [YES] to
keep the network connection.
7 Repeat steps 3 to 4 to select the Wlan
region.
The radio will start searching for
wireless networks automatically.
A list of available Wi-Fi nteworks
will be shown.
8 Repeat steps 3 to 4 to select your
Wi-Fi network.
9 Press the SELECT knob to select the
option to connect your wireless router.
GETTING STARTED
12 EN
EN
Copyright © Fast ČR, a. s. 09/2021
• [Push Button]: select this option
if your wireless router supports
the WPS and PBC setup method.
You will be prompted to press the
connect button on your router; then
press the SELECT knob to continue.
• [Pin] (PIN code):select this option
if your wireless router supports the
WPS and PIN setup method. Your
radio will generate an 8-digit code
number for you to be entered in the
router.
• [Skip WPS]: select this option
if your wireless router does not
support WPS. You will be prompted
to enter the key for your Wi-Fi
network.
10 Follow the instructions on the display
panel to press the WPS button or
enter a PIN in your wireless router
or enter a key to connect to your
network (the options displayed
depend on the type of your network
and the network protection used).
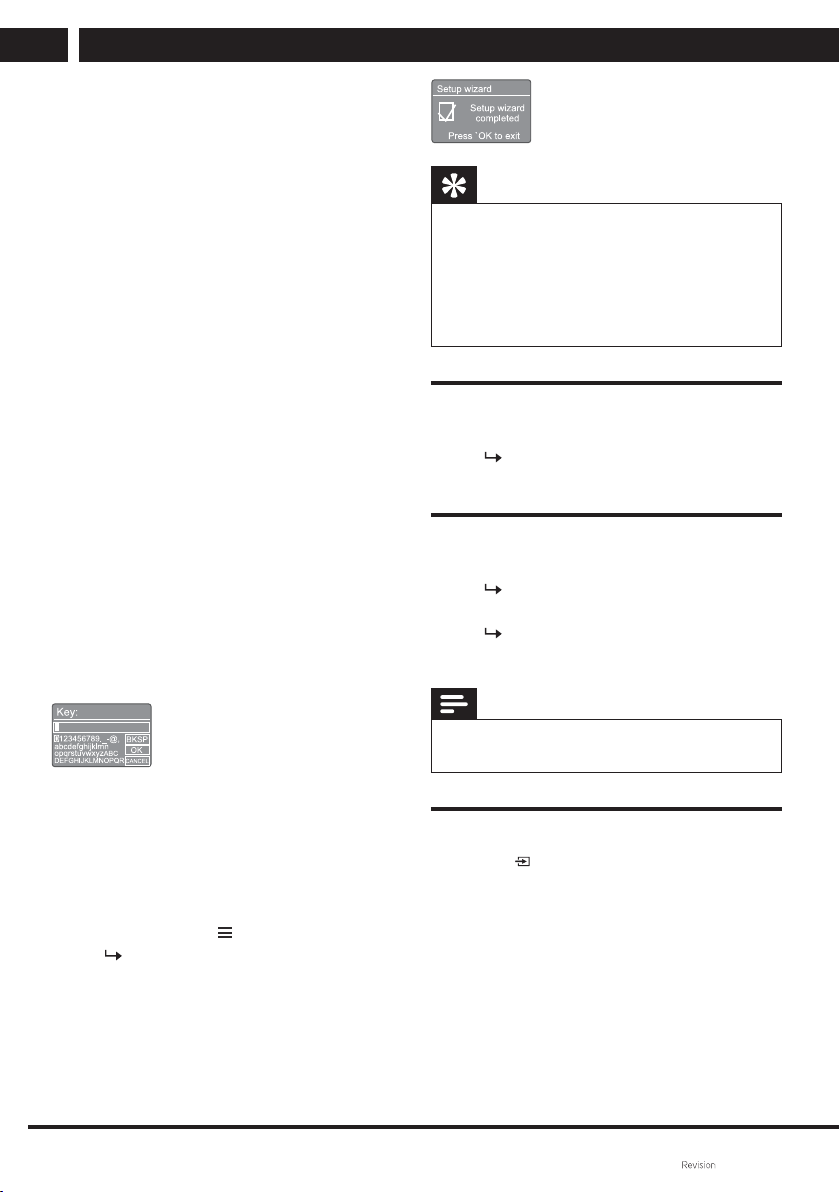
• When entering the network key,
turn the SELECT knob to select
a required character, then press
SELECT to confi rm.
• To cancel, turn the SELECT knob to
select [CANCEL].
• To confi rm your selection, turn the
SELECT to select [OK].
• To delete an item, turn to select
[BKSP].
• To exit, press .
Once the network connection
is established, the display will
show [Connected].
11 When a [Setup wizard completed]
message is shown, press OK to exit
the setup.
Tip
• For some Wi-Fi routers, you may need to hold
down the WPS button for a Wi-Fi connection.
For details, refer to the user manual of the
specifi c router.
• To start the setup wizard again, select [System
settings] > [Setup wizard] (see chapter “Using the
System settings menu“).
Starting
• Press .
The radio switches to the last
selected source.
Switching to the stand-by mode.
• Press again.
After a while the radio will switch
to the stand-by mode.
Date and time will be shown
(ifpreviously set).
Note
• The system will automatically switch to the
standby mode if idle for 15 minutes.
Source menu
Press to open the source icon
menu.
1 Turn the SELECT knob to select
the source icon.
2 Press SELECT to confi rm the
selection.
EN 13
EN
LISTENING TO INTERNET RADIO
Copyright © Fast ČR, a. s. 09/2021
4 Listening to internet radio
This radio can play thousands of radio
stations and podcasts from around the
world via an internet connection.
Caution: The list of Internet stations
is fi xed in the device and cannot be
changed, edited or new stations added.
Using the menu in the Internet radio
mode
Once the Internet connection is
established, a list of found stations will be
displayed in the station list. Select one of
them for listening.
1 Press Source, then turn the
SELECT knob to select the [Internet
radio] mode.
Press the SELECT knob to confi rm.
The radio starts connecting to the
last connected network and then
tunes to the last Internet radio
station you listened to.
If the network settings were not
performed in advance, the radio will
start searching for wireless networks
automatically (see “Getting started“
> “Initial settings“ or “Using the
system setting menu“ > “Adjusting
the network settings“ section to
create a network connection).
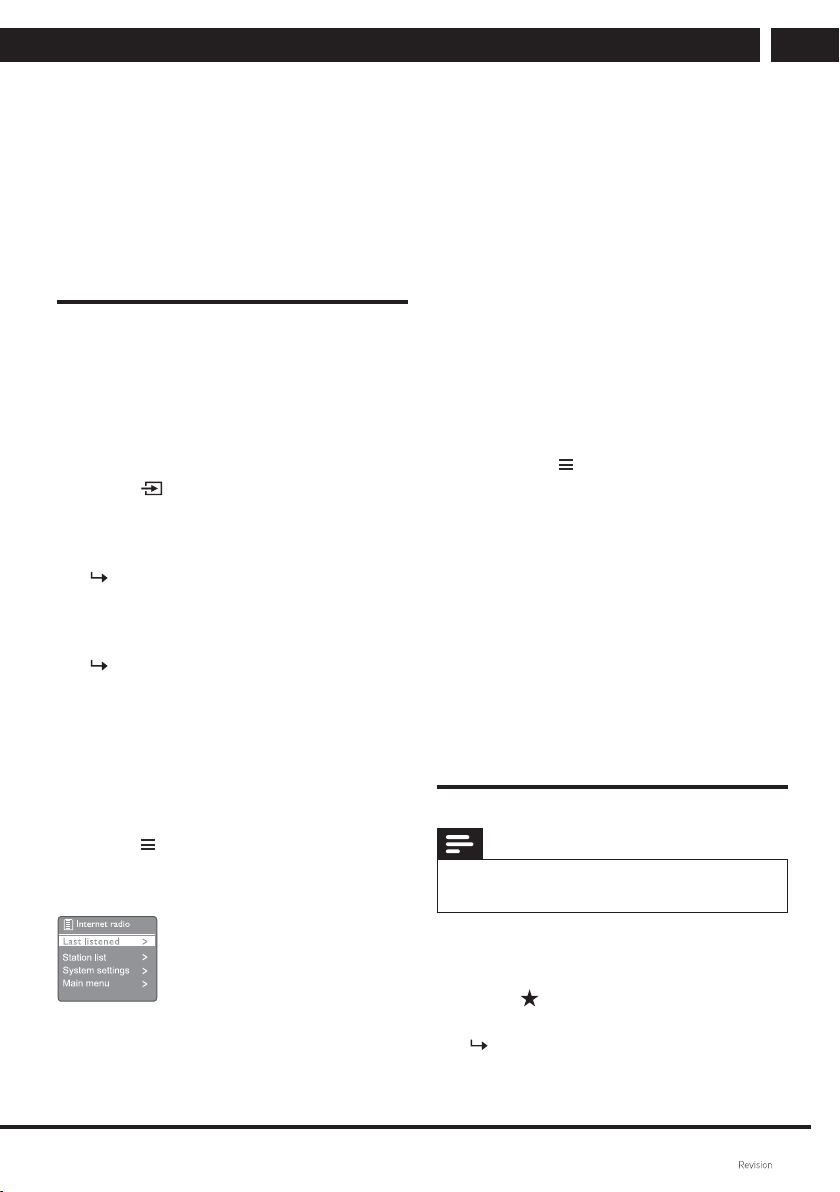
2 Press MENU to open the menu.
3 Turn the SELECT knob to browse
through the menu options:
• [Last listened]: Switching to the last
received station.
• [Station list]: tuning to any available
internet radio stations.
• [System settings]: adjustment of
system settings (the same menu
option for all operating modes). See
“Using the system settings menu“
for details).
• [Main menu]: opening the main
menu (the same menu option for all
operating modes). See “Using the
main menu“ for details).
4 To select option, press SELECT.
5 If a sub-option is available under the
option, repeat steps 3 through 4.
To return to the previous menu,
press .
[Station list]
• [Search]: searching for internet radio
stations. Turn the SELECT knob
to search for characters and enter
a keyword, then press SELECT to
continue.
• [Location:] (Location) browse the
internet radio stations by location.
• [Popular] (Favourites): tuning to the
most favourite internet stations.
• [Discover] (Find): tuning to create
an internet radio station list.
Storing internet radio stations
Note
• You can preset up to 40 stations (sharing
between Internet radio and podcasts).
1 In the Internet radio mode, tune to an
Internet radio station.
2 Press PRESET and hold down for
two seconds.
The preset station list will be
shown.
LISTENING TO PODCASTS
14 EN
EN
Copyright © Fast ČR, a. s. 09/2021
3 Turn the SELECT knob to select a
preset number.
4 Press SELECT to confi rm the
selection.
A [Preset stored] message will be
shown.
The station will be stored to the
selected position.
Select a preset Internet radio station
In the internet radio mode:
1 Press PRESET.
2 Turn the SELECT knob to select a
preset number.
3 Press SELECT to confi rm the
selection.
Displaying internet radio information
While listening to the internet radio, hold
down MENU to browse through the
following information (if available):
Artist name and track name
Station description
Genre and station location
Codec and sampling frequency
Playback buffer
Date
Note
• If you do not press any button within
15seconds, the menu will close.
The station list and submenus may change from
time to time and may also vary by location.
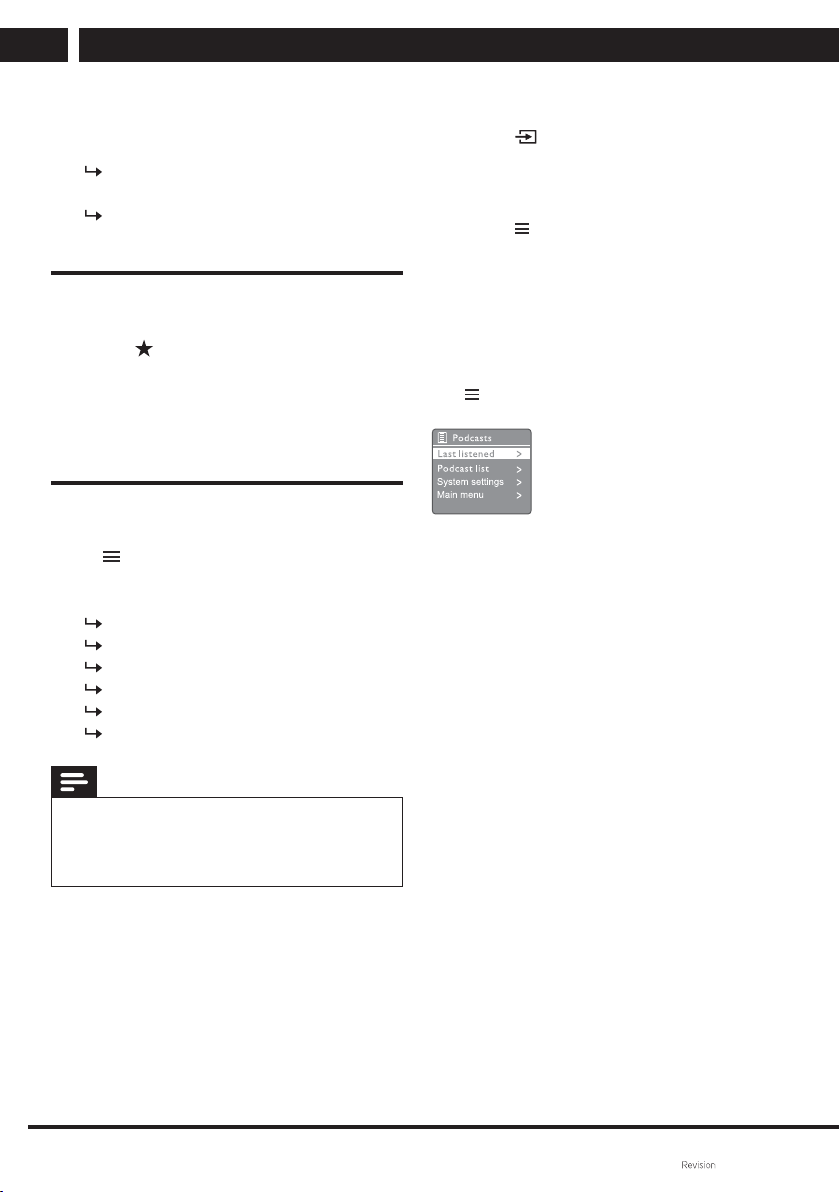
5 Listening to podcasts
1
Press Source, then turn the
SELECT knob to select the [Podcasts]
mode.
Press SELECT to confi rm.
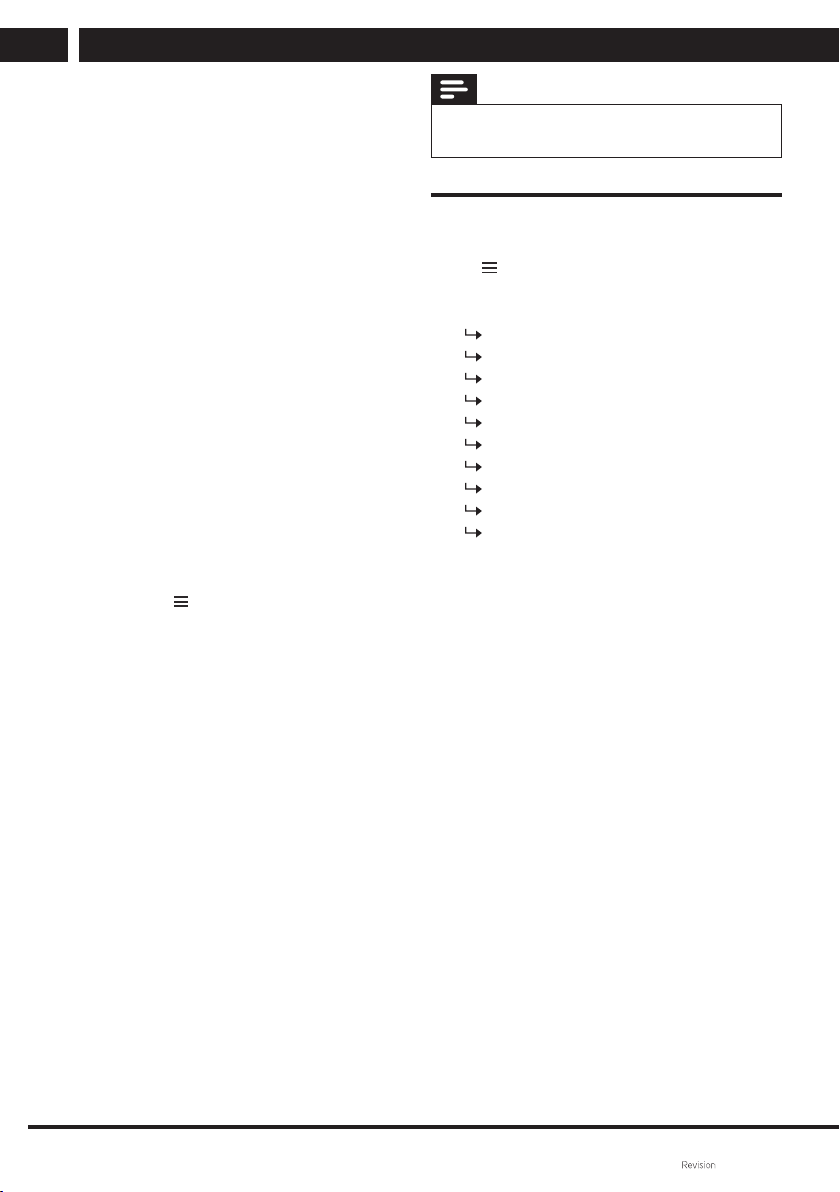
2 Press MENU to open the menu.
3 Turn the SELECT knob to browse
through the menu options:
4 To select option, press SELECT.
5 If a sub-option is available under the
option, repeat steps 3 through 4.
To return to the previous menu, press
.
EN 15
EN
LISTENING TO DAB RADIO
Copyright © Fast ČR, a. s. 09/2021
6 Listening to DAB radio
DAB radio station presets
The fi rst time you select the DAB radio
mode or if the station list is empty, the
radio will automatically start a full scan.
• Press Source, then turn the
SELECT knob to select the [DAB]
mode.
Press SELECT to confi rm.
A [Scanning] message will be
shown.
The radio scans and
automatically stores all available
DAB radio stations, and then
displays the tuned stations.
The station list is stored in the
radio. The next time the radio is
switched on, the stations are no
longer scanned.
To tune a station from the list of available
stations:
• In the DAB mode, turn theSELECT
knob to browse through the
available DAB stations.
Tip
• Stations may change from time to time. To
update the station list, select [Scan] to start full
scan.
Storing DAB radio station presets
Note
• You can preset up to 40 radio stations.
1 In the DAB radio mode, tune to a DAB
radio station.
2 Press PRESET and hold down for
two seconds.
The preset station list will be
shown.
3 Turn the SELECT knob to select the
preset number.
4 Press SELECT to confi rm.
A [Preset stored] message will be
shown.
The station will be stored to the
selected position.
Selecting a preset DAB radio station
In DAB mode, you have two options for
selecting a preset radio station.
Option A:
1 Press PRESET.
2 Turn the TUNE+/- knob to number.
3 Press the button to confi rm.
Option B:
• Press / to jump to previous/
next preset startion.
Using the menu in the DAB radio mode
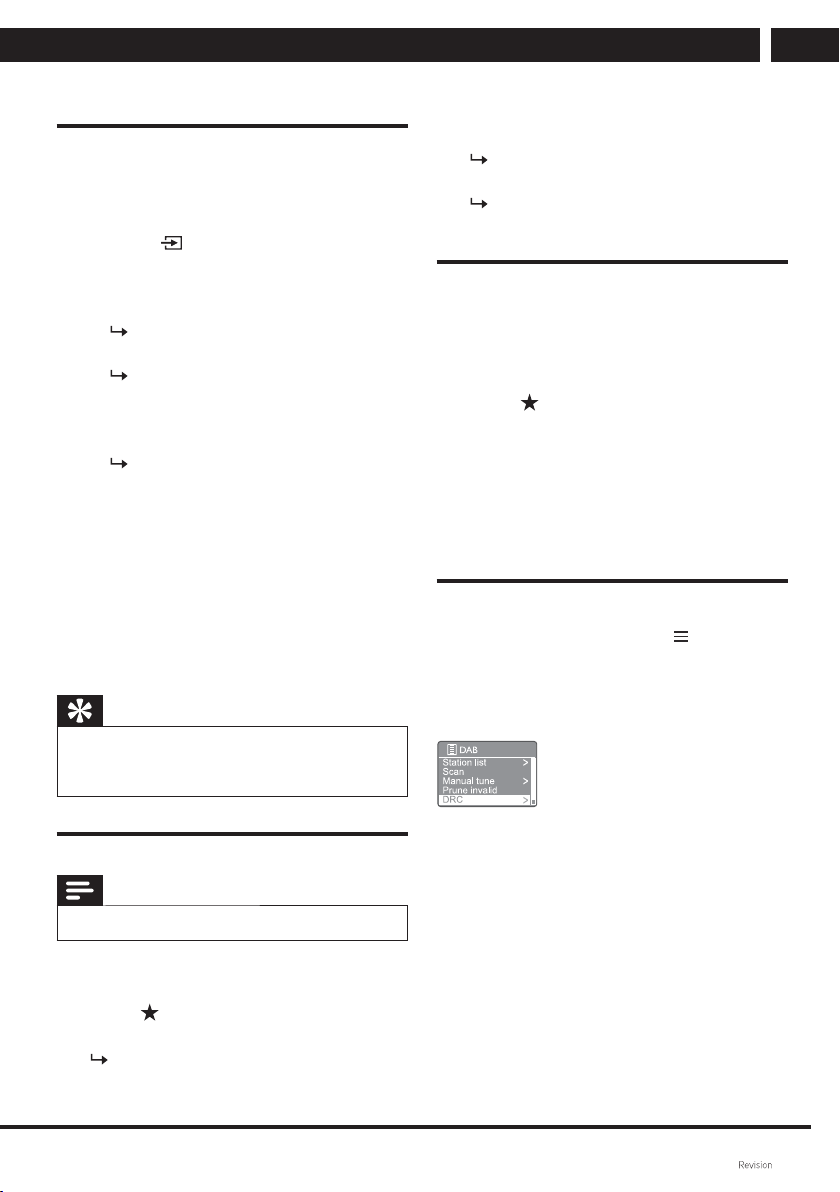
1 In the DAB mode, press MENU to
open the DAB menu.
2 Turn the SELECT knob to browse
through the menu options:
• [Station list]: tuning to any available
internet radio stations. If no station
is found, the radio starts searching
for DAB stations and adds them to
the station list.
• [Scan]: scan and save all available
DAB radio stations.
• [Manual tune]: manually tune to a
specifi c channel/frequency and add
it to the station list.
LISTENING TO DAB RADIO
16 EN
EN
Copyright © Fast ČR, a. s. 09/2021
• [Prune invalid] (Delete invalid):
remove all invalid stations from the
station list.
• [DRC] (Dynamic range
compression): compression of the
radio signal dynamic range in order
to increase the volume of the quiet
sound and decrease the volume of
the loud sound.
• [Station order]: allows you to
specify how stations are arranged
when browsing through the station
list.
• [System settings]: adjusting the
system settings (see “Using the
system settings menu“ chapter for
details).
• [Main menu]: opening the main
menu (see chapter “Using the main
menu”).
3 To select an option, press SELECT.
4 If a sub-option is available under the
option, repeat steps 2 through 3.
• To return to the previous menu,
press .
[Prune invalid] (Delete invalid)
• [YES]: remove all invalid stations
from the station list.
• [No]: return to the previous menu.
[DRC] (Dynamic range compression)
• [DRC high] (High compression):
switch DRC to a high level
(recommended default option for
noisy environments).
• [DRC low] (Low compression):
switch DRC to a low level.
• [DRC off] (Compression off): DRC
off.
[Station order]
• [Alphanumeric]: arrange stations in
alphabetical order (default setting).
• [Ensemble] (Multiplex): display
groups of stations broadcast
together in the same multiplex
(i.e.BBC or local South Wales).
Note
• If you do not press any button within
15seconds, the menu will close.
Displaying DAB information
While listening to the DAB radio, hold
down
to browse through the following
information (if available):
Station name
Scrolling text (DLS)
Signal strength
Program type (PTY)
Multiplex name
Frequency
Signal error rate
Data stream and sound status
Codec
Time and date
EN 17
EN
LISTENING TO FM RADIO
Copyright © Fast ČR, a. s. 09/2021
7 Listening to FM radio
FM radio station presets
1 Press Source, then turn the
SELECT knob to select the [FM radio]
mode.
Press SELECT to confi rm.
2 Press / and hold down for two
seconds.
The radio automatically tunes to
an FM radio station with strong
reception.
3 Repeat step 2 to tune in further radio
stations.
To manually tune in a station:
• In the FM tuner mode, turn the
SELECT knob to select a frequency.
Storing FM radio stations
Note
• You can store up to 40 radio FM stations.
1 In the FM radio mode, tune to an FM
radio station.
2 Press PRESET and hold down for
two seconds.
The preset station list will be
shown.
3 Turn the SELECT knob to select the
preset number.
4 Press SELECT to confi rm.
A [Preset stored] message will be
shown.
The station will be stored to the
selected position.
Storing FM radio stations
automatically
In the FM mode, hold down the SELECT
knob.
The unit stores all available FM radio
stations and tunes in the fi rst station.
Tip
• To delete a previously saved station, save a new
station in its place.
Selecting a preset FM radio station
In FM mode, you have two options for
selecting a preset radio station.
Option A:
1 Press PRESET.
2 Turn the SELECT knob to select a
preset number.
3 Press SELECT to confi rm.
Option B:
Press / to jump to previous/
next preset startion.
Using the menu in the FM radio mode
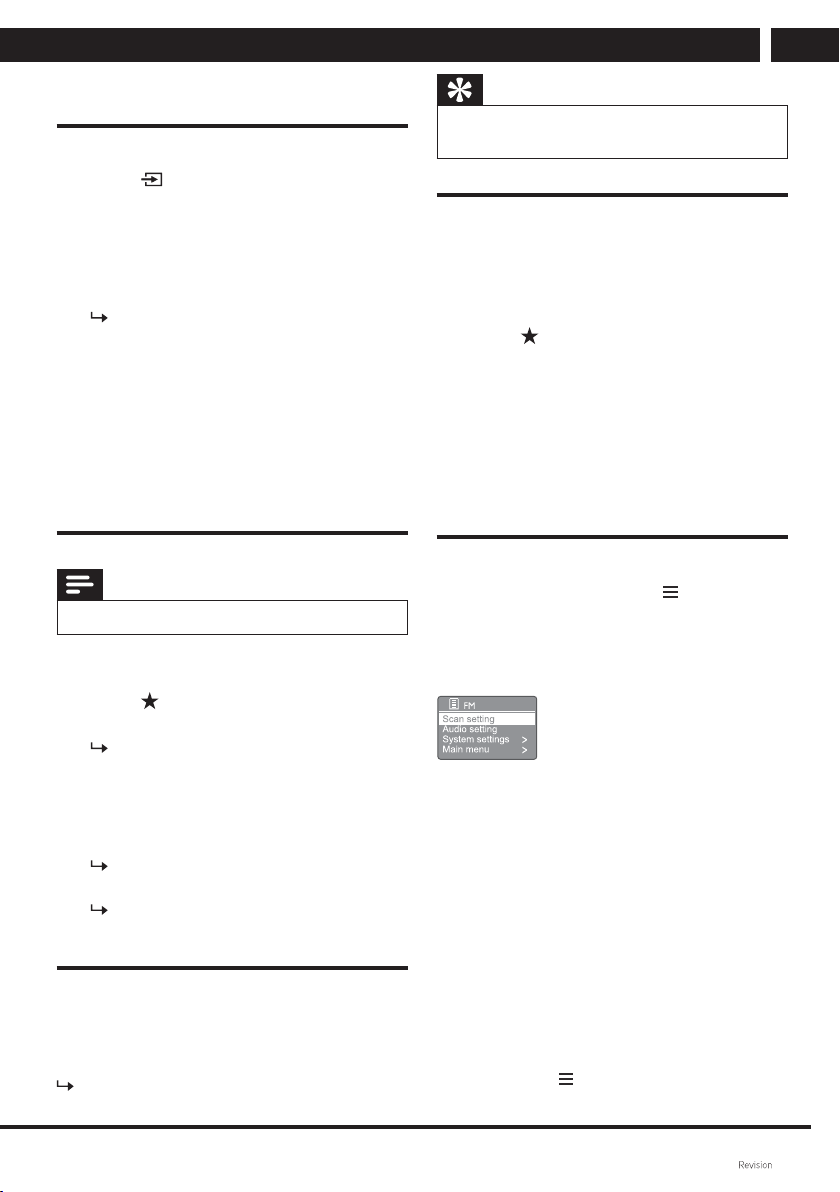
1 In the FM mode, press MENU to
open the FM menu.
2 Turn the SELECT knob to browse
through the menu options:
• [Scan setting]
• [Audio setting]
• [System settings]: adjusting the
system settings (see “Using the
system settings menu“ chapter for
details).
• [Main menu]: opening the main
menu (see chapter “Using the main
menu”).
3 To select an option, press SELECT.
4 If a sub-option is available under the
option, repeat steps 2 through 3.
• To return to the previous menu,
press .
USING THE SYSTEM SETTINGS MENU
18 EN
EN
Copyright © Fast ČR, a. s. 09/2021
[Scan setting]
• [Strong stations only?] (Strong
stations only?) – [YES]: search only
for FM radio stations with a strong
signal.
• [Strong stations only?] (Strong
stations only?) – [NO]:search for all
available FM radio stations.
[Audio setting]
• [Listen in Mono only?] (Listen
in Mono only?) – [YES]: select
monaural broadcast reception.
• [Listen in Mono only?] (Listen
in Mono only?) – [NO]: stereo
broadcast selection.
Note
• If you do not press any button within
15seconds, the menu will close.
Displaying RDS information
RDS (Radio Data System) is a service
that allows FM stations to display
supplementary information.
If you are listening to an FM station with
an RDS signal, the RDS icon and the
station name will be displayed.
1 Tune in an RDS station.
2 Press repeatedly and hold down
to browse through the following
information (if available):
Station name
Radiotext messages
Programme type
Frequency
Date
8 Using the system settings
menu
1
In the operating mode, press to
open the menu.
2 Keep turning the SELECT knob to
select [System settings].
3 Press SELECT to confi rm.
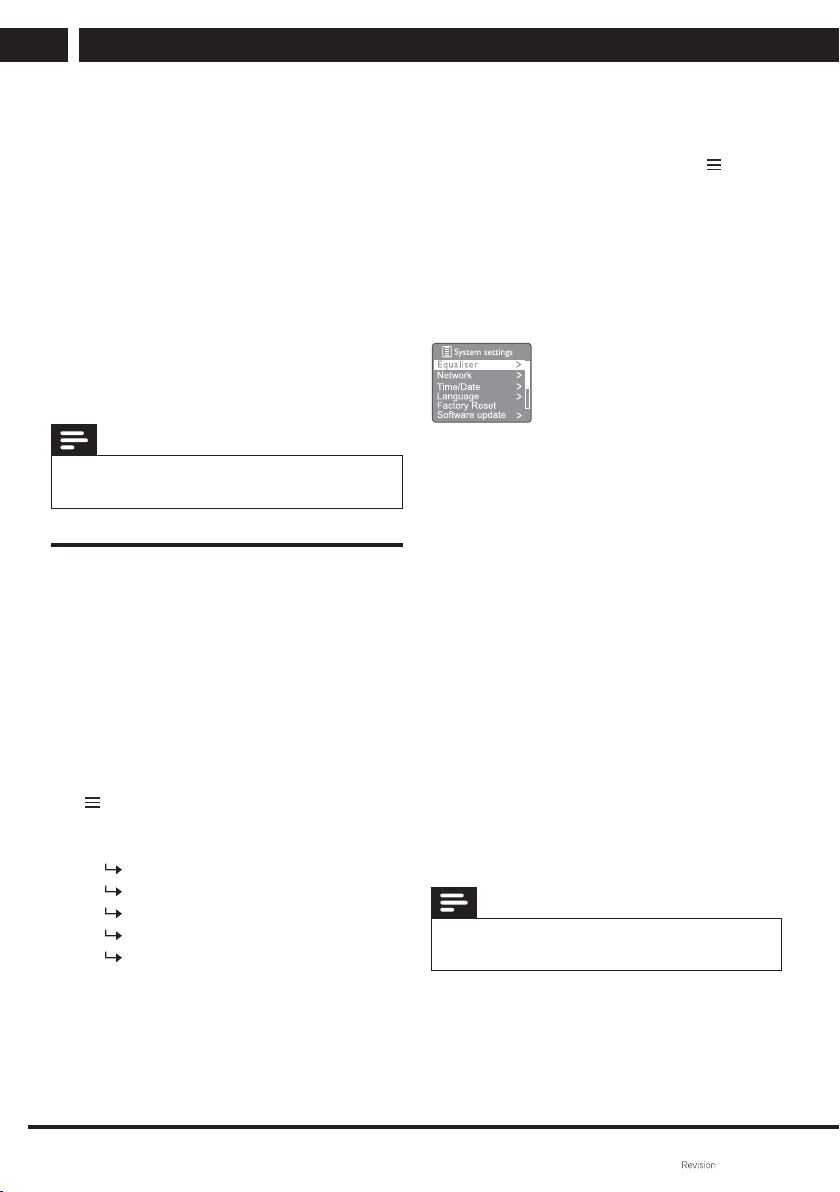
4 Repeat steps 2 to 3 to select an
option.
• [Equaliser]: select the equalizer
mode.
• [Network]: allows you to create a
network connection.
• [Time/Date]: setting time and date.
• [Language]: system language
selection.
• [Factory Reset] (Reset to factory
settings): reset the radio to default
factory settings.
• [Software update]: checking the
software update information.
• [Setup wizard]: instructions for
initial settings.
• [Info]: software version display.
• [Privacy policy]: display privacy
notices.
• [Backlight]: backlight setting
adjustment.
Note
• If you do not press any button within
15seconds, the menu will close.
EN 19
EN
USING THE SYSTEM SETTINGS MENU
Copyright © Fast ČR, a. s. 09/2021
Network settings
1 Select [System settings] > [Network].
2 Turn the SELECT knob to select
an option or sub-option, then press
SELECT to confi rm. [Network wizard]:
helps to create network connection.
• [PBC Wlan setup]: select this option
if your wireless router supports the
WPS and PBC setup method.
• [View settings]: display current
network information.
• [Manual settings]:
• [DHCP enable]: automatic IP
address allocation.
• [DHCP disable]: manual IP
address allocation.
• [NetRemote PIN Setup]: setting the
NetRemote PIN code.
• [Network profi le]: display the
network list stored in the radio.
• [Clear network settings]: clear the
selected network settings.
• [Keep network connected?] (Keep
network connected?): select if the
network connection is to be kept.
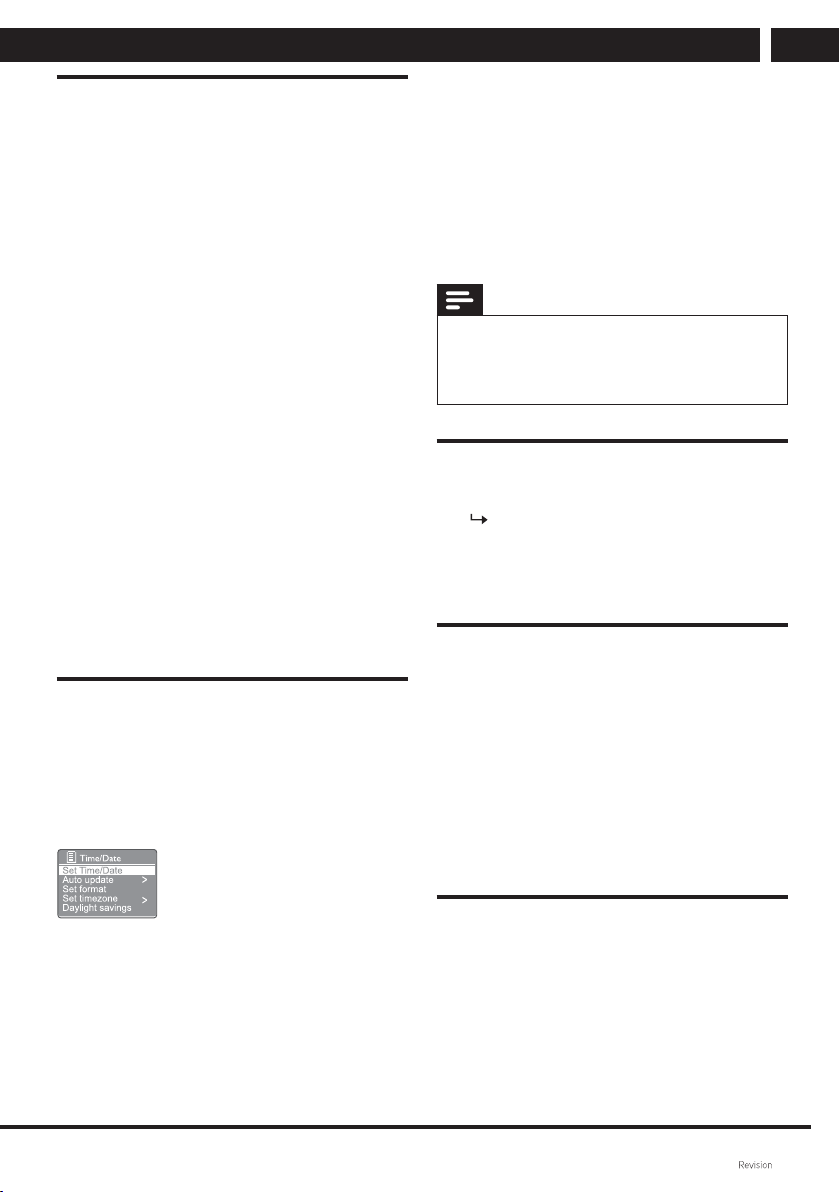
Time/date setting
1 Select [System settings] > [Time/
Date].
2 Turn the SELECT knob to select
an option or sub-option, then press
SELECT to confi rm.
• [Set Time/Date]: setting time and
date.
• [Auto update]:
• [Update fromDAB]: synchronize
time for DAB stations.
• [Update from FM]: synchronize
time for FM stations.
• [Update from Network]: time
synchronization for internet radio
stations.
• [No update]: disable time
synchronization.
• [Set format]: set 12/24 hour format.
• [Set timezone]: time zone settings.
• [Daylight savings]: enable or disable
daylight savings.
Note
• If you update the time from DAB or FM, the
daylight saving time setting has no effect.
• If you are performing network updates, set your
time zone.
System language setting
1 Select [System settings] > [Language].
A list of languages will appear.
2 Turn the SELECT knob to select
required system language, then press
the SELECT knob to confi rm.
Reset all settings
1 Select [System settings] > [Factory
Reset] (Reset to factory settings).
2 Turn the SELECT knob to select an
option, then press the SELECT knob
to confi rm.
• [Yes]: Reset radio to default
factory settings.
• [No]: Return to the previous
menu.
Checking the software update
information
1 Select [System settings] > [Software
update].
2 Turn the SELECT knob to select
an option or sub-option, then press
SELECT to confi rm.
USING THE MAIN MENU
20 EN
EN
Copyright © Fast ČR, a. s. 09/2021
• [Auto-check setting]: Select
whether to regularly check for new
software versions.
• [Check now]: Instant check for new
software versions.
Note
• If the radio detects that a new version of the
software is available, you will be asked if you
want to continue with the update. If you agree,
new software will be downloaded and installed.
• Before updating the software, make sure that
the radio is connected to a stable mains supply.
Disconnecting the power supply while the
software update is in progress could damage the
unit.
Display the software version
• Select [System settings] > [lnfo].
The current software version is
displayed.
Backlight adjustment
1 Select [System settings] > [Backlight].
2 Turn the SELECT knob to select
an option or sub-option, then press
SELECT to confi rm.
• [Timeout]: select the display
backlight off timeout.
• [On level]:select the backlight
brightness level.
• [Dim level]: select the display
brightness level from Medium,
Low and Off.
9 Using the main menu
1
In the operating mode, press to
open the main menu.
2 Keep turning the SELECT knob to
select [Main menu].
3 Press SELECT to confi rm.
4 Repeat steps 2 to 3 to select an
option.
• [Internet radio]: select the
internet radio mode.
• [Podcasts]: select the Podcasts
radio mode.
• [DAB]: select the DAB mode.
• [FM]: select the FM mode.
• [CD]: select the CD mode.
• [USB]: select the USB mode.
• [Bluetooth]: select the Bluetooth
mode.
• [AUX IN]: select the AUX IN
mode.
• [Sleep]: set the sleep timer
mode.
• [Alarms]: set the alarm timer.
• [System settings]: adjusting the
system settings (see “Using the
system settings menu“ chapter
for details).
Note
• If you do not press any button within 15
seconds, the menu will close.
• You can also press the SOURCE button for
mode selection: Internet radio, Podcasts, DAB
radio, FMradio, CD, USB, Bluetooth or AUX IN.
EN 21
EN
USING THE MAIN MENU
Copyright © Fast ČR, a. s. 09/2021
Setting the alarm
Note
• You can set two alarms to go off at different
times.
Setting the clock properly is a prerequisite for
setting the alarm correctly.
1 Select [Main menu] > [Alarms].
If the clock is not set, the system
will prompt you to do so.
2 Press the SELECT knob to continue.
The day digit will start fl ashing.
3 Turn the SELECT knob to select a
day, then press the SELECT knob to
confi rm.
The month digit will start fl ashing.
4 Repeat step 3 to set the month, year
and time (in that order).
The following options will
appear: [Alarm 1:off [00:00]] and
[Alarm2:off [00:00]].
5 Repeat step 3 to select [Alarm 1:off
[00:00]] > [Enable:][Off].
6 Repeat step 3 to enable or disable the
alarm timer.
• [Off]: disable the alarm clock
timer.
• [Daily]: the alarm clock will go off
every day.
• [Once]: the alarm clock will go off
just once.
• [Weekends]: the alarm clock
will go off on Saturdays and
Sundays.
• [Weekdays]: the alarm clock will
go off every day from Monday to
Friday.
7 Repeat step 3 to select [time], the set
the alarm clock time.
8 Repeat step 3 to select [mode], the set
the alarm clock source.
• [Buzzer]: select sound signal as
alarm source.
• [Internet radio]: select the last
Internet radio station you listened
to as the alarm clock source.
• [DAB]: select the last DAB radio
station you listened to as the
alarm clock source.
• [FM]: select the last FM radio
station you listened to as the
alarm clock source.
• [USB]: select USB as the alarm
clock source.
• [CD]: select CD as the alarm
clock source.
9 Repeat step 3 to select [preset]
(Internet radio / DAB / FM mode only
available), then select the last station
you listened to or the preset radio
station as the alarm source.
10 Repeat step 3 to select [Volume:]
(Volume), then set the alarm clock
volume.
11 Repeat step 3 to select [Save].
Alarm 1 will be set.
12 Repeat steps 5 to 11 to set Alarm 2.
Note
• When the alarm clock is enabled, the alarm icon
for Alarm 1 or Alarm 2 is displayed.
• To stop the alarm clock, press on the unit.
• You can also open [System settings > [Time/
Date] and set time and date (see “Using the
system settings menu” > “Time/date setting”).
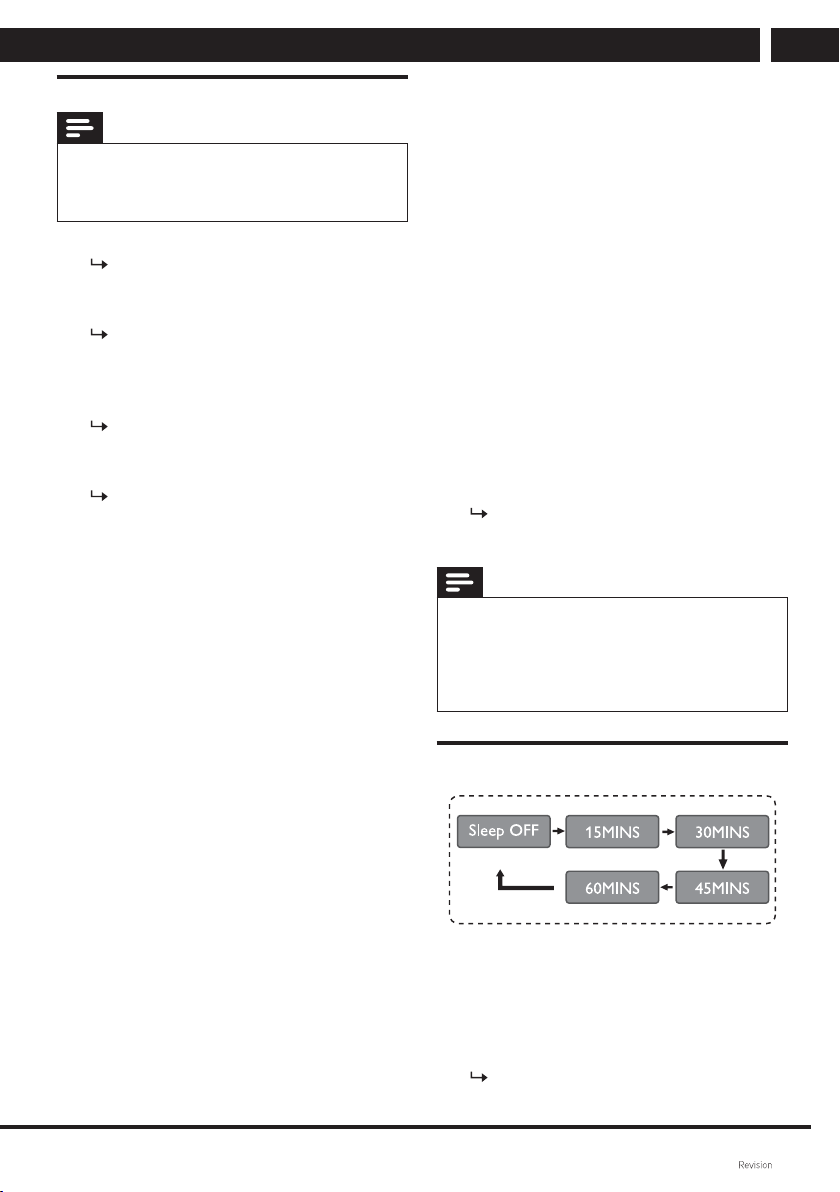
Setting the automatic shut off mode
1 Select [Main menu] > [Sleep] (Auto
shut-off).
2 Keep turning the SELECT knob to
select the sleep timer interval (in
minutes).
When [Sleep OFF] is shown, the
sleep timer is disabled.
OTHER FUNCTIONS
22 EN
EN
Copyright © Fast ČR, a. s. 09/2021
10 Other functions
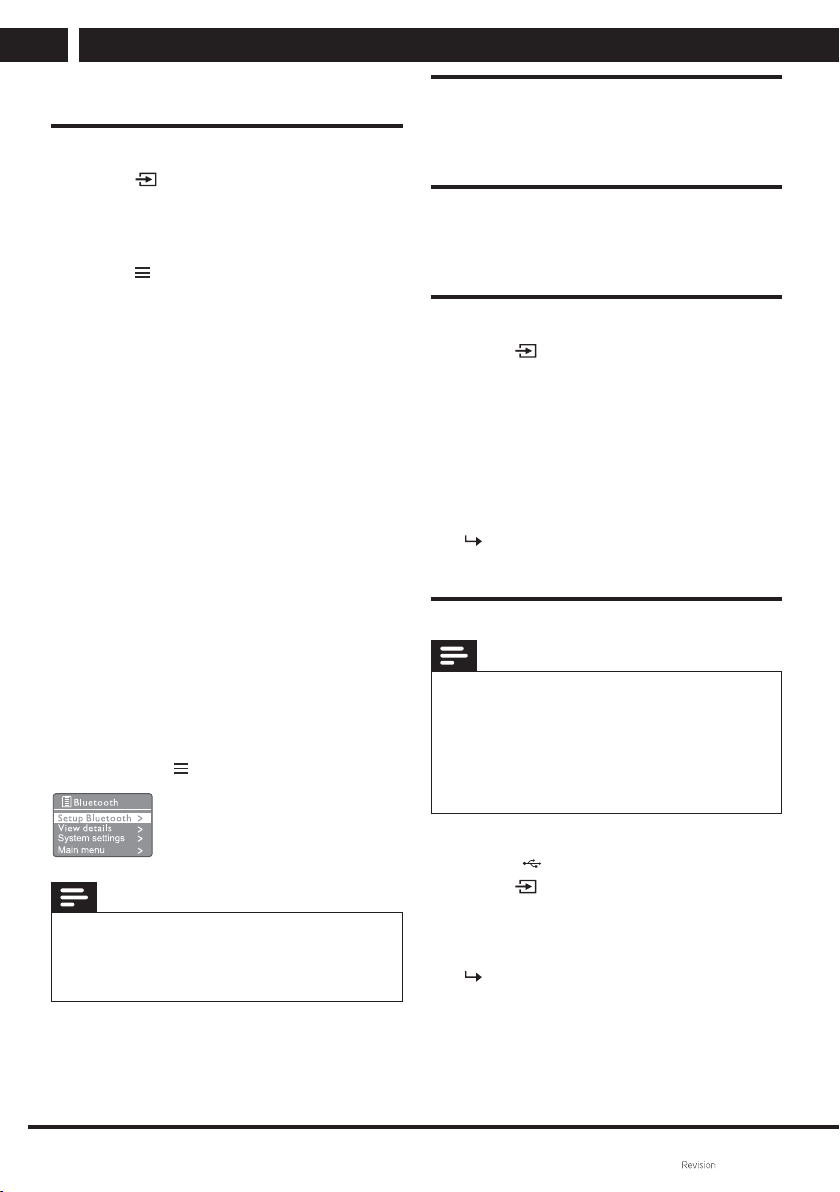
Sound playback via Bluetooth
1 Press Source, then turn the
SELECT knob to select the [Bluetooth]
mode.
Press SELECT to confi rm.
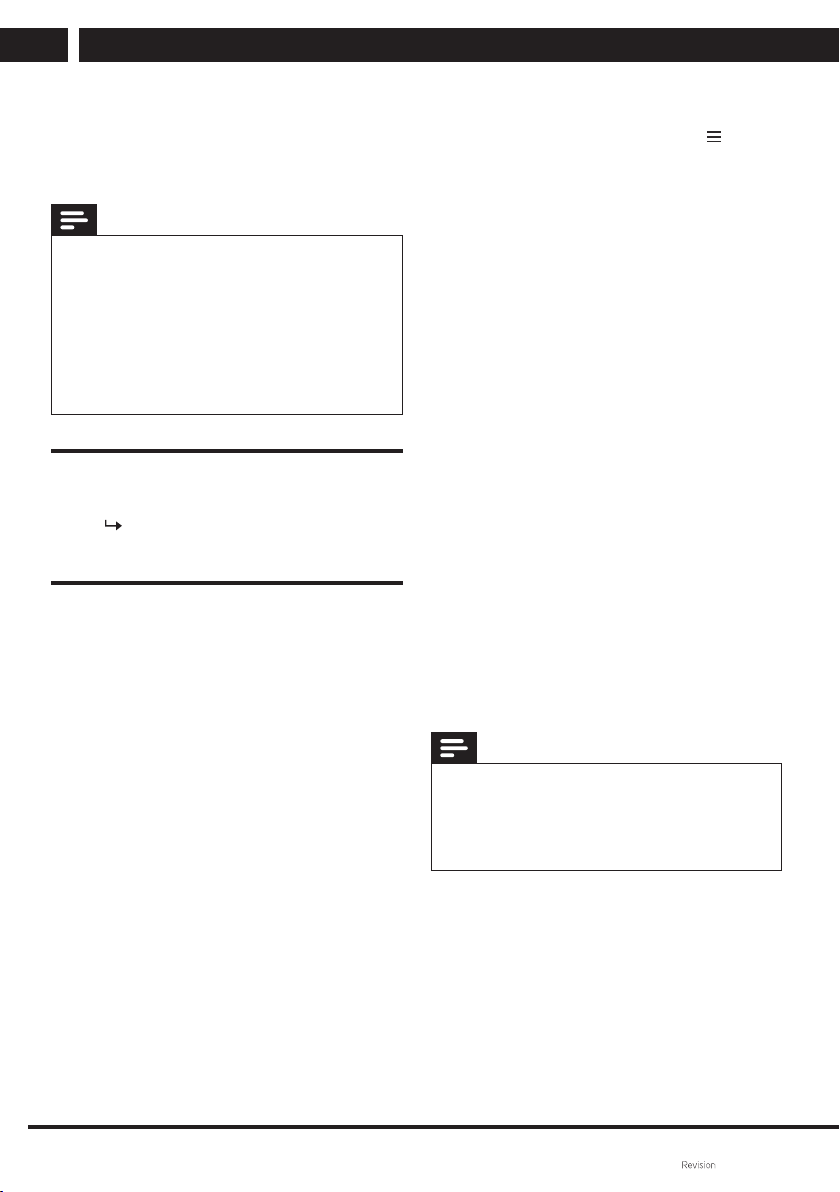
2 Press MENU to open the menu.
3 Turn the SELECT knob to browse
through the menu options:
• Select Setup Bluetooth, then press
SELECT – a message “Please
connect your device to: SMC
5700WDB“ appears and the
Bluetooth icon starts fl ashing.
• Enable Bluetooth on your Bluetooth
device and search for Bluetooth
devices that can be paired.
• Select [SMC 5700WDB] on your
device for pairing.
• When the connection is
successfully established, the screen
message will change to [Connected]
and the Bluetooth icon stops
fl ashing
4 To select an option, press SELECT.
5 If a sub-option is available under the
option, repeat steps 3 through 4.
To return to the previous menu,
press .
Note
• To ensure a stable Bluetooth connection, make
sure that the distance between the BT speaker
and your connected device is kept within
10meters.
Volume setting
• During music playback, turn
–VOL+ to adjust volume.
Mute
• During music playback, press MUTE
to mute or unmute the sound.
CD playback
1 Press Source, then turn the
SELECT knob to select the CD source.
Press SELECT to confi rm.
2 Press to open the disc tray.
3 Place a CD on the tray so that the
side with the printed label is facing
upwards.
4 Press to close the disc tray.
The playback will start
automatically. If not, press .
Playback from USB devices
Note
• Due to a number of devices on the market,
compatibility and playback support are not
guaranteed for all media. The memory devices
you want to connect should be tested in advance
and/or formatted as FAT32. The playback of
protected media, fi les or content stored inside
them may fail.
1 Connect the USB device to the USB
socket .
2 Press Source, then turn the
SELECT knob to select the USB
source.
Press SELECT to confi rm.
The playback will start
automatically. If not, press
.
EN 23
EN
OTHER FUNCTIONS
Copyright © Fast ČR, a. s. 09/2021
Charging your device
With this micro music system, you can
charge your external device, such as a
mobile phone, MP3 player or other mobile
device.
1 Use a USB cable to connect the USB
jack on this product to the USB port
on your machine.
2 Connect the device to a power supply.
The charging will start as soon as
your device is detected.
Note
• The charging function is a supplementary feature
that is no substitute of a full-fl edged charging of
portable devices by charging adapters.
Listening from external devices
With this unit, you can listen to audio
from an external device via an MP3 line
cable.
1 Connect an MP3 line cable (not
included in accessories):
• to the AUX IN (3.5mm) jack on this
unit,
• and to your external device’s
headphone jack.
2 Press Source, then turn the
SELECT knob to select the AUX IN
(External input).
Press SELECT to confi rm.
3 Start playback on your device (see the
device’s user's manual).
Warning
• Before connecting your device to the
SMC5700WDB radio, please make sure that
the output signal from your device is set to its
minimum (minimum output volume). This will
prevent the speakers from damage.

TECHNICAL SPECIFICATIONS
24 EN
EN
Copyright © Fast ČR, a. s. 09/2021
11 Technical specifi cations
Maximum power: 100W
Powerful and impressive sound
CD/MP3/CD-R/CD-RW playback
Sound:
Power output: 50W × 2 (impedance: 6Ω)
Frequency response: 84Hz - 16kHz
Total harmonic distortion: L/R ≤ 10% (1 kHz)
Equalizer modes: Powerful, Clear, Bright, Warm, Balanced
Internet radio:
Easy connection via WiFi
Searching for local stations
Favourite station list
Preset stations: 40 (Internet)
Display:
2.8“ LCD display
Brightness dimmer
Radio:
DAB+ tuner (Digital Audio Broadcasting)
FM PLL 87.5MHz – 108MHz
Radio Data System (RDS)
Preset station memory: 40 (FM)
Inputs:
Wireless audio streaming via Bluetooth 4. 2
Playback from USB fl ash drives
Aux in (3.5mm stereo jack)
Others:
Sleep timer
Accessories: Wireless remote control, batteries, antenna, user’s manual
Power source: AC 100–240V, 50/60Hz
Dimensions (main unit): 230 × 146 × 262mm
Dimensions (speakers): 173 × 263 × 238mm
Weight: 7.1kg (total)
Radio FM Band range 87.5MHz – 108MHz
DAB Band range 174.928MHz to 239.200MHz
WiFi Band 2.4GHz , 5GHz
Bluetooth Version 4.2
Maximum transmitter power output 100mW @ 2.4GHz – 2.4835GHz
Codec SBC
Profi le A2DP, AVRCP 1.6
EN 25
EN
Copyright © Fast ČR, a. s. 09/2021
INSTRUCTIONS AND INFORMATION ON DISPOSING OF USED PACKAGING
MATERIALS
Dispose of used packaging material at awaste site in your municipality.
DISPOSING OF USED ELECTRICAL AND ELECTRONIC EQUIPMENT
This symbol on products or original documents means that used electric or
electronic products must not be added to ordinary municipal waste. Take
these products to authorized collection points for proper disposal, renewal
and recycling. Or in some European Union states or other European countries
the products can be returned to the local retailer when buying an equivalent
new product. Disposing of this product correctly helps save valuable natural
resources and prevents damage to the environment by improper waste
disposal. Ask your local authorities or collection facility for more details.
In accordance with national regulations penalties may be imposed for the
incorrect disposal of this type of waste.
For business entities in European Union states
If you want to dispose of electric or electronic devices, ask your retailer or supplier for
the necessary information.
Disposal in other countries outside the European Union
This symbol is valid in the European Union. If you wish to dispose of this product,
request the necessary information about the correct disposal method from the local
council or from your retailer.
FAST ČR, a.s. hereby declares that the radio device type
SMC 5700WDB conforms to the 2014/53/EU directive.
The text, design and technical specifi cations may be changed without prior notice and
we reserve the right to make these changes.
The original version is in Czech.
Address of the manufacturer: FAST ČR, a.s., USanitasu 1621, Říčany CZ-251 01

EN
Warranty conditions
Warranty card is not apart of the device packaging.
This product is warranted for the period of 24 months from the date of purchase to the end-user. Warranty is limited
to the following conditions. Warranty is referred only to the customer goods using for common domestic use. The
claim for service can be applied either at dealer’sshop where the product was bought, or at below mentioned
authorized service shops. The end-user is obligated to set up aclaim immediately when the defects appeared but
only till the end of warranty period. The end user is obligated to cooperate to certify the claiming defects. Only
completed and clean (according to hygienic standards) product will be accepted. In case of eligible warranty claim
the warranty period will be prolonged by the period from the date of claim application till the date of taking over
the product by end-user, or the date the end-user is obligated to take it over. To obtain the service under this
warranty, end-user is obligated to certify his claim with duly completed following documents: receipt, certificate of
warranty, certificate of installation.
This warranty is void especially if apply as follows:
Defects which were put on sale.
Wear-out or damage caused by common use.
The product was damaged by unprofessional or wrong installation, used in contrary to the applicable instruction
manual, used in contrary to legal enactment and common process of use or used for another purpose which
has been designed for.
The product was damaged by uncared-for or insufficient maintenance.
The product was damaged by dirt, accident of force majeure (natural disaster, fire, and flood).
Defects on functionality caused by low duality of signal, electromagnetic field interference etc.
The product was mechanically damaged (e.g. broken button, fall).
Damage caused by use of unsuitable media, fillings, expendable supplies (batteries) or by unsuitable working
conditions (e.g. high temperatures, high humidity, quakes).
Repair, modification or other failure action to the product by unauthorized person.
End-user did not prove enough his right to claim (time and place of purchase).
Data on presented documents differs from data on products.
Cases when the claiming product cannot be indentified according to the presented documents (e.g. the serial
number or the warranty seal has been damaged).
Authorized service centers
Visit www.sencor. for detailed information about authorized service centers. com