Loading ...
Loading ...
Loading ...
17
Right-Hand Side of Refrigerator Ceiling
1. Locate the accessory packet in the refrigerator and remove
the water filter.
2. Take the water filter out of its packaging and remove the cover
from the O-rings. Be sure the O-rings are still in place after the
cover is removed.
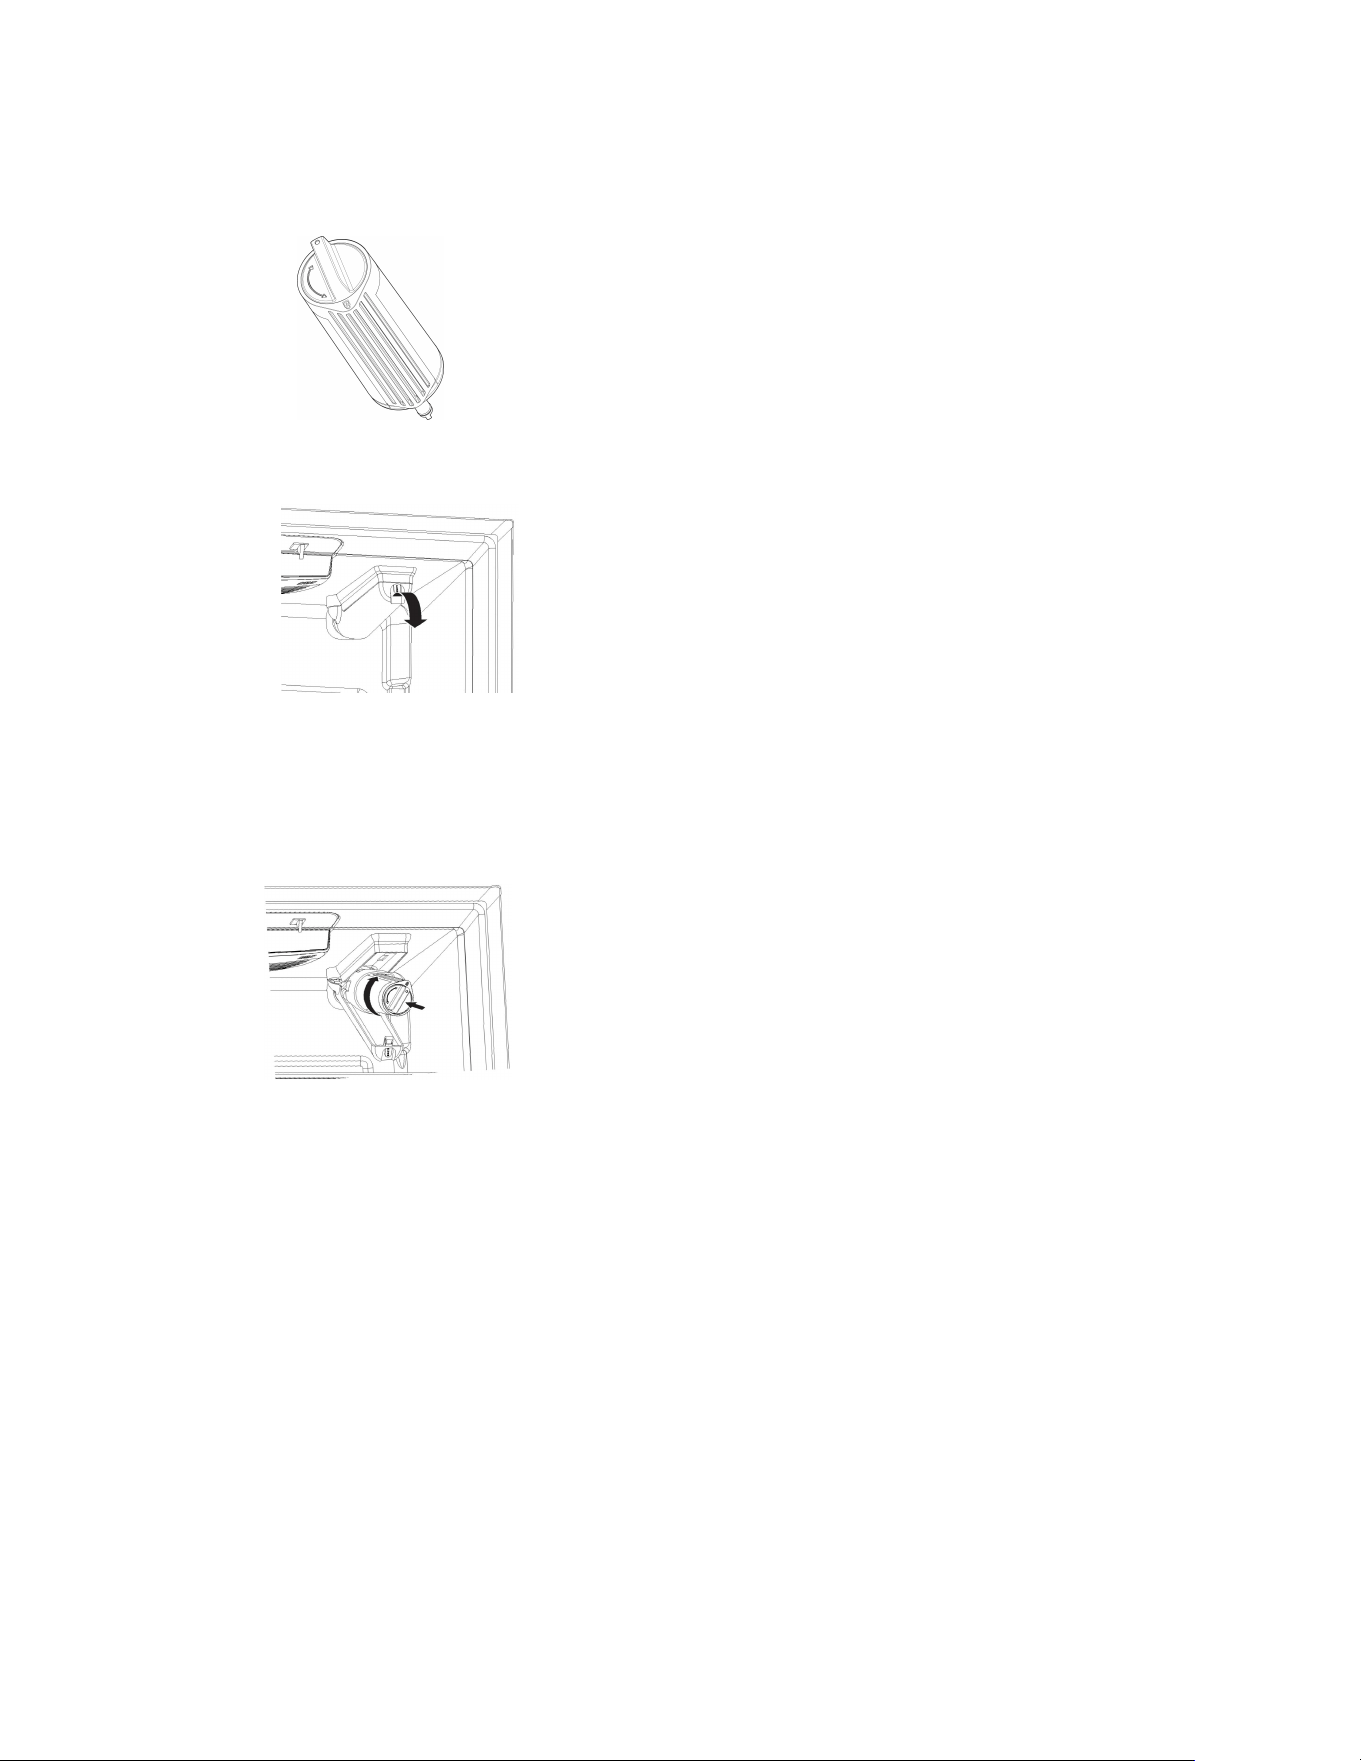
3. The water filter compartment is located in the right-hand side
of the refrigerator ceiling. Push latch on the filter door to
release the catch, then lower the door.
4. Align the arrow on the water filter label with the cutout notch in
the filter housing and insert the filter into the housing.
5. Turn the filter knob clockwise 180 degrees (1/2 turn), until it
locks into the housing.
NOTE: If the filter is not correctly locked into the housing, the
water dispenser will not operate. Water will not flow from the
dispenser.
6. While the compartment door is still open, lift the filter up into
the compartment. Then, close the filter compartment door
completely.
7. Flush the water system. See “Water and Ice Dispensers” for
details.
IMPORTANT: If you do not flush the water system, you may
experience dripping and/or decreased flow from the water
dispenser.
Replacing the Water Filter
To purchase a replacement water filter, use model number Filter
A, contact your dealer, or call 1-800-442-9991 in the U.S.A. or
1-800-807-6777 in Canada.
Replacement filter part number and filter model names can be
found on Performance Data Sheet page.
IMPORTANT: Air trapped in the water system may cause water
and filter to eject. Always dispense water for at least 2 minutes
before removing the filter or blue bypass cap.
1. If applicable, press upward on the water filter cover to access
the filter.
2. Turn filter counterclockwise, and pull straight out to remove.
NOTE: There may be some water in the filter. Some spilling
may occur. Use a towel to wipe up any spills.
3. Remove sealing label from replacement filter and insert the
filter end into the filter head.
4. Turn the filter clockwise until it stops. Snap the filter cover
closed.
5. Flush the water system. See “Water and Ice Dispensers” for
details.
NOTE: The dispenser feature may be used without a water filter
installed. Your water will not be filtered. If this option is chosen,
replace the filter with the blue bypass cap.
Reset Water Filter Status
After replacing the water filter, press and hold Reset Filter or Filter
Reset (depending on your model) for 3 seconds. The Order and
Replace indicator lights will blink and then go off when the system
is reset. On some models the indicator light will change to blue
when the system is reset. See the “Quick Start Guide” for more
information.
On models with Options and Measured Fill buttons located
on the control panel:
After changing the water filter, reset the status light. Press the
Options button to enter Options mode, then press Lock to initiate
the reset, then press Measured Fill to confirm that you want to
reset the status light. When the system is reset, the “Order” and
“Replace” icons will disappear from the display screen.
On models with Water Filter button located on the control
panel:
After changing the water filter, reset the status. Press and hold the
Water Filter button for 3 seconds. When the system is reset, the
water filter icon will return to Blue and the words “Replace Filter”
will disappear from the display.
DOOR AND HANDLE
INSTRUCTIONS
Door and Drawers
Depending on the width of your doorway, you may need to remove
the doors to move the refrigerator into your home. Also, the door
hinges are factory installed on the right-hand side. If you want the
door to open from the other direction, you must reverse the door
swing.
IMPORTANT:
� If the refrigerator was previously installed and you are moving
it out of the home, before you begin, turn the refrigerator
control Off, and unplug the refrigerator or disconnect power.
Remove food and any adjustable door or utility bins from
doors.
� Keep the refrigerator doors closed until you are ready to lift
them free from the cabinet. Provide additional support for the
refrigerator door while the hinges are being removed. Do not
depend on the door gasket magnets to hold the door in place
while you are working.
Tools Needed 5/16", 3/8", and 1/4" hex head socket wrenches,
Torx
®
† T25 screwdriver, #2 Phillips screwdriver, and a flat-blade
screwdriver.
†Torx and T20 are trademarks of Acument Intellectual Properties, LLC
Loading ...
Loading ...
Loading ...