Loading ...
Loading ...
Loading ...
Preparingtoinstallyourdryer.
Read these iustrections completely aud carefully.
WARNING
• This dixer nmst be exhausted to tile outdoors.
l Jse only rigid metal or flexible metal 4"
diameter ductwork for (xhausting to tile
outside, kse only rigid metal 4" diameter
duclwork inside the drver cabinet.
• "File National Fuel Gas code restricts installations
of gas appliances ill garages. They lll[ist be 18"
(45.7 cm) oil the ground and protected ti-om
vehicl(s bv a barriel; S(e Location of Your Dryer
S( CtiOll.
• Never use plastic or other combustible ductwork.
See Exhausting section.
• This apl_lianc( lllllSl l)( properly grounded
and inslalled as descril)ed in these Installation
Instructions.
• I)o not install or store appliance in an area
"_,]leFe it will be (xposed io wateF//weatheF.
See Location of Your Dryer section.
• The electrical service to the (hver must contk)rln
with lo(al cod(s and ordinances and the latest
edition of th( National Electrical Cod(,
ANSI/NFPA 70.
• The gas service to the (h2,er must conform with
local codes and ordinances or the latest edition
of tll( National Fuel (;ms Code ANSI Z223.1.
The gas dr}er is designed under ANSI Z 21.5.1
tor home use only. This dr}er is not
reconnnend(d t_:,r commercial ai)i)lications
erich as l-(stat/lalltS Of beatll} salollS, etc.
ToolsandMaterialsRequiredforDryerInstallation
F1 Phillips head s(rcwdriver
F1 A(!iustabl( pliers
F1 Carp( nter's level
FI Flat or straight blad( screwdriv( r
F] I)uct tape
F1 Rigid ill" flexibk rectal 4" (10.2 cm) (lu(t
F1 Vent hood
FI Pil)e thread seal( r (GAS DRYER)
8
PreparingtheInstallationSiteandUnpackingtheDryer
[_ Pr(l)ar( the ar(a alld (xhallst for installation
of tilt n(wdry{r.
[_ Check to be sure thai the exisling (xlernal
exhaust is clean an(I that it meets allach(d
installation sI)ecilicati,..ms.
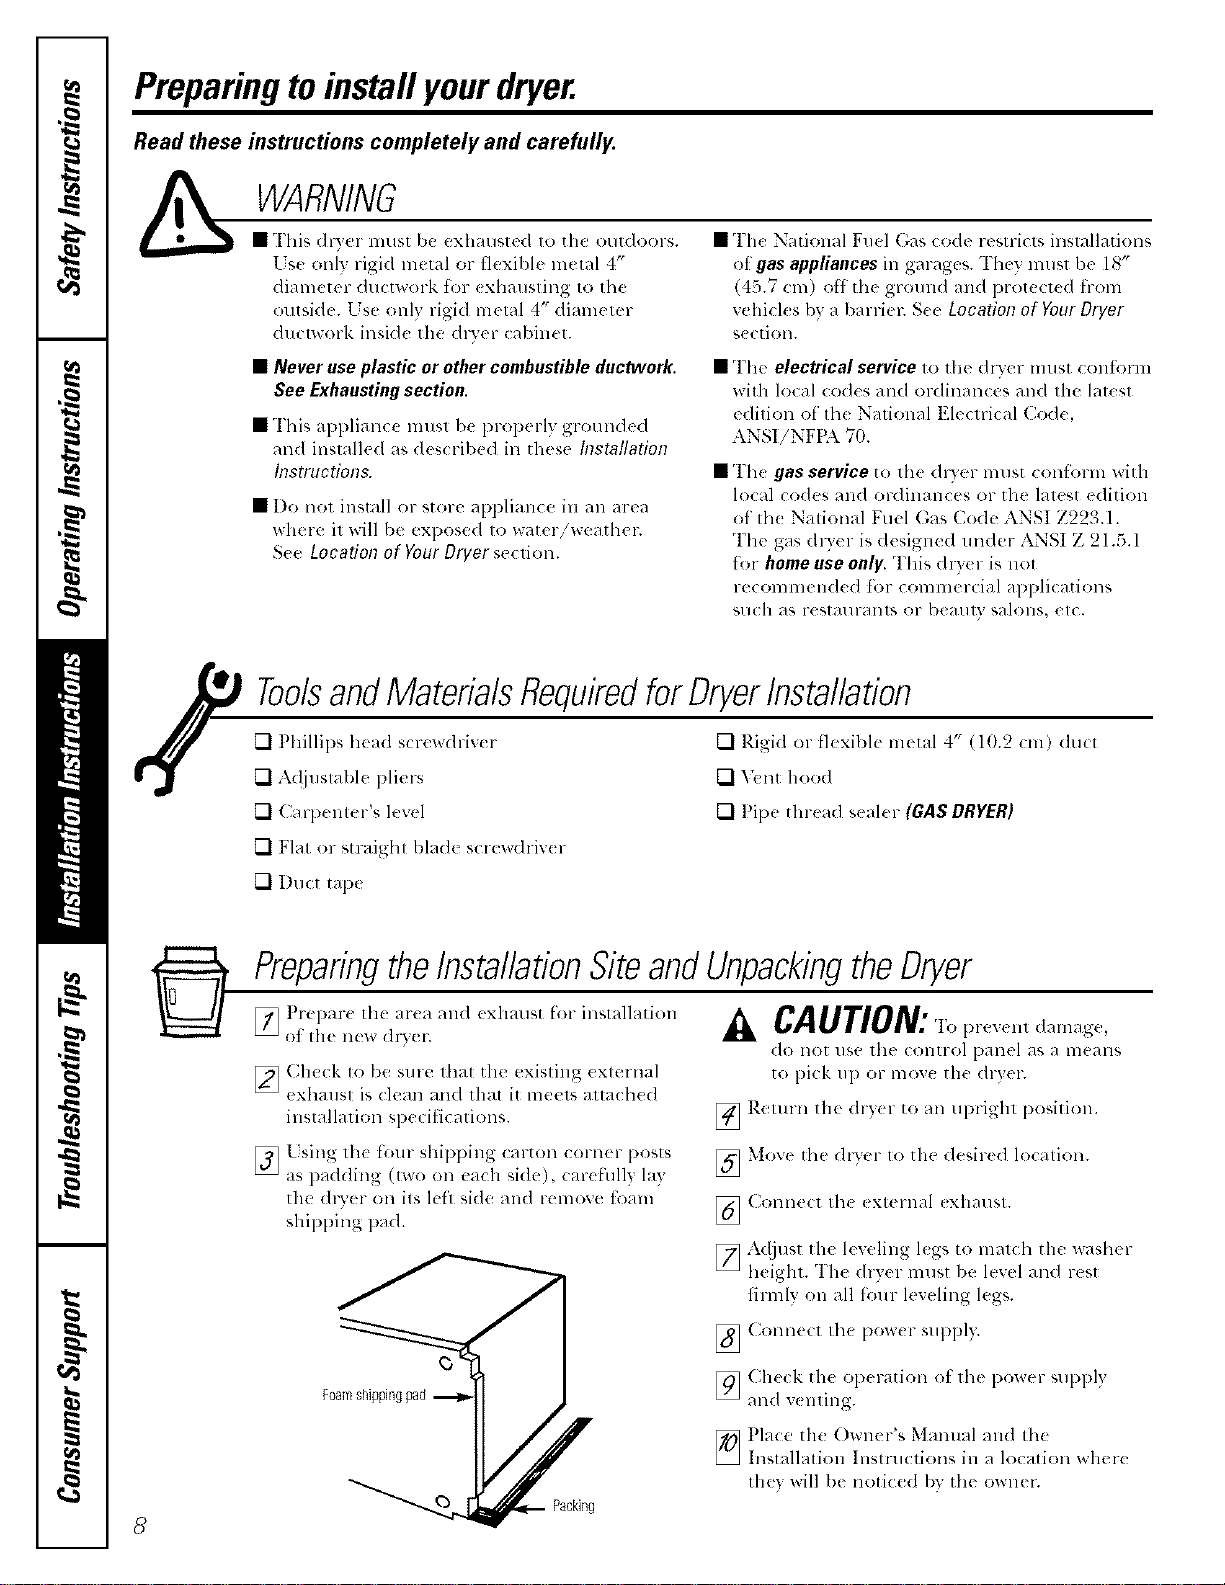
[_ / sing Ill(' /'Dill- shipping carton (orn(r posts
as l)adding (two on each hide), car_full} lay
the dryer (:mils left side and remove foam
shil)l)ing pad.
CAUTlO_2 "Ib prevent damag e,
do not use tile control panel as a means
to pick up or moxe the drx er.
[_ Return tile drx(r to an uDright position.
[_ Move the dlwer 1o the desired location.
[_ Connect th( (xternal (xhaust.
[] A({just the leveling l(gs to lnalch the washer
h(ighl. The dryer must 1)e level and rest
firmly on all fi-mr leveling legs.
[_ Conn(cl th( po',v( r suppl}.
Foamshippingpad
[_ Ch(ck the operation (;t the power supl)ly
and v( ming.
_ Pla(e the (/_Vll( l"S Manual _llld th(
Installation Instructions ill a Io( ation where
they will 1)1 noticed I)v the olgll(!l-.
Packing
Loading ...
Loading ...
Loading ...