Loading ...
Loading ...
Loading ...
21WiFi Setup and Connections
Pro 4 Spotlight Camera
User Manual
Connect your iOS (Apple) device to a 2.4 GHz network
1. Unlock your device and tap Settings.
2. Tap Wi-Fi, near the top of the list of Settings options.
3. Turn on WiFi by tapping the switch next to Wi-Fi at the top.
Note: WiFi is activated when the switch is green.
4. Select a 2.4 GHz WiFi network.
This is commonly indicated by a 2, 2.4, or 2G at the end of the network name.
5. If prompted, enter the password for the network.
When you’re connected to the WiFi network, a blue check mark appears to the le of the
network name.
Connect your Android device to a 2.4 GHz network
1. Unlock your device and tap Settings.
2. Tap Network & internet > Wi-Fi.
3. Turn on WiFi by tapping Use WiFi at the top.
4. Select a 2.4 GHz WiFi network.
This is commonly indicated by a 2, 2.4, or 2G at the end of the network name.
5. If prompted, enter the password for the network.
When you’re connected to the WiFi network, the word Connected appears under the
network name.
Connect an optional Arlo SmartHub
Your camera can connect to a SmartHub or Base Station with Siren. The SmartHub or base
station uses an Ethernet cable to connect to your router.
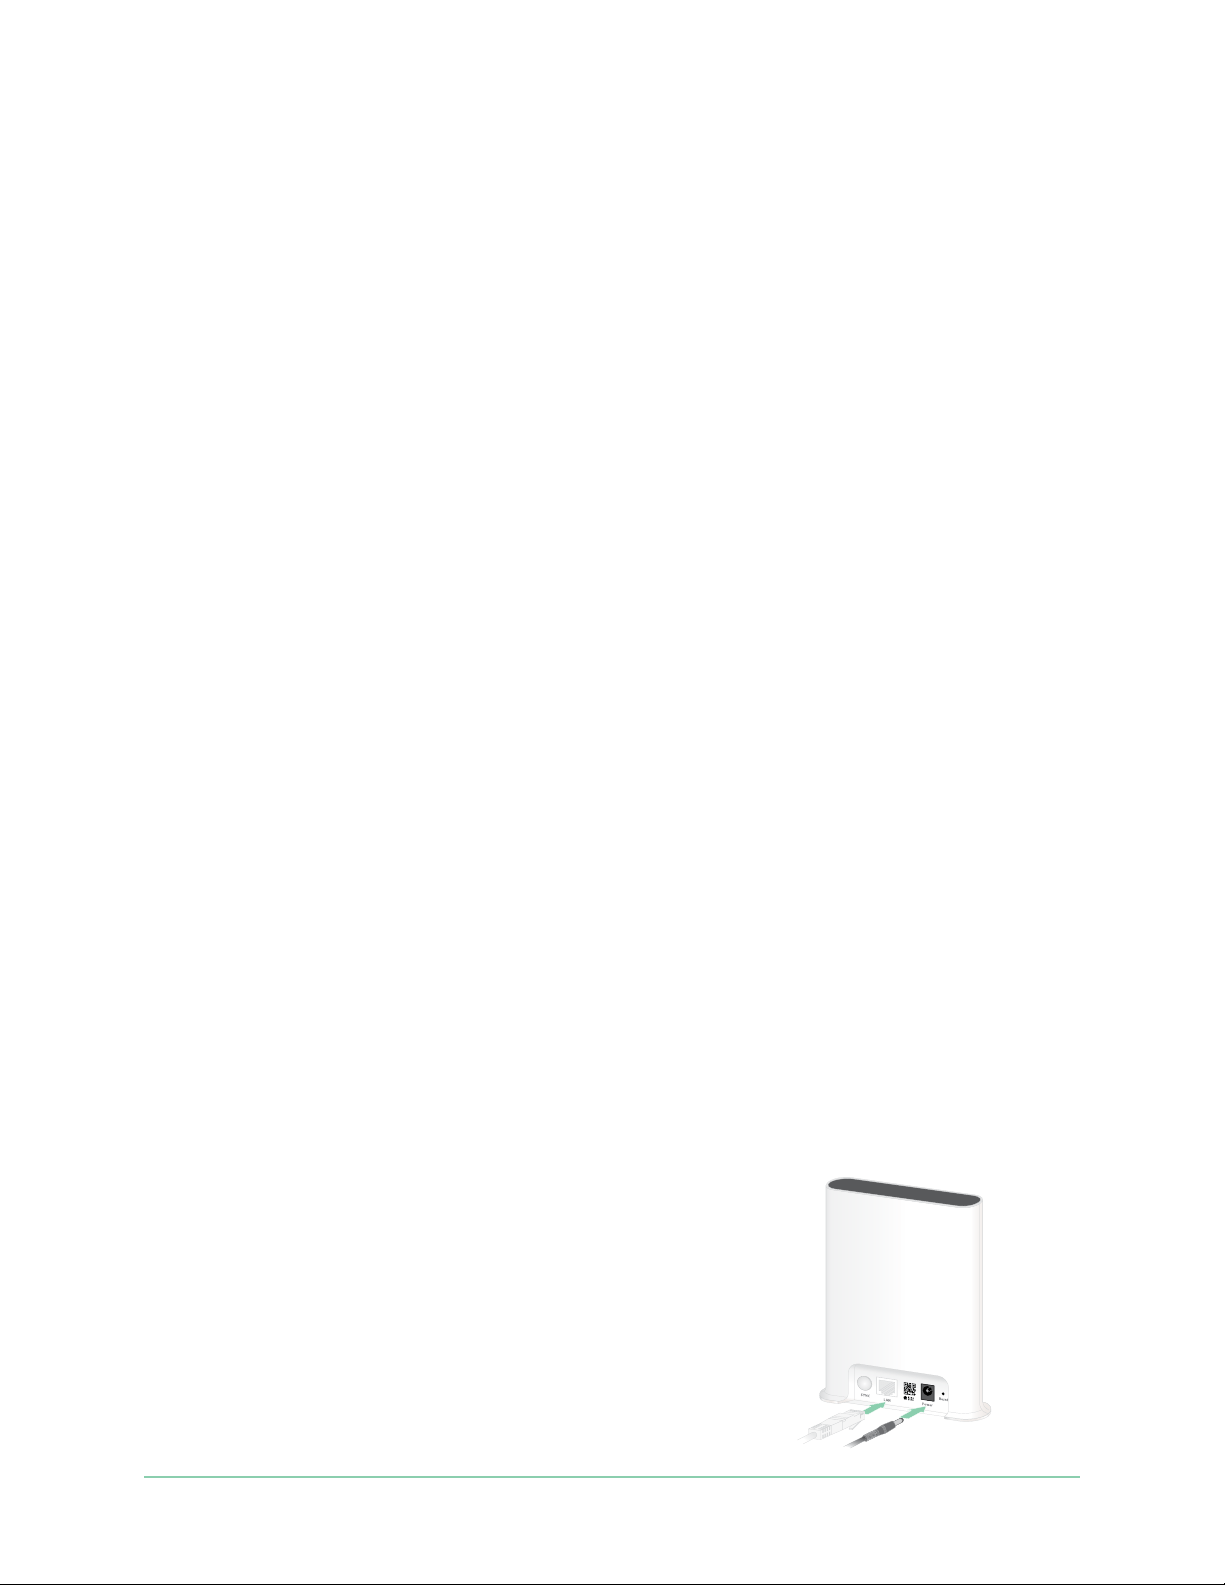
Connect a SmartHub
The Arlo app guides you through the steps to install and set up
your Arlo SmartHub.
1. Connect the SmartHub to your router with an Ethernet cable.
2. Connect the AC adapter to the SmartHub and plug it in.
The LED on the front of the SmartHub lights.
SmartHub
VMB5000
Loading ...
Loading ...
Loading ...