Loading ...
Loading ...
Loading ...
6
Replace batteries when any of the following occur:
•
The shows on display
•
The display dims
•
The display does not light up
CAUTION
• Use two identical 1.5V alkaline batteries. (AAA/LR03).
• Do not use rechargeable batteries.
• Replace both of the batteries if the symbol of low battery appears on the display.
• Never leave any low battery in the battery compartment because they may leak and cause damage to
the unit.
Oscillometric Measuring method
This product uses the Oscillometric Measuring method to detect blood pressure. Before every
measurement, the unit establishes a “zero pressure” equivalent to the air pressure. Then it starts
g
the
wrist cuff, meanwhile, the unit detects pressure s generated by
beat
‐to‐beat
e, which
is used to determine the systolic and diastolic pressure, and also pulse rate.
The device also compares the longest and the shortest e intervals of detected pulse waves to
mean e interval, and then calculates standard . The device displays a warning signal with
the reading to indicate the detection of irregular heartbeat when the difference of th e intervals is
over 25%.
HOW TO SET UP YOUR BLOOD PRESSURE MONITOR
It is important to set the clock before using your blood pressure monitor, so that a e stamp
can be assigned to each record that is stored in the memory. (year:
2009
‐2030)
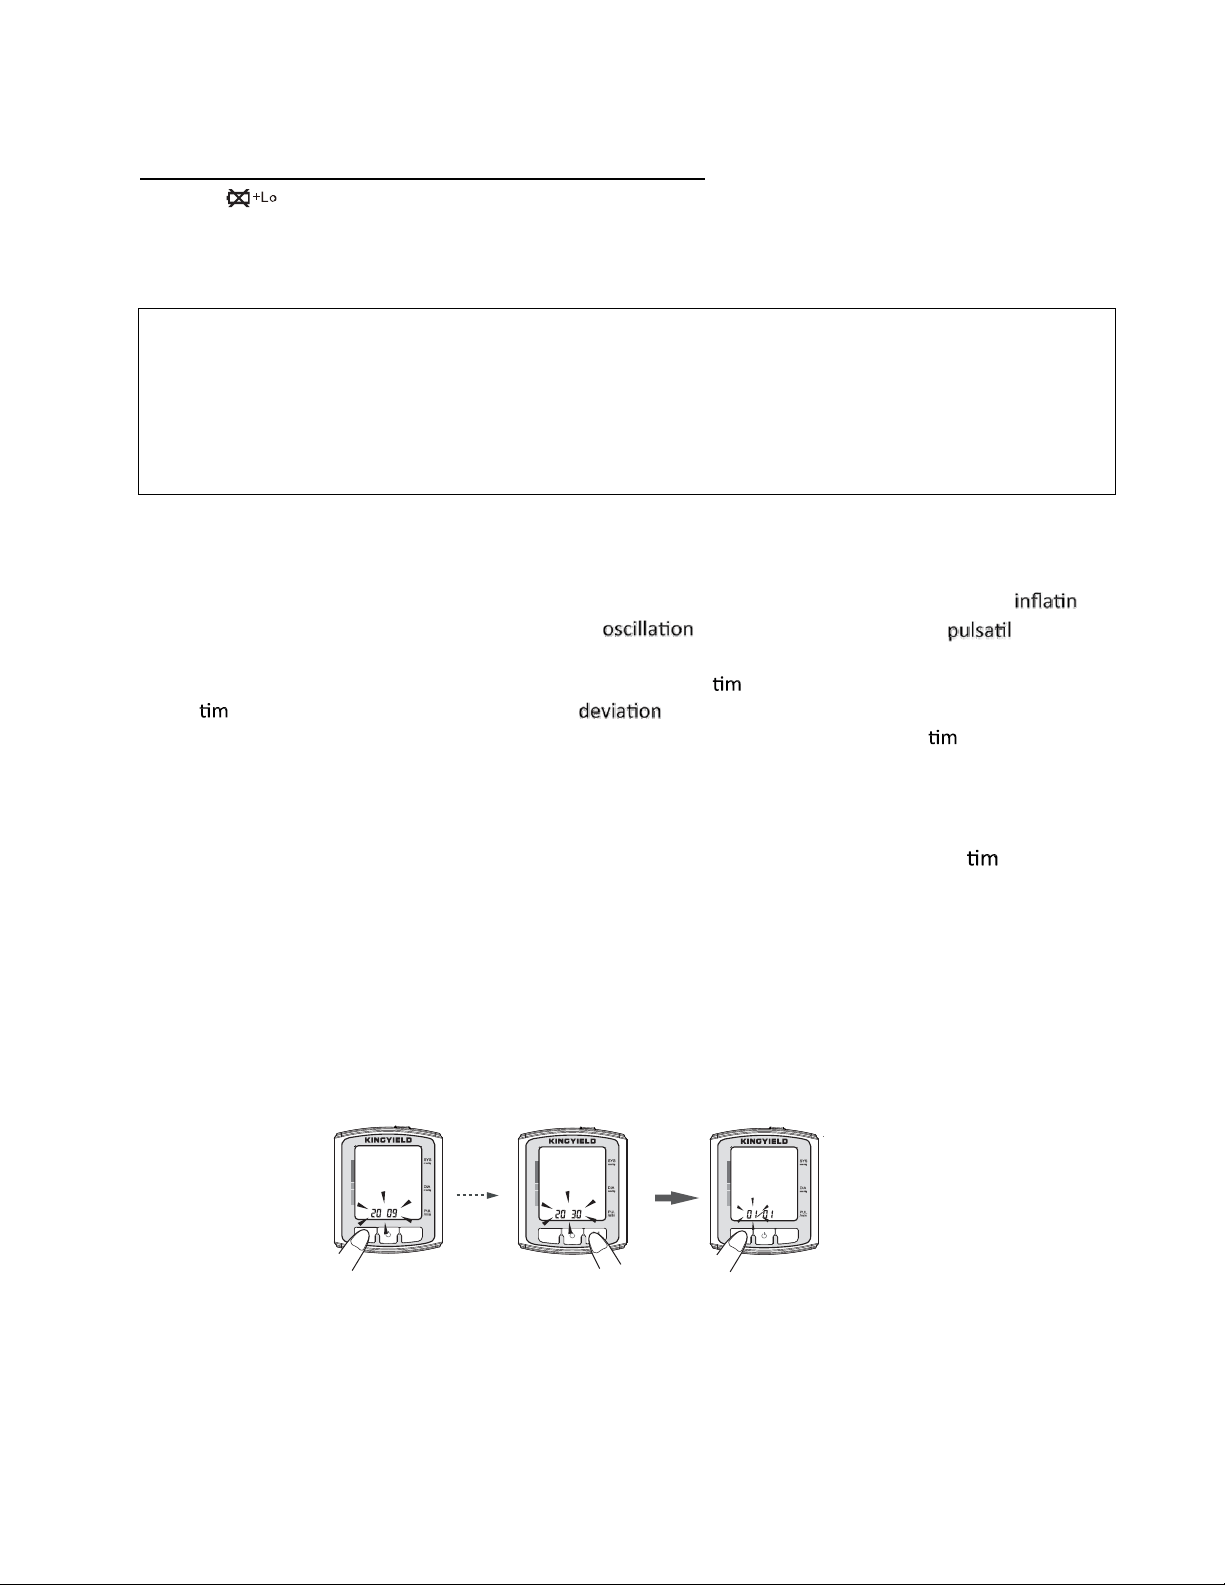
SETTING THE DATE AND TIME
1. After the batteries are installed, all the information will appear on the display. After two
seconds, the year will flash on the display.
2. Press the “MEM” button to change the years. Once you have reach the desired year, press the
“SET” button t o save it at that year.
The year can be set between 2009 – 2030 and it will return to 2009 when you have reached the
2030.
3. After the year has been set, the month and day will appear on the screen with the month
flashing. Press the “MEM” button to change the month setting. Once you have reached the
desired month, press the “SET” button. When the month has been set, the day will be flashing,
take the same steps to set the day setting.
MEM
BP213
SET
BP213
MEM
BP213
Loading ...
Loading ...
Loading ...