1
42438 REV G 6.8.2017
Table of Contents: Page:
Installation Instructions for Square and Linear Glass Guards....……………………………........................ 2
Installations Instructions for Round Glass Guards (4 Panels)………………………………………..………….... 3
Installations Instructions for Round Glass Guards (5 Panels) …….……………………………..…..…………… 4
Installation Instructions for L-Shaped Glass Guards…………………..……………………………….…..…………. 5
Care and Usage Tips and Limited Warranty Information ………..…………………..……………..……………… 6
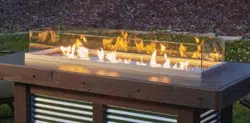
Glass Guard
Assembly instructions for Glass Guard-2424, Glass Guard-20, Glass Guard-1224, Glass Guard-1242, Glass Guard-12-R,
Glass Guard-20-R, Glass Guard-30-R, Glass Guard-1242-L, Glass Guard-WV and Glass Guard-1616
Included in this Kit (Note: Included items differ for each kit. See below for your specific model)
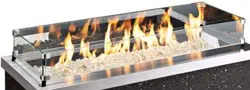
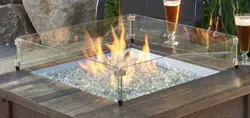
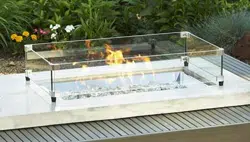
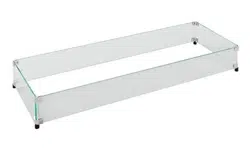
Square and Linear Glass Guards:
- Glass Guard-2424, Glass Guard-1616, Glass Guard-20:
- 4 Glass panels of equal length
- 8 Corner brackets; 4 top, 4 bottom
- Glass Guard-1224, Glass Guard-WV, and Glass Guard-1242:
- 2 Long, 2 short panels.
- 8 Corner brackets; 4 top, 4 bottom
Round Glass Guards:
- Glass Guard-12-R, Glass Guard-20-R:
- 4 round panels of equal length
- 8 rounded brackets; 4 top and 4 bottom
- Glass Guard-30-R:
- 5 round panels of equal length
- 10 rounded brackets; 5 top and 5 bottom
L-shaped Glass Guards:
- Glass Guard-1242-L:
- 2 Long panels, 2 medium panels, 2 short panels
- 12 Corner brackets; 6 top, 6 bottom
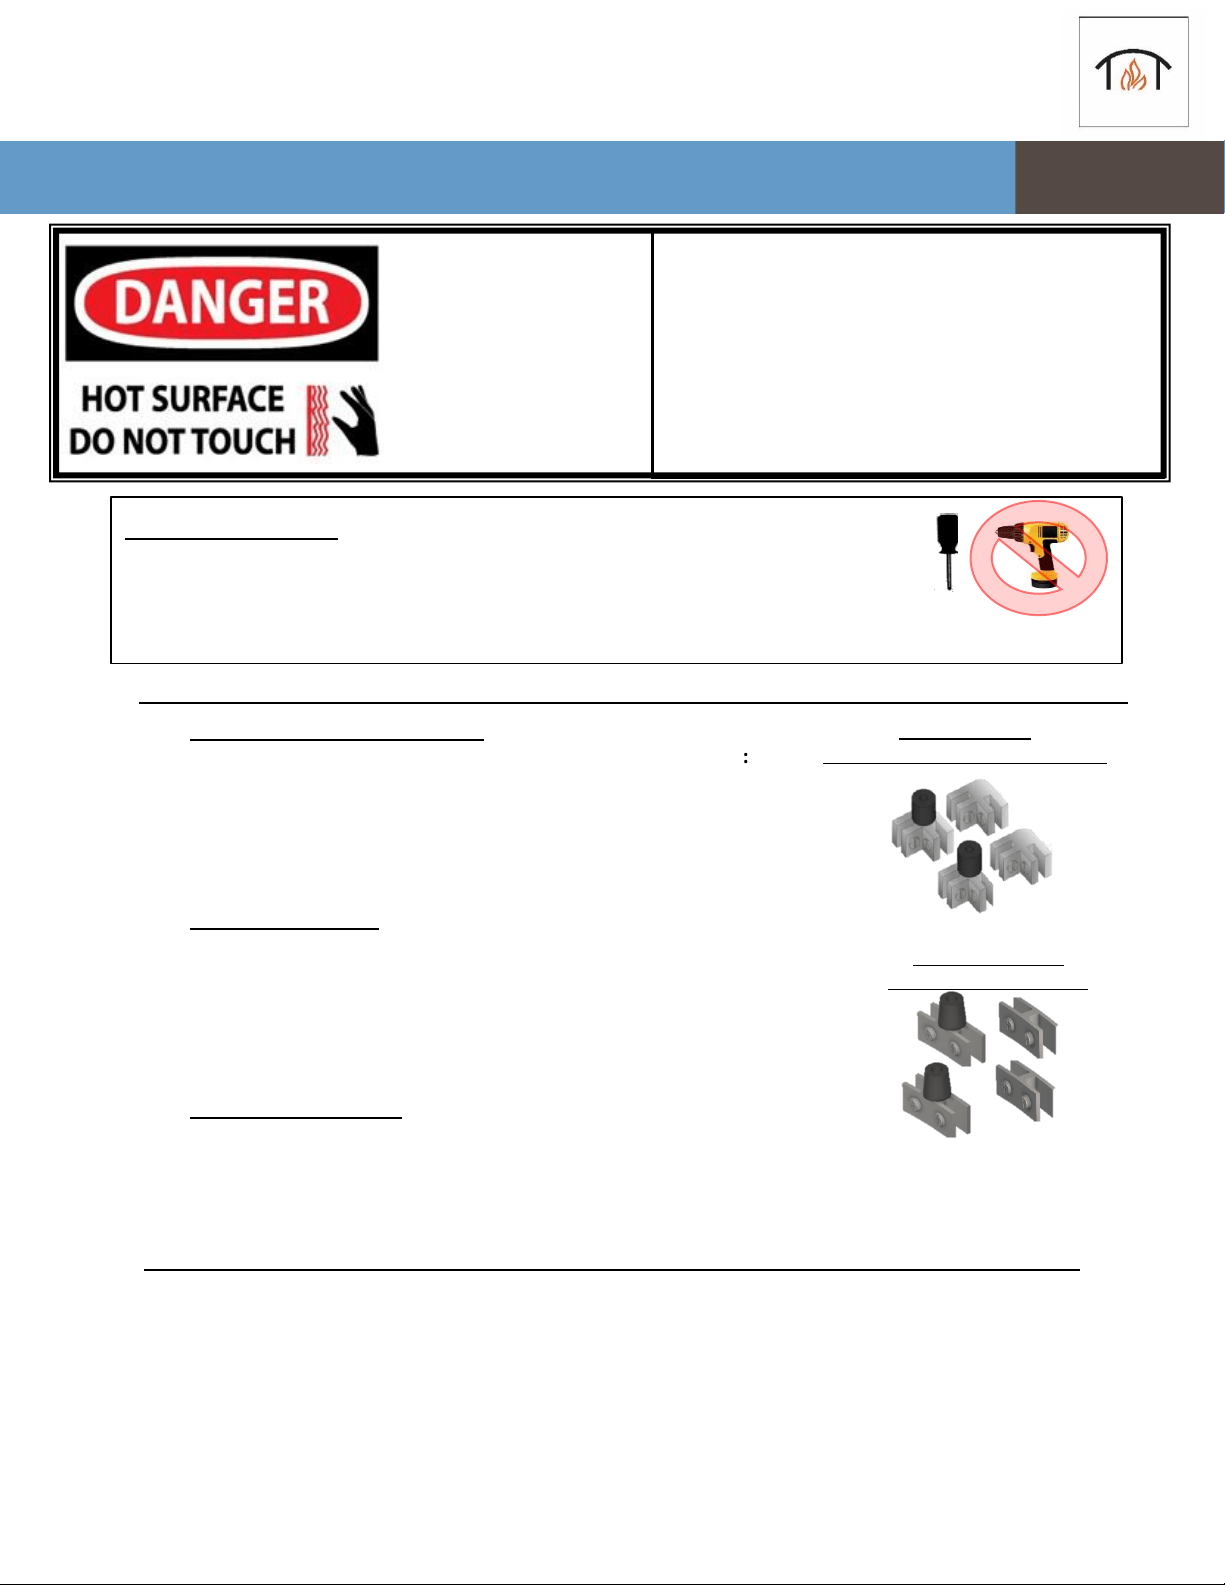
Top
Brackets
Bottom
Brackets
Corner Brackets
for square and linear glass guards:
Keep children away.
CAREFULLY SUPERVISE children near fire pit.
Alert children and adults to hazards of high
temperatures.
High Temperatures may ignite clothing or other
flammable materials.
Clothing, furniture and other flammable materials
must not be placed on or near the glass guard.
Do not leave appliance unattended while burning.
HOT GLASS WILL CAUSE
BURNS
DO NOT TOUCH GLASS
UNTIL COOLED
NEVER ALLOW CHILDREN
TO TOUCH GLASS
Top
Brackets
Bottom
Brackets
Rounded Brackets
for Round Glass Guards:
What Is Needed
Phillips Screwdriver (Hand tools ONLY, do NOT use power tools for assembly)
Soft leather gloves for handling glass panels
Soft non-abrasive surface for assembly
Two people are recommended for assembly

2
Installation Instructions for Square and Linear Glass Guards
1
Loosen set-screws in TOP BRACKET and slide a
short and long piece of glass into it. (for square
glass kits, all panels will be equally sized)
2
Make sure the top edge of the glass is flush
with the bracket.
Ensure small silicone pad is in place on tip of
set screws, never secure with metal screw
directly to the glass. Over-tightening may
break glass!
Tighten set-screws until snug.
3
Repeat steps 1 and 2 for remaining three
corners.
4
Loosen set-screws and place BOTTOM
BRACKET onto glass. The rubber standoff
should position glass flush with bracket
edge. Secure all screws, making sure to not
over-tighten.
Secure remaining three bottom brackets
using the same procedure.
5
Carefully, using two people, flip the
assembly over. Gently set the glass guard
onto fire pit.
Top Bracket
WARNING: Always perform assembly on a
soft, non-abrasive surface. Two people are
recommended for assembly and installation!
HINT: For rectangular, square and round
burners it is recommended to assemble guard
upside down and flip over after it is fully
assembled.
HOT GLASS WILL CAUSE
BURNS
DO NOT TOUCH GLASS
UNTIL COOLED
NEVER ALLOW CHILDREN
TO TOUCH GLASS
3
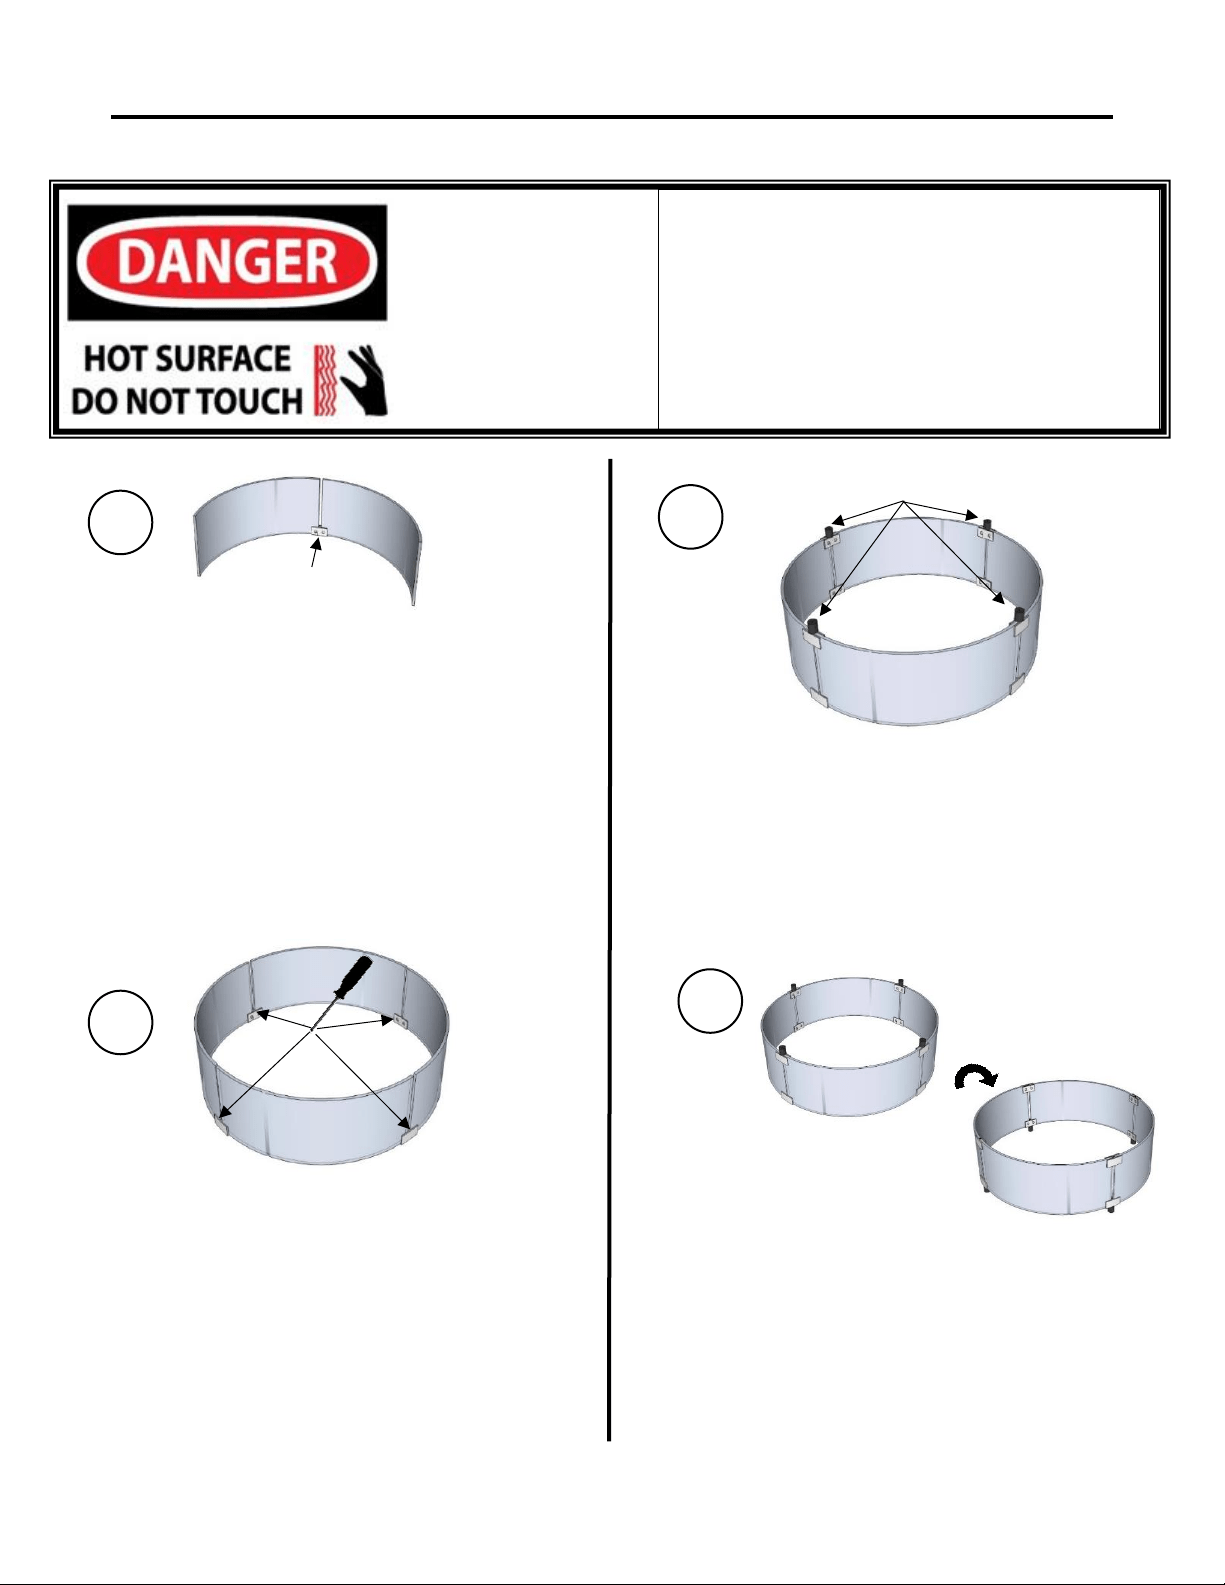
Installation Instructions for Round Glass Guards (4 panels)
2
Continue to install glass panels one at a
time in the same procedure as step one
until all four are in place.
Once all four glass panels and top
brackets are in place, finish securely
tightening all 8 of the set screws holding
the glass together.
Loosen set-screws in TOP BRACKET and
slide two curved glass panels into it.
Ensure small silicone pad is in place on tip
of set screws. Never secure screws with
only the metal screw directly against the
glass. Overtightening may break glass!
Tighten set screw until snug. Do not
tighten all the way until all four brackets
are on.
1
Top Bracket
3
Continue by installing the BOTTOM
BRACKETS to the assembly and tightening
the set screws in the same manner as the
top brackets in previous steps.
Remember to not overtighten screws and
be sure silicone pad is adhered to set screw.
Bottom Brackets
4
Carefully, using two people, flip fully
assembled glass guard over and place on fire
pit centered around burner.
WARNING: Always perform assembly on a
soft, non-abrasive surface. Two people are
recommended for assembly and installation!
HINT: For rectangular, square and round
burners it is recommended to assemble guard
upside down and flip over after it is fully
assembled.
HOT GLASS WILL CAUSE
BURNS
DO NOT TOUCH GLASS
UNTIL COOLED
NEVER ALLOW CHILDREN
TO TOUCH GLASS
4
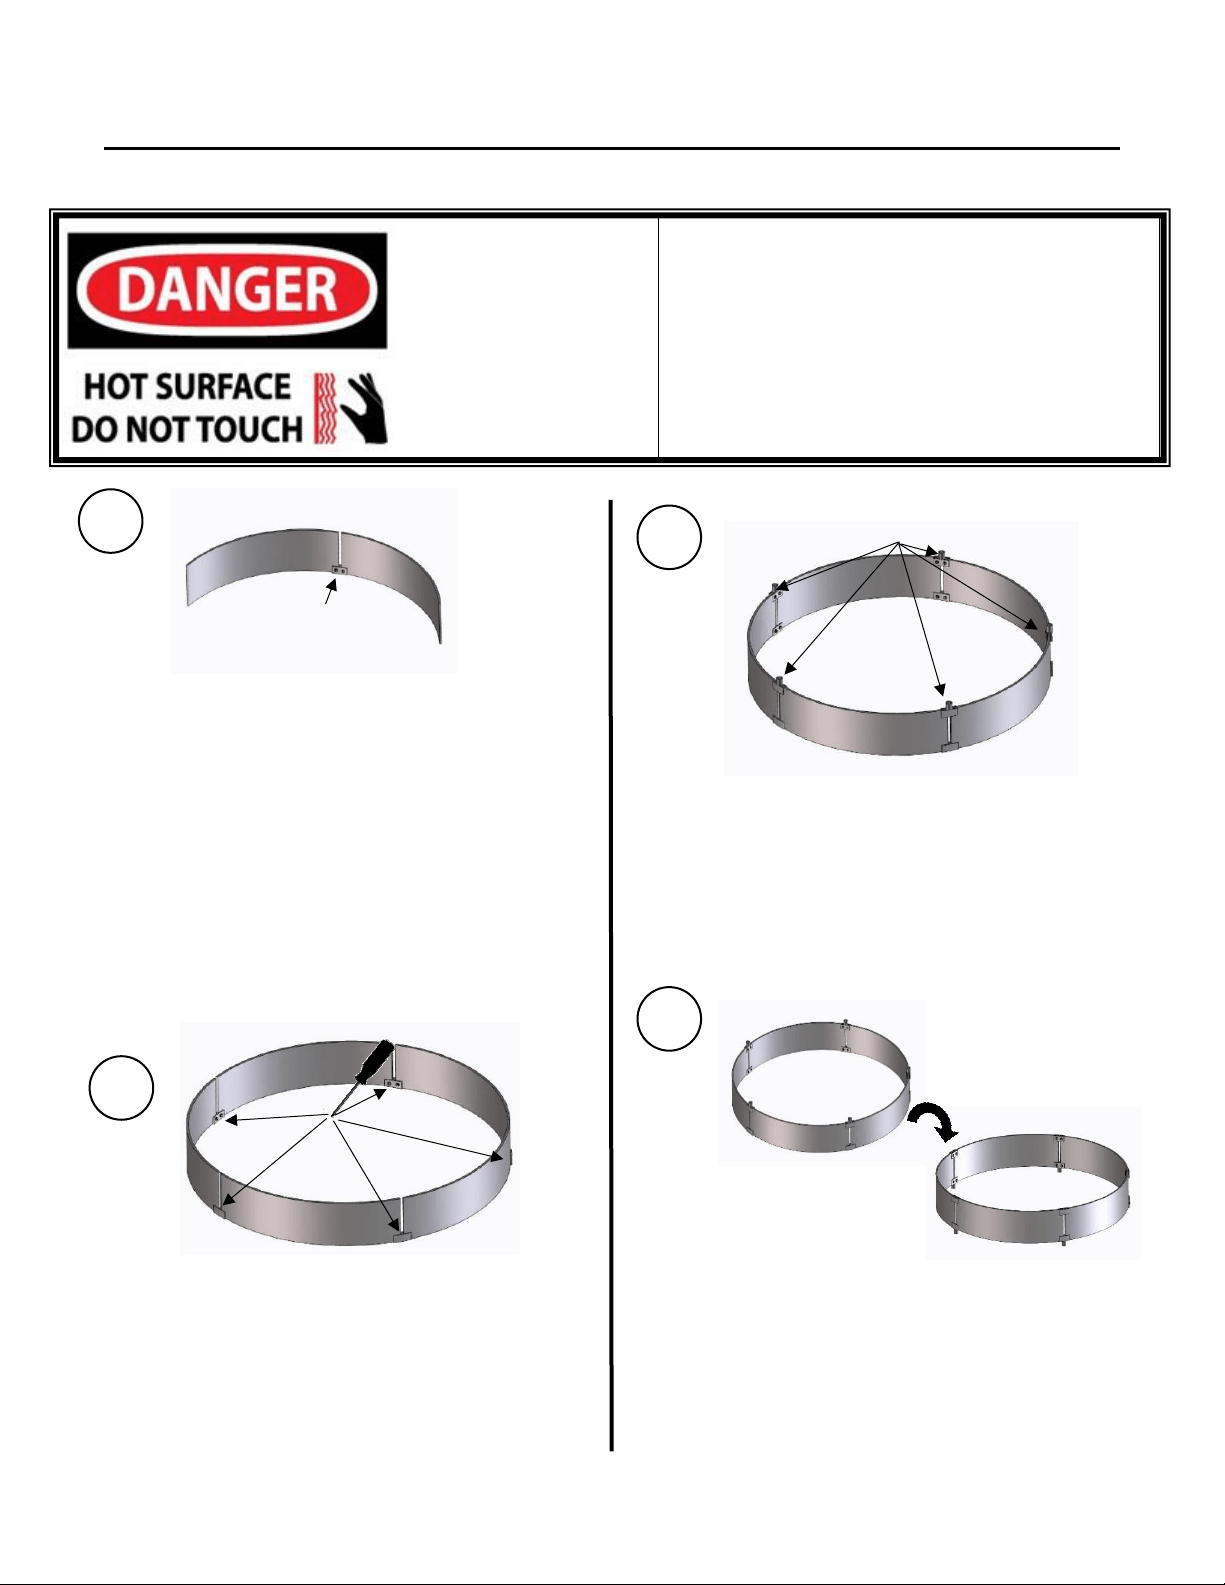
Installation Instructions for Rounds Glass Guards (5 Panels)
2
Continue to install glass panels one at a
time in the same procedure as step one
until all five panels are in place.
Once all five glass panels and top brackets
are in place, finish securely tightening all 10
of the set screws holding the glass together
1
Loosen set-screws in TOP BRACKET and slide
two curved glass panels into it.
Ensure small silicone pad is in place on tip of
set screws. Never secure screws with only
the metal screw directly against the glass.
Overtightening may break glass!
Tighten set screw until snug. Do not tighten
all the way until all four brackets are on.
3
Continue by installing the BOTTOM BRACKETS
to the assembly and tightening the set screws in
the same manner as the top brackets in previous
steps.
Remember to not overtighten screws and be
sure silicone pad is adhered to end of set screw.
4
Carefully, using two people, flip fully
assembled glass guard over and place on
fire pit centered around burner.
Bottom Brackets
Top
Bracket
WARNING: Always perform assembly on a
soft, non-abrasive surface. Two people are
recommended for assembly and installation!
HINT: For rectangular, square and round
burners it is recommended to assemble guard
upside down and flip over after it is fully
assembled.
HOT GLASS WILL CAUSE
BURNS
DO NOT TOUCH GLASS
UNTIL COOLED
NEVER ALLOW CHILDREN
TO TOUCH GLASS
5
A
C
Top bracket
Bottom bracket
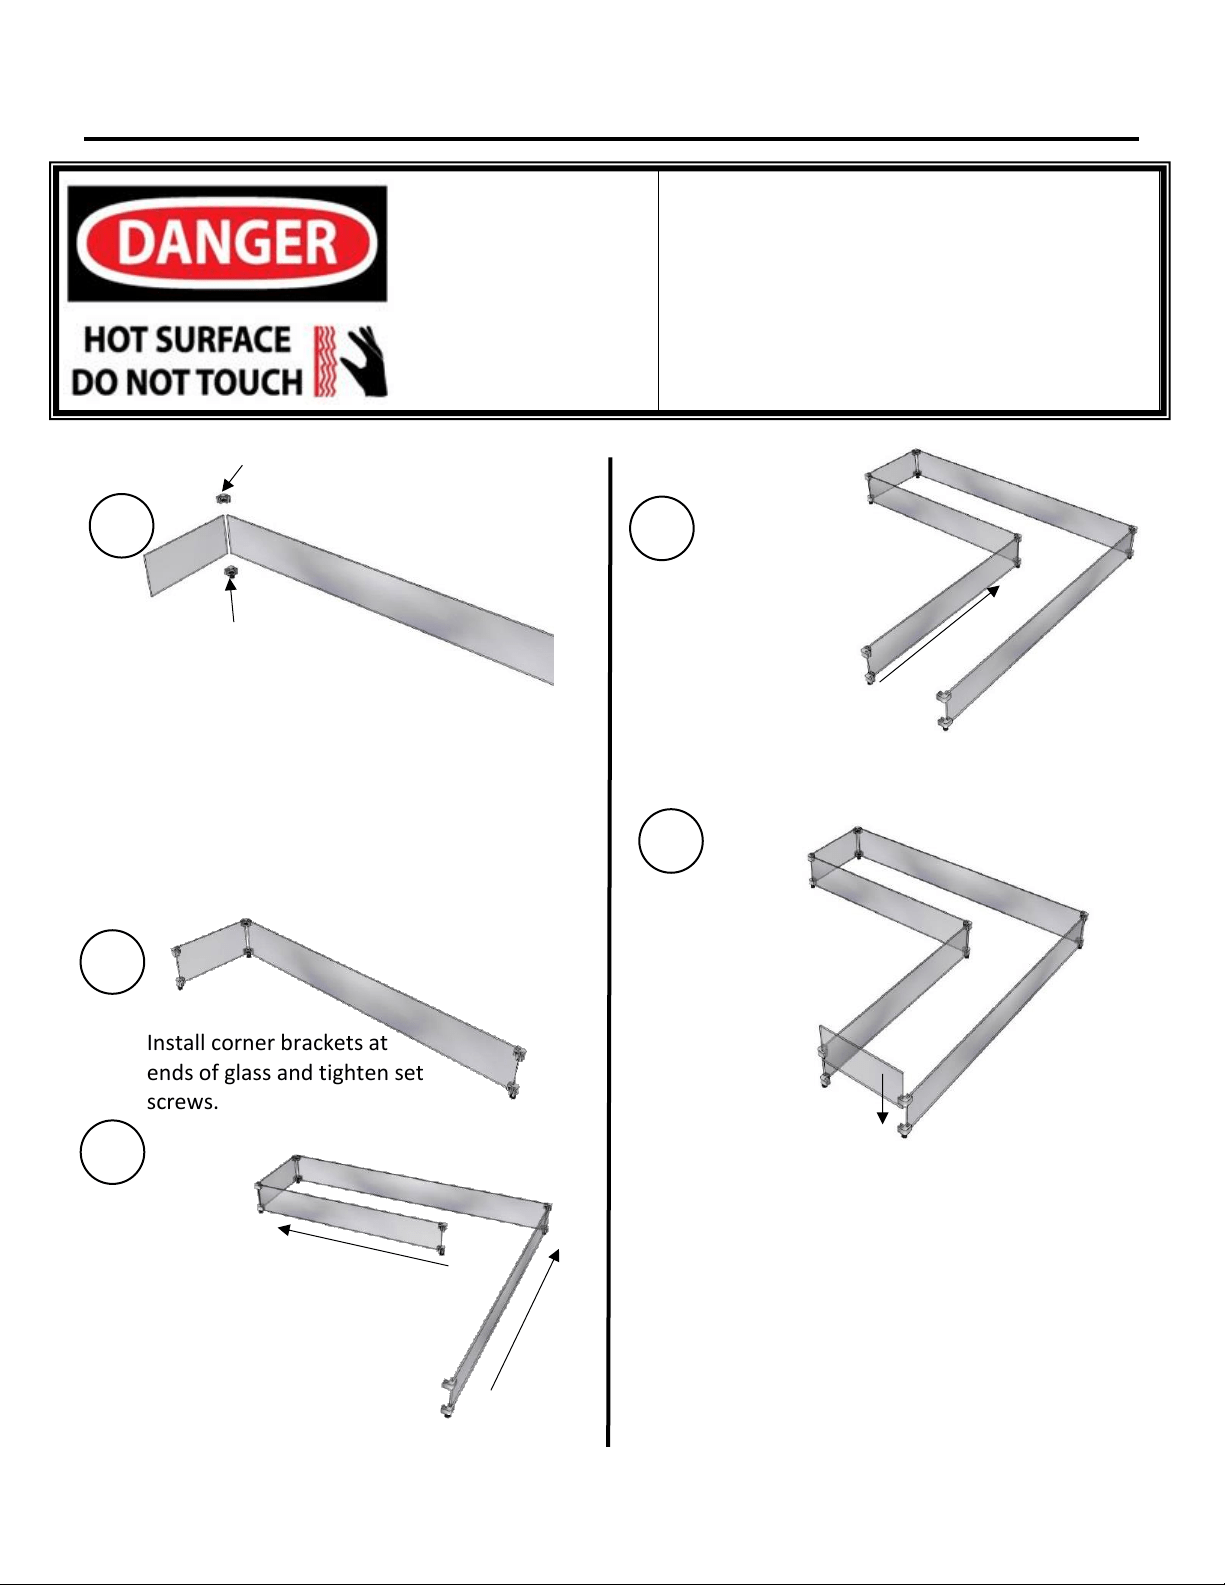
Installation Instructions for L-Shaped Glass Guards
1
Loosen set-screws in top and bottom corner
brackets and slide a short and long piece of
glass into it.
Ensure small silicone pad is in place on tip of
set screws, never secure with metal screw
directly against glass. Over-tightening may
break glass.
Tighten set screw until snug.
2
Install corner brackets at
ends of glass and tighten set
screws.
A
A
B
B
C
C
5
Slide final glass panel into place and ensure
all set-screws are tightened securely (do not
over tighten).
With the help of one or two other people,
very carefully lift the glass guard up onto
the fire pit top and center on the burner
Glass Panel Key:
A: 14-1/2” L
B: 26-5/8” L
C: 41-3/4” L
4
A
B
C
B
C
A
C
3
A
C
B
C
Continue by adding
panels B and C to the
assembly using the same
procedure as step one.
Continue by adding panel B to assembly.
WARNING: Always perform assembly on a
soft, non-abrasive surface. Two people are
recommended for assembly and installation!
HOT GLASS WILL CAUSE
BURNS
DO NOT TOUCH GLASS
UNTIL COOLED
NEVER ALLOW CHILDREN
TO TOUCH GLASS
6
The Outdoor GreatRoom Company extends the following warranty for Outdoor GreatRoom Glass Guards used in the United States
of America or Canada. Dealers and employees of The Outdoor GreatRoom Company have no authority to make any warranty or authorize
any remedies in addition to or inconsistent with the terms of this warranty. This warranty gives you specific legal rights. You may also
have other rights that vary from state to state.
The Outdoor GreatRoom Company warrants that this Outdoor GreatRoom Glass Guard (the “Product”) will be free from defects
in material and workmanship for a period of 90 days from its date of purchase. Stainless steel parts and assemblies carry a limited lifetime
warranty. This warranty is subject to the conditions, exclusions and limitations described below.
This warranty applies only to the original owner of the Product and is non-transferable. The Outdoor GreatRoom Company obligation under
this warranty does not extend to damages resulting from (1) assembly, operation or maintenance of the Product not in accordance with the
Installation/Assembly Instructions, Operating Instructions and the Listing Agency Identification Label furnished with the Product; (2)
installation or use which does not comply with local building codes and ordinances; (3) shipping, improper handling, improper
operation, abuse, misuse, accident or unworkmanlike repairs; (4) use of fuels other than those specified in the Operating Instructions; (5)
Installation or use of components not supplied with the Product or any other components not expressly authorized and approved in writing
by The Outdoor GreatRoom Company; and/or (6) modification of the Product not expressly authorized and approved in writing by The
Outdoor GreatRoom Company. Any of the circumstances described in the previous sentence voids this warranty. This warranty is void if
the Product or any component has been removed, repaired, or replaced before The Outdoor GreatRoom Company has been afforded a
reasonable opportunity to inspect the Product.
This warranty is limited to the replacement or repair of defective components or workmanship and The Outdoor GreatRoom Company
may fully discharge its obligations under this warranty by repairing or replacing, at its discretion, the defective components. The Outdoor
GreatRoom Company will provide replacement parts at no charge and will pay reasonable and necessary labor and freight costs related to
replacing or repairing defective components under this warranty. The maximum amount recoverable under this warranty is limited to the
purchase price of the Product and, if The Outdoor GreatRoom Company is unable to provide replacement or repair in an expedient and
cost-effective manner, The Outdoor GreatRoom Company may discharge all obligations under this warranty by refunding the purchase
price of the Product.
EXCEPT TO THE EXTENT PROVIDED BY LAW, THE OUTDOOR GREATROOM COMPANY MAKES NO EXPRESS WARRANTIES OTHER THAN THE
WARRANTY EXPRESSED HEREIN. THE DURATION OF ANY IMPLIED WARRANTY IS LIMITED TO THE DURATION OF THE WARRANTY SPECIFIED
ABOVE. IN NO EVENT SHALL THE OUTDOOR GREATROOM COMPANY BE LIABLE FOR ANY INCIDENTAL OR CONSEQUENTIAL DAMAGES CAUSED
BY DEFECTS IN THE PRODUCT. Some states do not allow limitations on how long an implied warranty lasts, or do not allow exclusion or
limitation of incidental or consequential damages, so these limitations may not apply to you.
To obtain service under this warranty, you must:
1. Send written notice of the claimed condition to: The Outdoor GreatRoom Company, 14400 Southcross Drive, Suite #100,
Burnsville, MN 55306.
2. Affirm that you are the original owner of the Product.
3. Provide The Outdoor GreatRoom Company reasonable opportunity to investigate the claim, including reasonable opportunity
to inspect the Product prior to any repair or replacement work and before the Product or any component of the Product has been
removed.
The Outdoor GreatRoom Company Glass Guards Limited Warranty
Care and Usage Tips
Clean glass with water, white vinegar, or commercially available streak-free glass cleaner and a
soft cloth.
Never attempt to clean glass while hot.
DO NOT touch glass while in operation or for 10 minutes following use. It will be hot!
For a permanent installation, outdoor-rated silicone adhesive can be used to affix Glass Guard to
a fire pit surface.
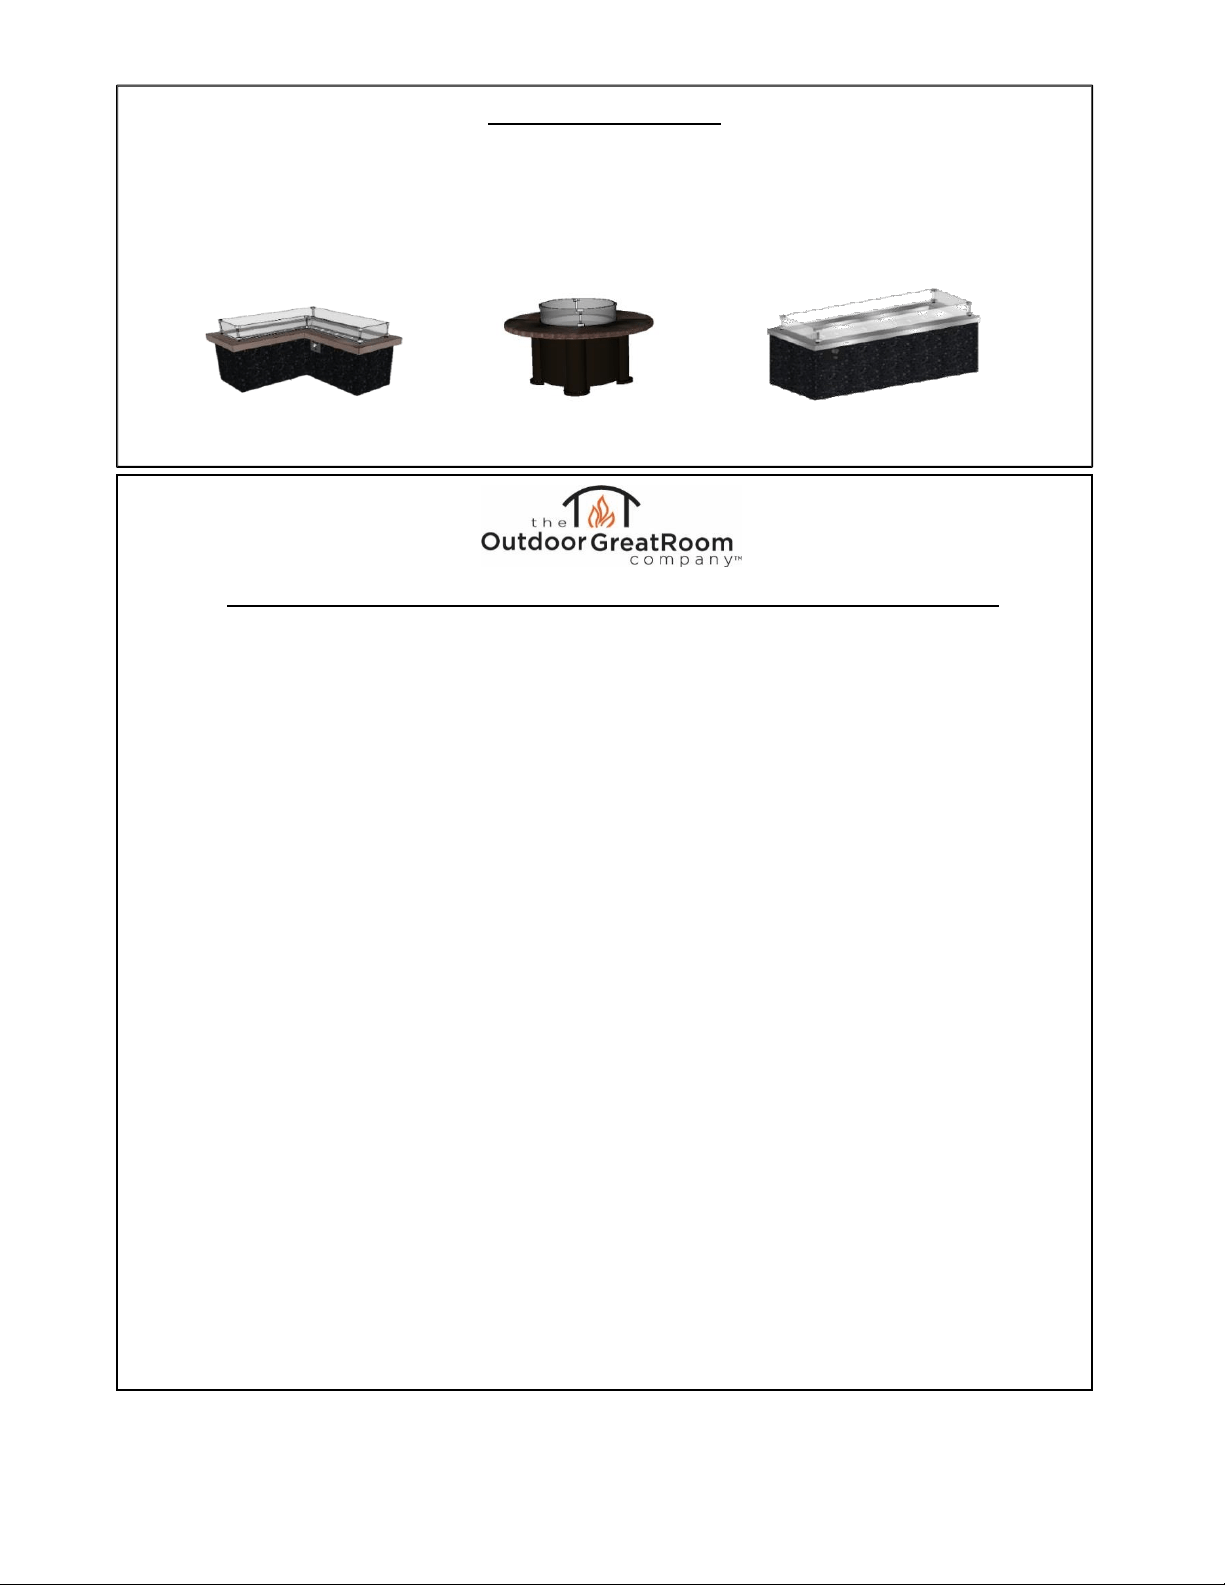
Glass Guard-12-R, Glass Guard-20-R,
Glass Guard-30-R
Glass Guard-1224, Glass Guard-1242, Glass
Guard-242, Glass Guard-20, Glass Guard-WV
Glass Guard-1242-L