Loading ...
Loading ...
Loading ...
English
9
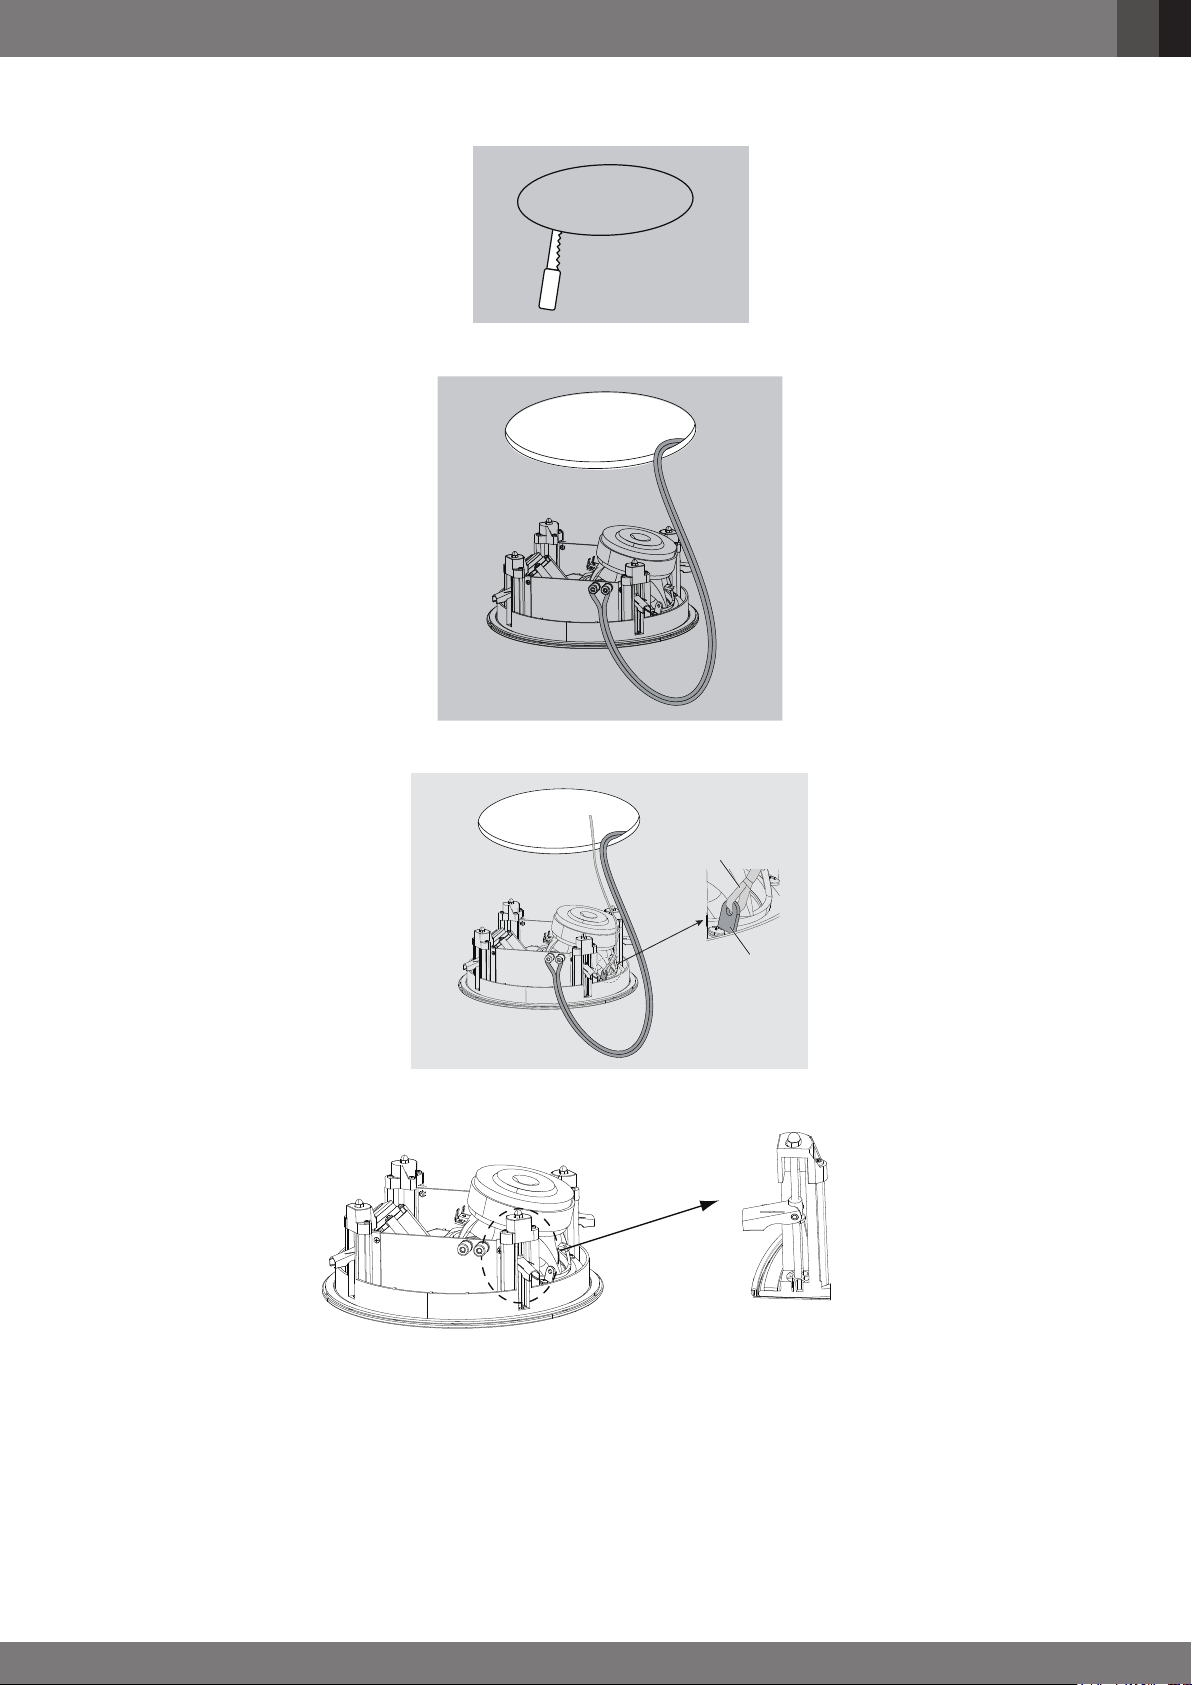
3. Cut the ceiling drywall along the mark you made in Step 2 to create the mounting opening.
4. Connect the speaker to the amplier as explained on page 8.
5. Attach the speaker's seismic tab to a support line, as per local safety regulations.
Support Line
Seismic Tab
6. Make sure all speaker clamps are in their "ready-to-mount" position.
Speaker Clamps in
Ready-to-Mount Positon
7. Insert the speaker straight into the mounting opening. Tighten the speaker clamp screws on the front of the speaker bafe. The speaker
clamps will automatically rotate into position and begin clamping the speaker. When you notice resistance on the screws the speaker has
been clamped successfully.
Loading ...
Loading ...
Loading ...