Loading ...
Loading ...
Loading ...
4 EN
Caution
•
Risk of product damage! Make sure that the power
voltage corresponds to the voltage printed on the
back or underside of the clock radio.
• Risk of electrical shock! When you unplug the power
cord, always pull the plug from the socket. Never pull
the cord.
• Use only the AC power adapter specied in the
manufacturer or sold with this unit.
Note
•
3
Get started
Always follow the instructions in this chapter in
The batteries can only back up clock and alarm
settings.
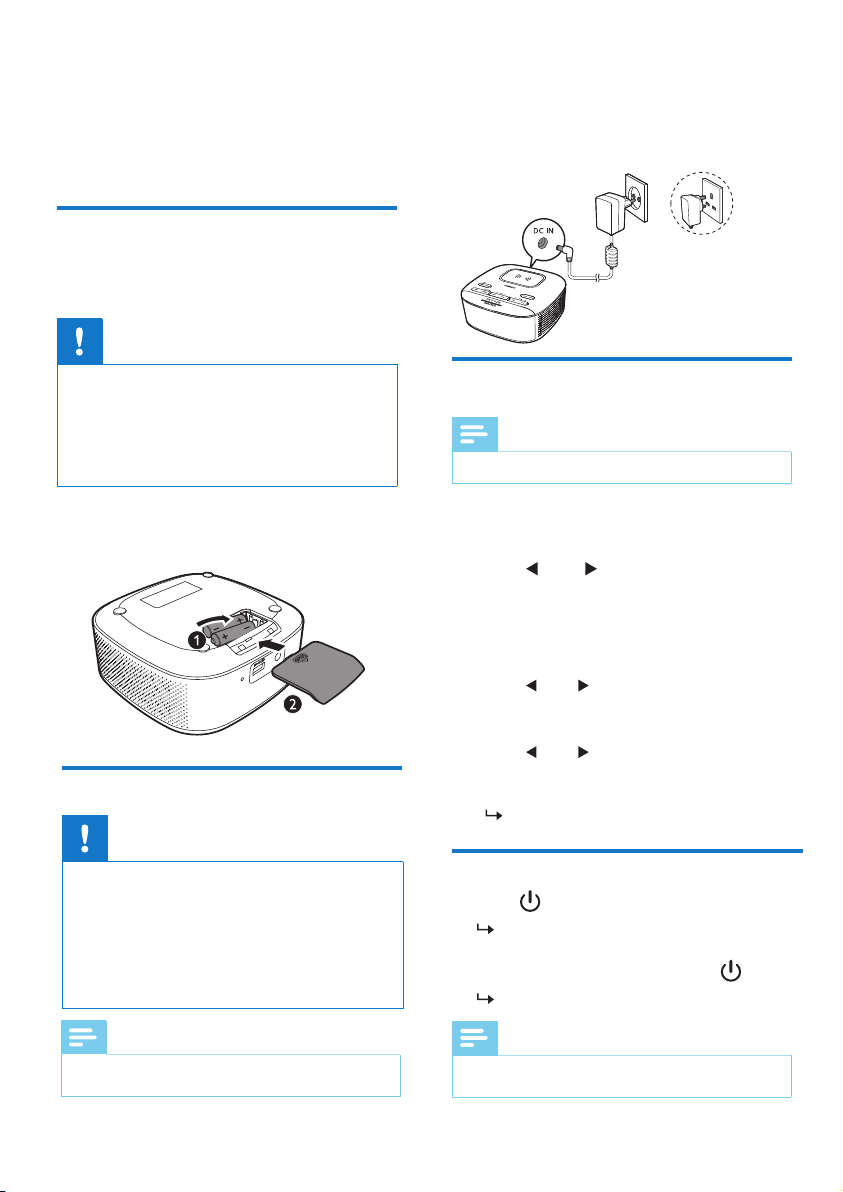
Connect the power adaptor to the wall outlet.
sequence.
Install batteries
Connect power
Caution
• Risk of explosion! Keep the batteries away from heat,
sunshine or re. Never discard batteries in re.
• Batteries contain chemical substances, so they should
be disposed of properly.
• Do not mix battery types: e.g. alkaline with carbon
zinc. Only use batteries of the same type for the set.
The type plate is located at the bottom of the clock
radio.
Note
•
This product will switch to standby mode after 15
minutes of inactivity.
Insert 2 AAA batteries (not provided) with
correct polarity (+/-) as illustrated.
Set time
Turn on
Note
• You can only set time in standby mode.
1
In standby mode, press and hold
3
Press HR to set hour and MIN to set
minute, then press SET TIME to conrm.
4
Press to set date, month and
year [DD-MM-YY], then press SET TIME
to conrm.
SET TIME
for more than 2 seconds.
2
Press to select <24 HR> or
<12 HR> hour format, then press SET
TIME to conrm.
[SAVED] is displayed and the time is set.
TUN
1
Press to turn on the clock radio.
The unit switches to the last selected
source.
2
To switch to standby mode, press again.
The real-time clock is displayed.
TUN
5
Press to select <UPDATE
FROM RADIO> or <NO UPDATE>, then
press SET TIME to conrm.
TUN
Loading ...
Loading ...
Loading ...