Loading ...
Loading ...
Loading ...
2. Oncetheboltisloose,moveittothecenteroftheholeand
completelypulloutthebolt,includingtheplasticspacer
coveringthebolt.
3. Onceall4boltsareremoved,discardboltandspacers.Then
pullthepowercordthroughtheopeningoftherearpaneland
closetheholewiththeattachedcap.
4. Closetheboltholeswiththe4transportboltholeplugs.
NOTE:Ifthewasheristobetransportedatalaterdate,callyour
localservicecenter.Topreventsuspensionandstructural
damage,yourmachinemustbeproperlysetupforrelocationby
acertifiedtechnician.
Makesurethewasherdrumisempty.
1. AttachthehosewiththeredcolorindicatortotheHot(left)
inletvalve.Attachingtheredcouplingfirstmakesiteasierto
tightenconnectionwithpliers.Screwoncouplingbyhand
untilit isseatedonthewasher.
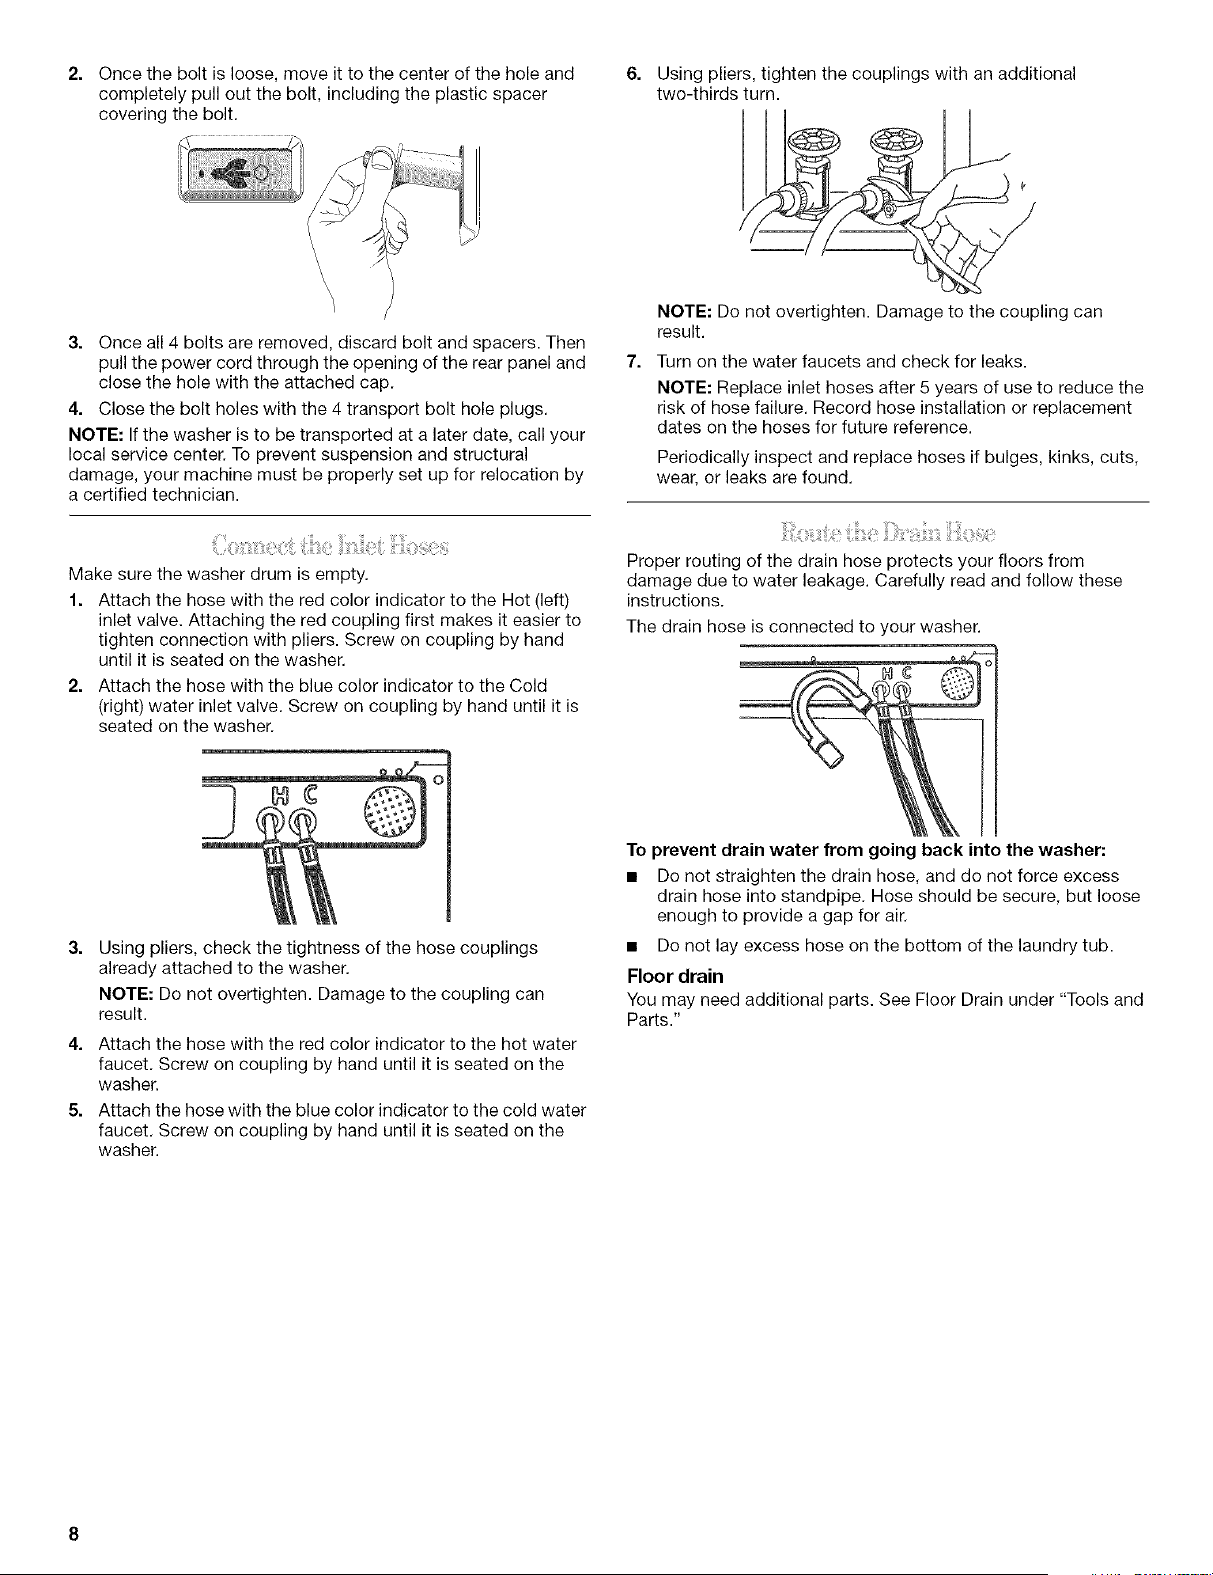
2. AttachthehosewiththebluecolorindicatortotheCold
(right)waterinletvalve.Screwoncouplingbyhanduntilit is
seatedonthewasher.
Usingpliers,tightenthecouplingswithanadditional
two-thirdsturn.
NOTE:Donotovertighten.Damagetothecouplingcan
result.
Turnonthewaterfaucetsandcheckforleaks.
NOTE:Replaceinlethosesafter5yearsofusetoreducethe
riskofhosefailure.Recordhoseinstallationorreplacement
datesonthehosesforfuturereference.
Periodicallyinspectandreplacehosesifbulges,kinks,cuts,
wear,orleaksarefound.
Properroutingofthedrainhoseprotectsyourfloorsfrom
damageduetowaterleakage.Carefullyreadandfollowthese
instructions.
Thedrainhoseisconnectedtoyourwasher.
3=
Using pliers, check the tightness of the hose couplings
already attached to the washer.
NOTE: Do not overtighten. Damage to the coupling can
result.
4. Attach the hose with the red color indicator to the hot water
faucet. Screw on coupling by hand until it is seated on the
washer.
5. Attach the hose with the blue color indicator to the cold water
faucet. Screw on coupling by hand until it is seated on the
washer.
To prevent drain water from going back into the washer:
• Do not straighten the drain hose, and do not force excess
drain hose into standpipe. Hose should be secure, but loose
enough to provide a gap for air.
• Do not lay excess hose on the bottom of the laundry tub.
Floor drain
You may need additional parts. See Floor Drain under "Tools and
Parts."
Loading ...
Loading ...
Loading ...