
Loading ...
Loading ...
Loading ...
8
Adjusting the Refrigerator Legs for the MC2/MC6BI
If your refrigerator seems unsteady (or you would like to close the door more easily), you can use the
four leveling legs to adjust the tilt of the unit.
Be sure the refrigerator is in its final position when adjusting the tilt and that it is plugged in and
grounded.
• Turning a leveling leg to the right will lower the refrigerator toward the position of the leg.
Likewise, turning to the left will raise the unit away from the leg.
• Several turns of the leveling legs may be required before the refrigerator tilt is properly adjusted.
• Turning both front legs equally to left will tilt the refrigerator to the rear. This adjustment makes it
easier for the door to close.
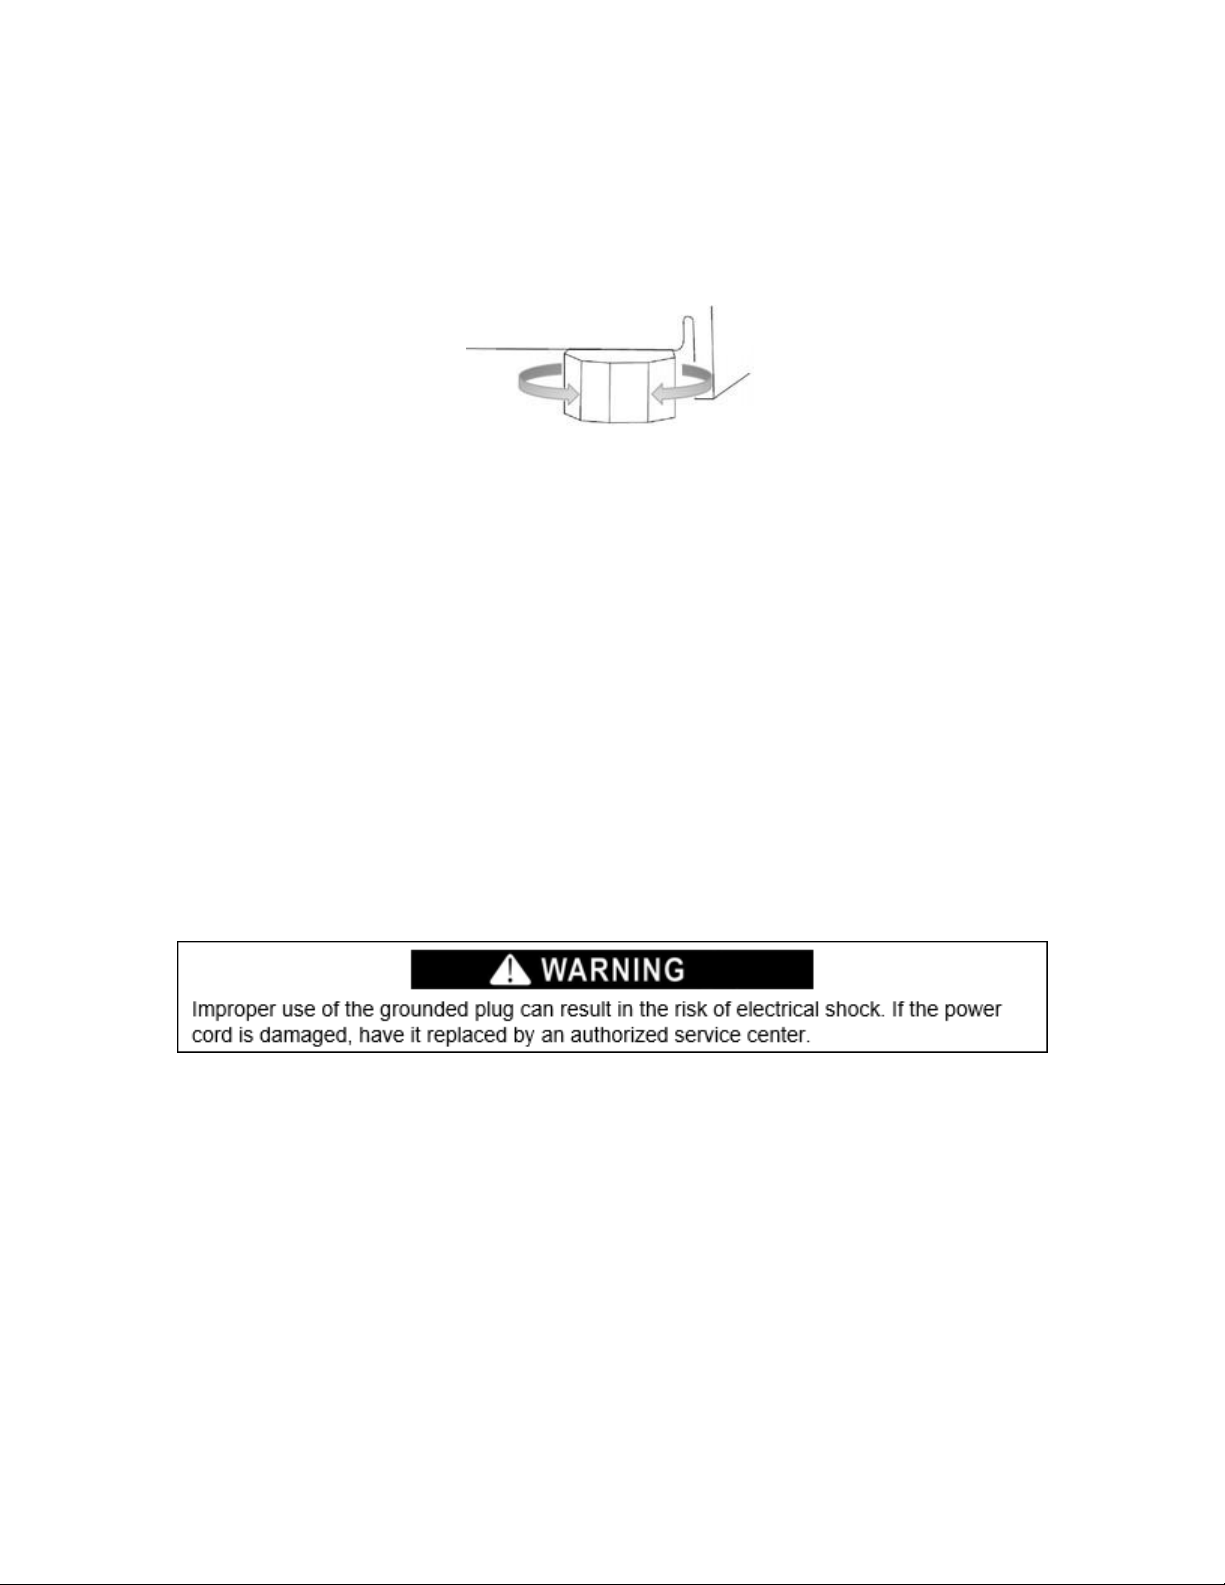
Adjusting the Legs for the CP34WMC/CP34BSSMC
Your appliance has two leveling legs, which are located in the bottom front corners of the unit. Be sure
the appliance is in its final position when adjusting the tile and that it is plugged in and grounded.
Leveling legs can be adjusted by turning them clockwise to raise the height and turning them
counterclockwise will lower the height. The doors of the appliance will close easier with the leveling
legs extended.
NOTE: It is easier to adjust the leveling legs if someone else pushes against the top of the
refrigerator to take the weight off of the legs.
Electrical Connection
This unit should be properly grounded for your safety. The power cord of this unit is equipped with a
three-prong plug which mates with a standard three-prong wall outlet to minimize the possibility of
electrical shock.
Do not under any circumstances cut or remove the third ground prong from the power cord supplied.
For personal safety, this appliance must be properly grounded.
This unit requires a standard 115-volt AC/60Hz electrical outlet with three-prong ground. Have the
wall outlet and circuit checked by a qualified electrician to make sure the outlet is properly
grounded. When a standard 2-prong wall outlet is encountered, it is your responsibility and
obligation to have it replaced with a properly grounded 3-prong wall outlet.
To prevent accidental injury, the cord should be secured behind the unit and not left exposed or
dangling.
Loading ...
Loading ...
Loading ...