Loading ...
Loading ...
Loading ...
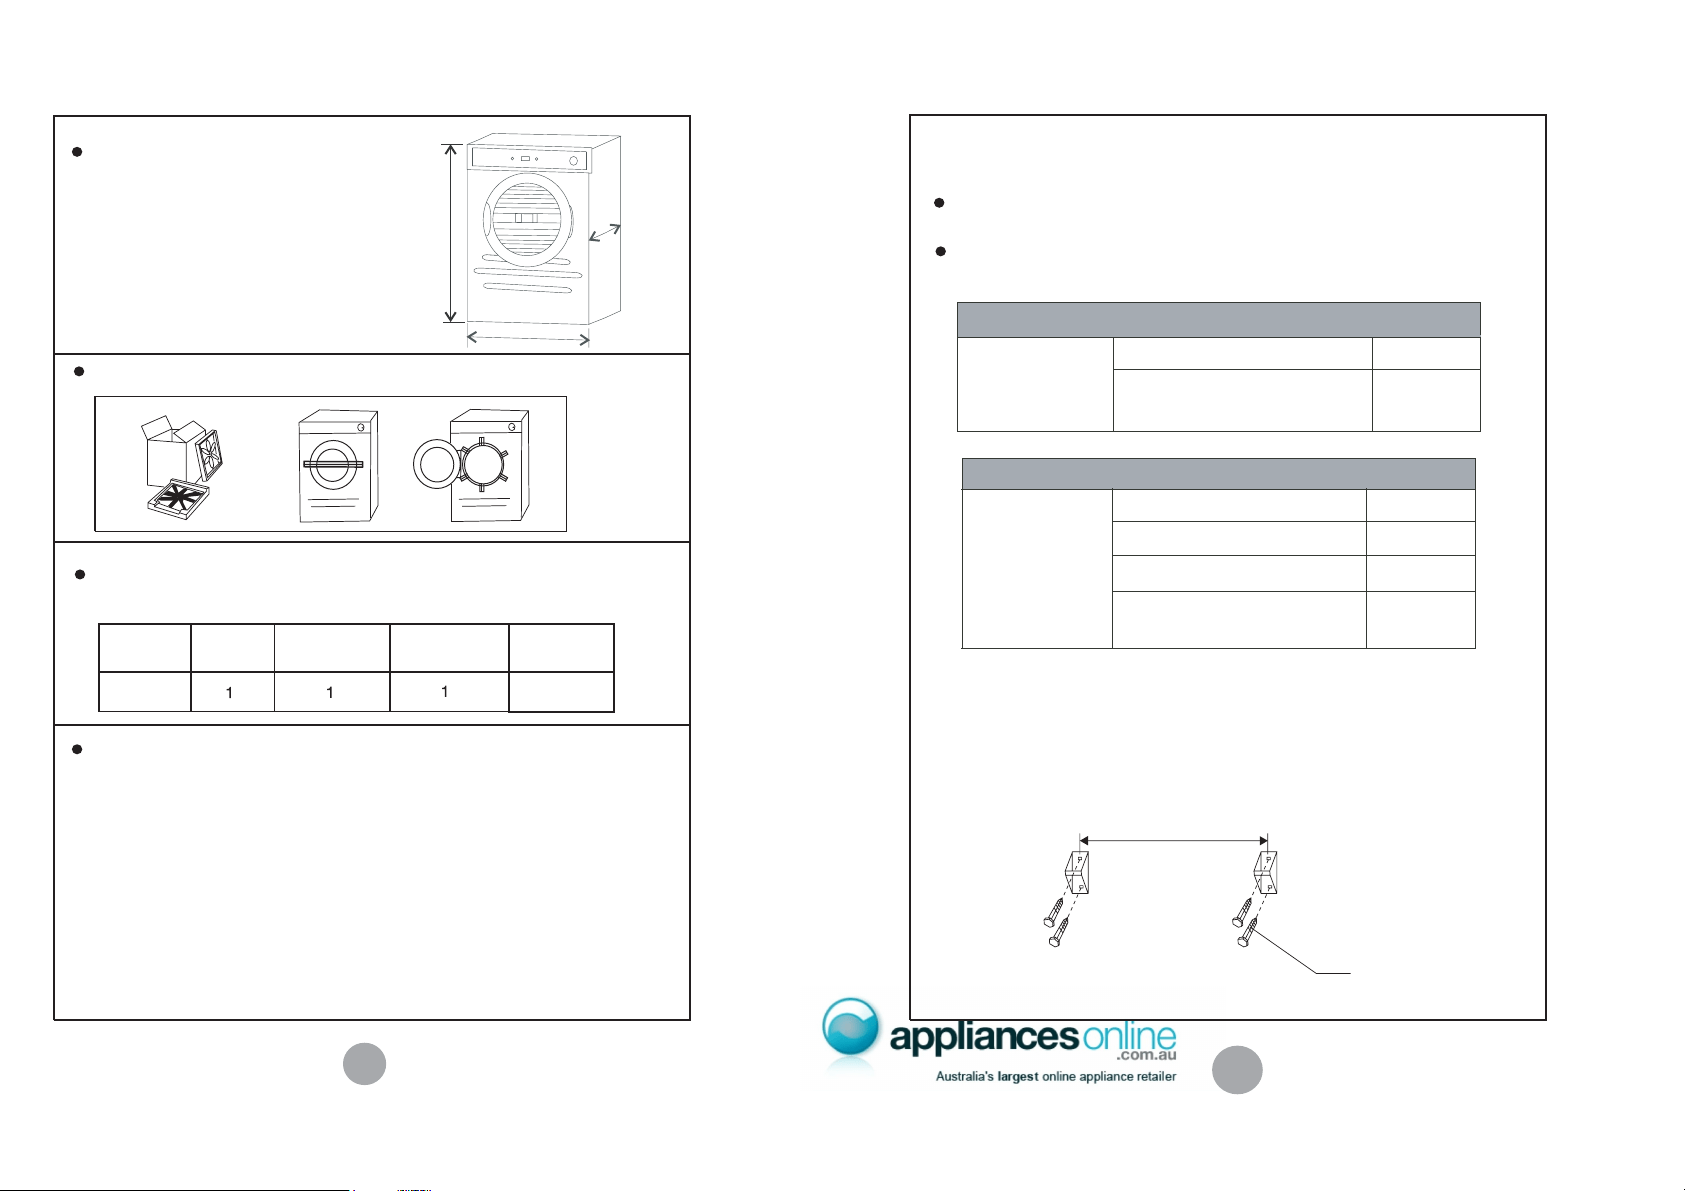
Dimensions
a = 825 mm
b = 560 mm
c = 595 mm
Weight = 30 kg
a
b
c
Packing accessories
Check list of the accessories and materials provided with the machine:
Quantity
To ensure the dryer operating normally, attention must be paid to
the following in placement:
The rear of the dryer must not have any restriction to the intake
of fresh air;
Check whether there is any damage to the dryer during
transportation. Any damaged dryer must not be electrified. In case
of any damage, contact your dryer supplier;
The dryer must be kept away from flammable substances;
The surrounding environment must be dry and ventilated;
To allow the dryer to perform better, the ambient temperature shall
neither be lower than 10
nor higher than 35
Name
Owner's
manual
Wall
mounting kit
Panel film
Remove the transport packaging and the tape before starting dryer.
1.Determine the location of the dryer on the wall and mark
the bracket position.
A minimum 50mm is needed between the top of the dryer
and the ceiling for ease of installation;
If mounting above a washing machine,allow sufficient room
to open the lid of the washer.
Tools required
For plaster/
Wooden wall
Drill&3mm Bit
Philips head screw
driver
Wood screws,12g 50mm
imber screws
1
4
1
Description
Wall hanging brackets
Plastic Spacers
Hanging hook
Wall mounting kit includes
2
2
2
2.Fix the wall hanging brackets to the wall securely (eg. into
the stud). If the studs are too far apart, fit a timber slat to the
studs then mount the brackets onto the slat. The distance
between each bracket is 553mm as per diagram.
553mm
wood screw
Screw
6
8
9
UNPACKING YOUR DRYER
WALL MOUNTING INSTRUCTIONS
Loading ...
Loading ...