DUCTGRT304
DUCTGRT364
Installation Instructions
Instructions d'installation
Instrucciones de instalación
DUCTLESS VENT GRATE KIT
KIT DE GRILLE DE VENTILATION SANS CONDUIT
KIT DE REJILLA DE VENTILACIÓN SIN CONDUCTOS
2
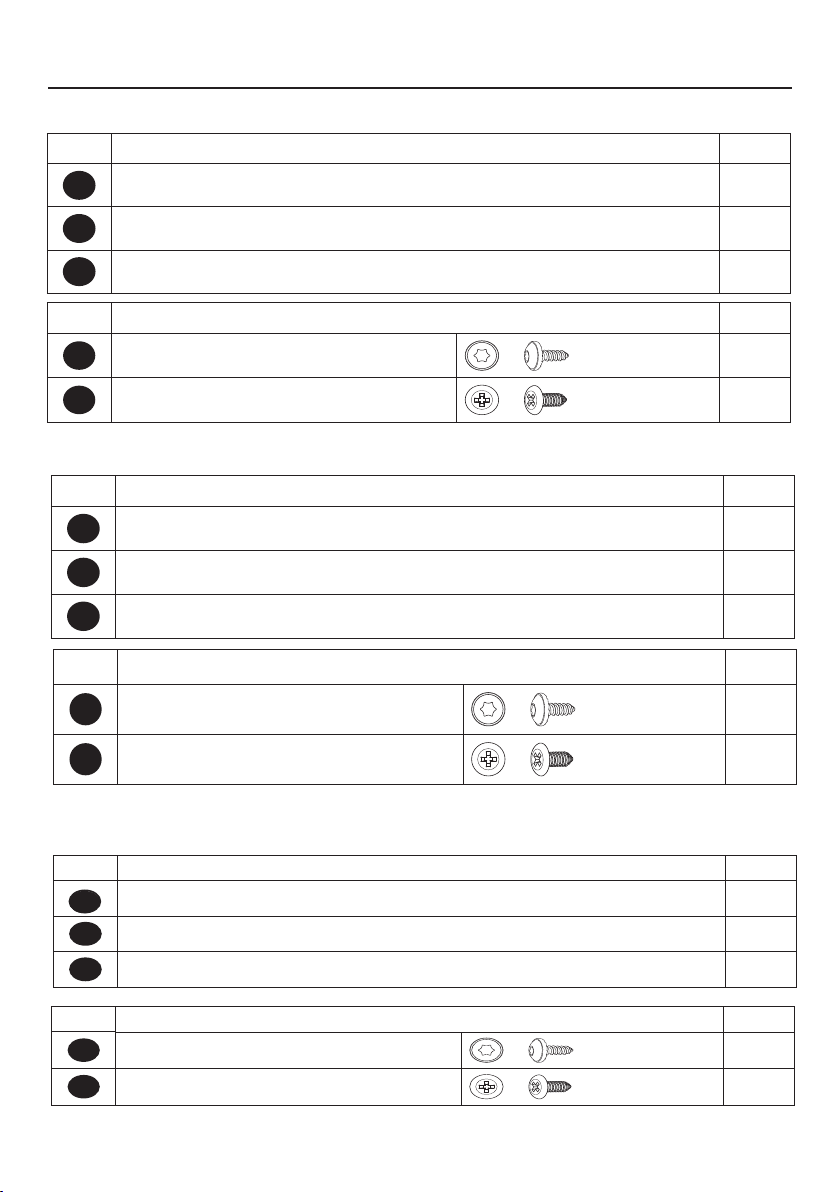
PARTS / PIÈCES / PIEZAS
REF. PART
QTY
A
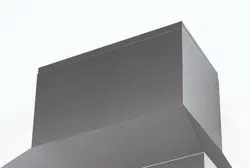
Duct grate 1
B
Power cord strain relief
1
W
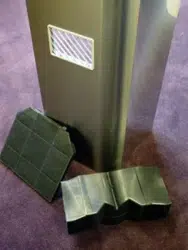
Charcoal filters 2
REF. PART
QTY
C
Torx Screws (3/8" x 5/8")
6
D
Pozi Screws (1/8" x 5/8")
4
PARTS INCLUDED
RÉF.
PIÈCE
QTÉ
A
Grille de conduit 1
B
Bloc d'alimentation 1
W
Filtres à charbon 2
PIÈCES INCLUSES
REF.
PIEZA
CANT
A
Rejilla de conducto 1
B
Bloque de alimentación 1
W
Filtros de carbón 2
REF.
PIEZA
CANT
C
Tornillos de torque (3/8" x 5/8")
6
D
Tornillos Pozi (1/8" x 5/8")
4
PIEZAS INCLUIDAS
RÉF. PIÈCE
QTÉ
C
Vis Torx (3/8 po x 5/8 po)
6
D
Vis Pozi (1/8" x 5/8")
4
3
(6x) 3,5 mm x 16 mm
(6x) 2,9 mm x 6,5 mm
A
B
W

4
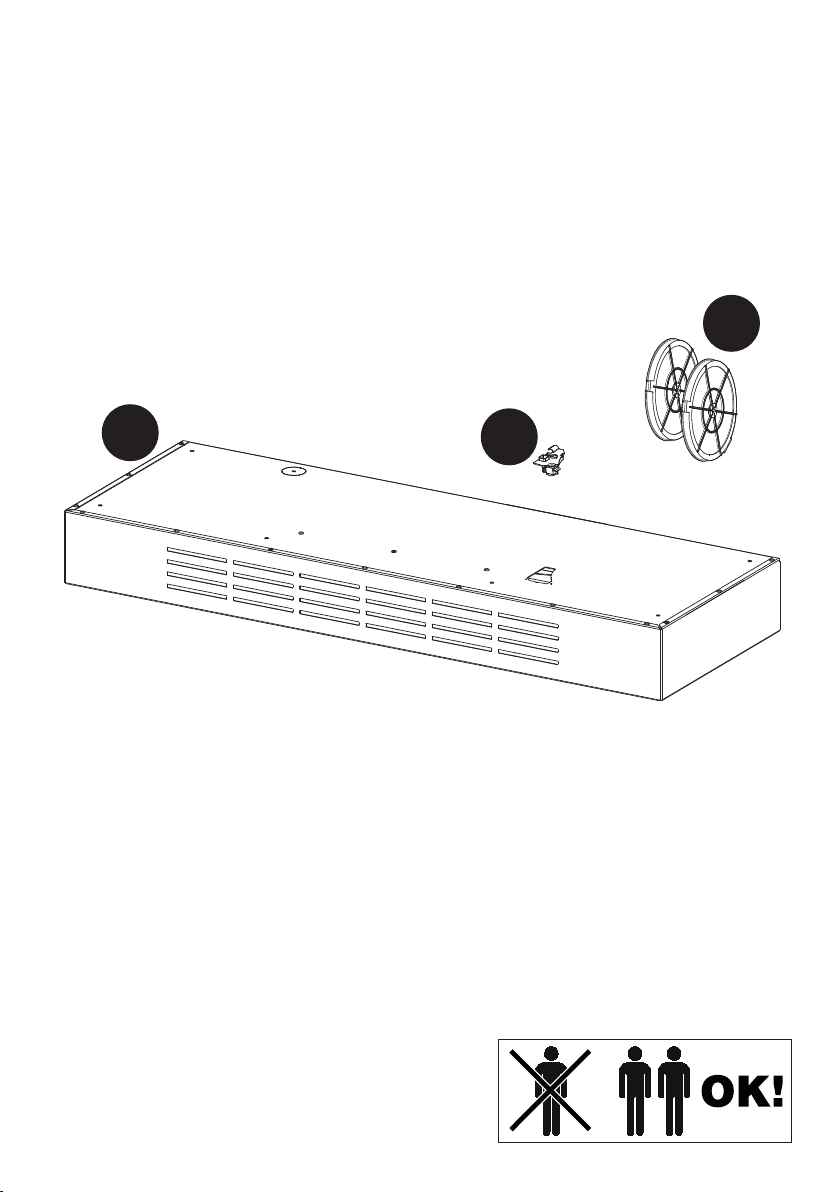
1
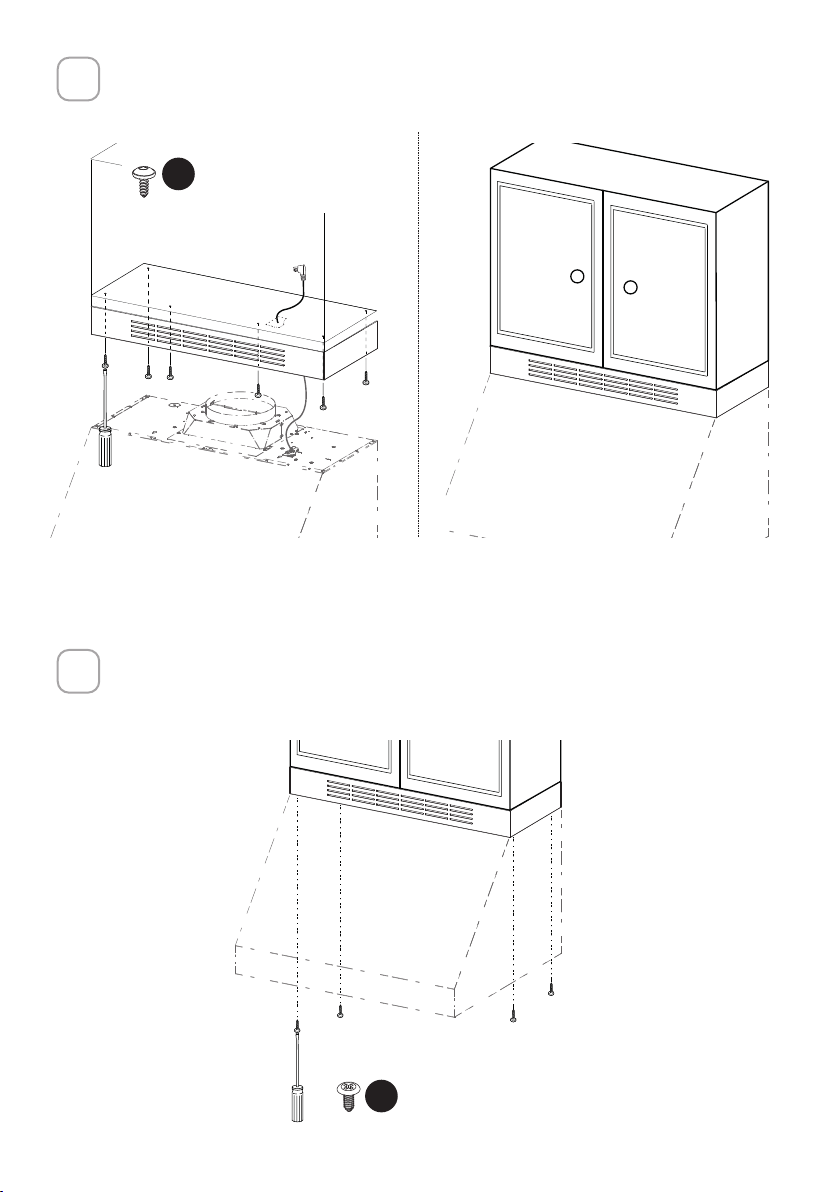
Hold ductless kit up to a cabinet and mark a knock out for the electrical connection.
2
Drill a hole for the electrical cable (bigger than the power cord strain relief).
Min.
3/4"

5
3
Pass the power cable from the hood through the power cord slot in the ductless
box kit. Use a screwdriver as shown below to knockout the hole in the power cord
strain relief. Attach the power cord to the strain relief and then press the relief into
the top of the box.

6
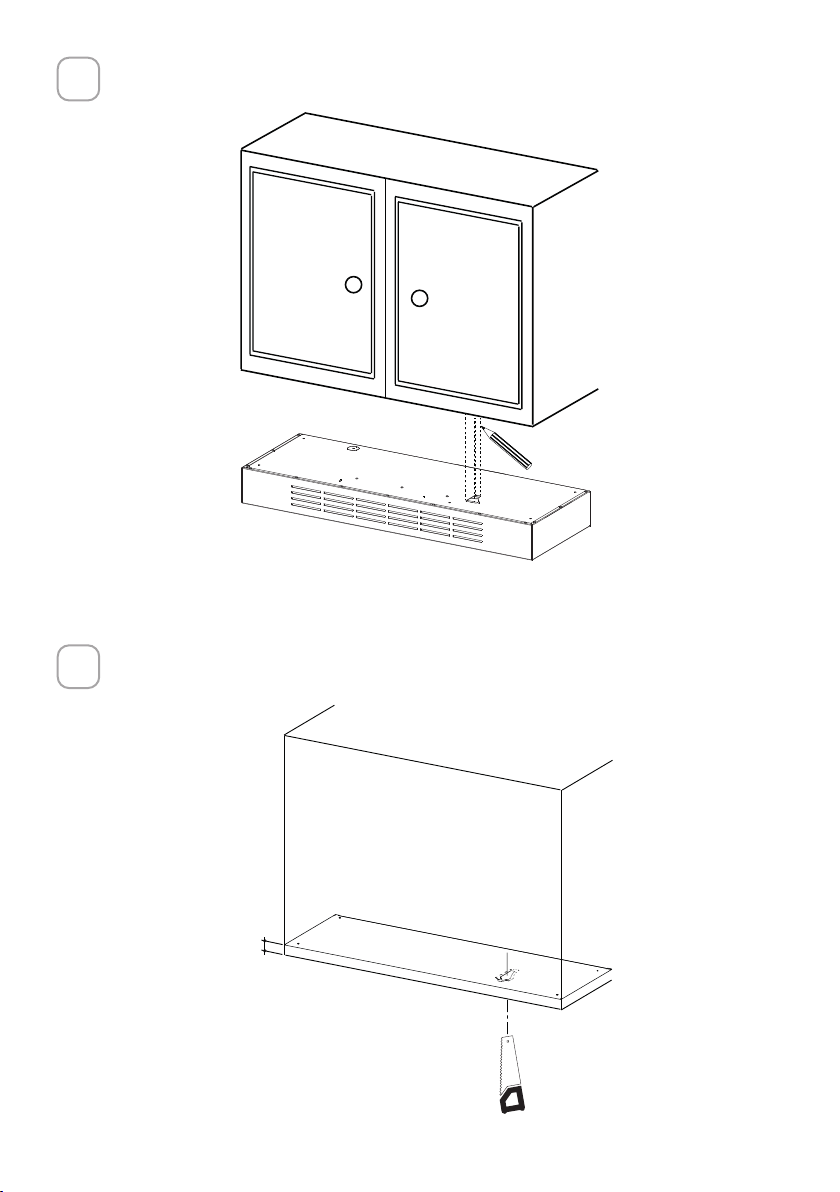
4
Attach the ductless kit to the cabinet with 6 screws (C), aligning the front edge
of the kit to the front of the cabinet.
5
Install the rangehood to the bottom of the ductless kit. Install the hood into
the wall as shown in the hood install instructions, and adjust the hood to be
flush with the ductless kit. Attach the hood to the ductless kit with 4 screws
(D).
D
C

7
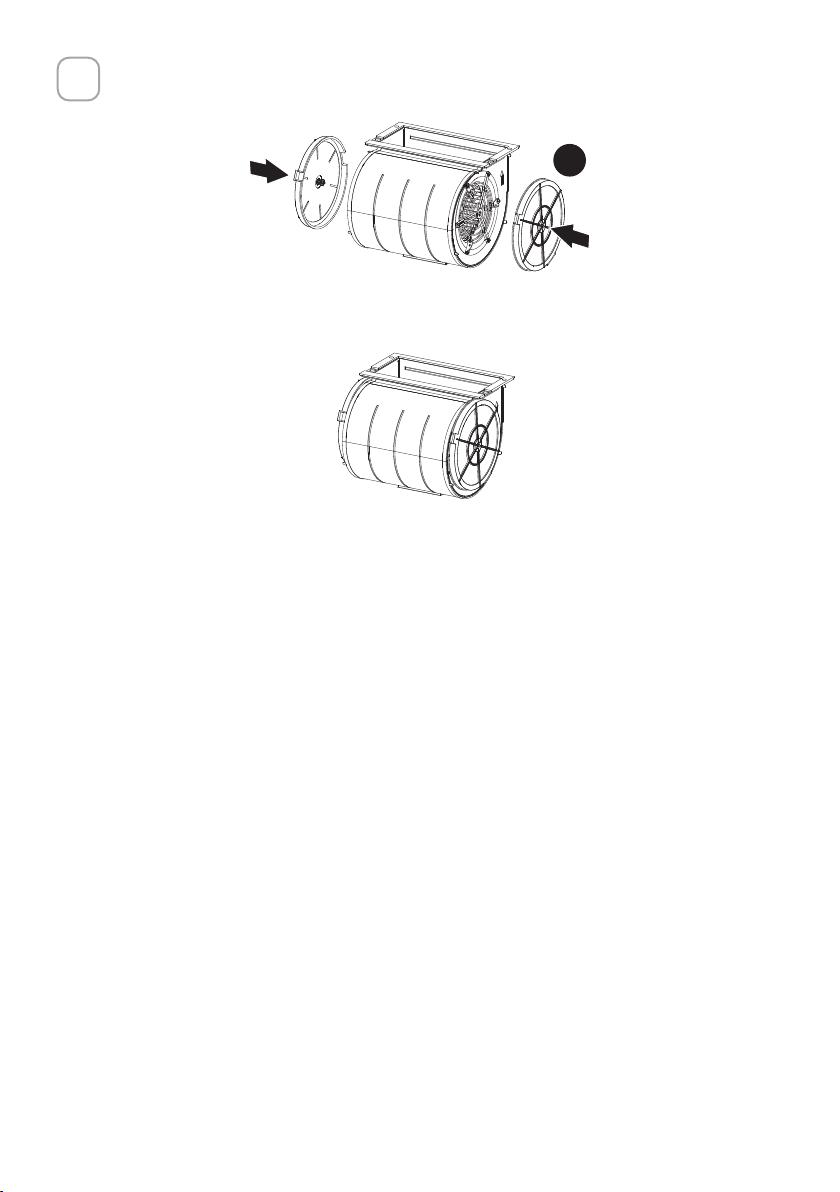
6
The baffle filters need to be removed before attaching the charcoal filters.
W
8
1
2
Min.
3/4"
Tenez le kit sans conduit contre l’armoire électrique et marquez l'ouverture pour
le raccordement.
Percez un trou pour le câble électrique (plus grand que le bloc d'alimentation).

9
3
Prenez le câble d'alimentation de la hotte et faites-le passer dans la fente située sur
le dessus du boîtier. Prenez le bloc d'alimentation fourni avec le kit et comme indiqué
sur l'image, utilisez un tournevis pour percer le trou du câble d'alimentation. Faites
ensuite passer le câble d'alimentation dans le bloc d'alimentation. Puis, pour finir,
insérez le bloc d'alimentation en l'enfonçant dans la fente située sur le dessus du
boîtier.
10
4
5
D
C
Fixez le kit sans conduit à l'armoire électrique avec 6 vis (C), en alignant le bord
avant du kit sur l'avant de l'armoire.
Installez la hotte de la cuisinière au bas du kit sans conduit. Installez la hotte dans
le mur comme indiqué dans les instructions d'installation de la hotte, et ajustez la
hotte pour qu'elle soit au même niveau que le kit sans conduit. Fixez la hotte au
kit sans conduit à l'aide de 4 vis (D).

11
6
W
Installez les filtres à charbon (W) de chaque côté du ventilateur de la hotte.
12
1
2
Min.
3/4"
Sujete el kit sin conductos al armario y marque el orificio ciego para la conexión
eléctrica.
Perfore un agujero para el cable eléctrico (más grande que el bloque de
alimentación).

13
3
Tome el cable de alimentación de la campana y páselo a través de la ranura de la
parte superior de la caja. Tome el bloque de cable de alimentación proporcionado
con el kit y, como se muestra en la imagen, utilice un destornillador para perforar
el agujero ciego para el cable de alimentación. A continuación, pase el cable de
alimentación a través del Bloque de Alimentación. Luego, para terminar, inserte el
Bloque de Alimentación presionándolo en la ranura de la parte superior de la caja.

14
4
5
D
C
Fije el kit sin conductos al armario con 6 tornillos (C), alineando el borde frontal
del kit con la parte frontal del armario.
Instale la campana extractora en la parte inferior del kit sin conductos. Instale
la campana en la pared como se indica en las instrucciones de instalación de la
campana, y ajuste la campana para que quede a nivel del kit sin conductos. Fije la
campana al kit sin conductos con 4 tornillos (D).
15
6
W
Instale los filtros de carbón (W) a cada lado del soplador de la campana.

991.0682.074_01 - 220524
D000000008731_00