Loading ...
Loading ...
Loading ...
F
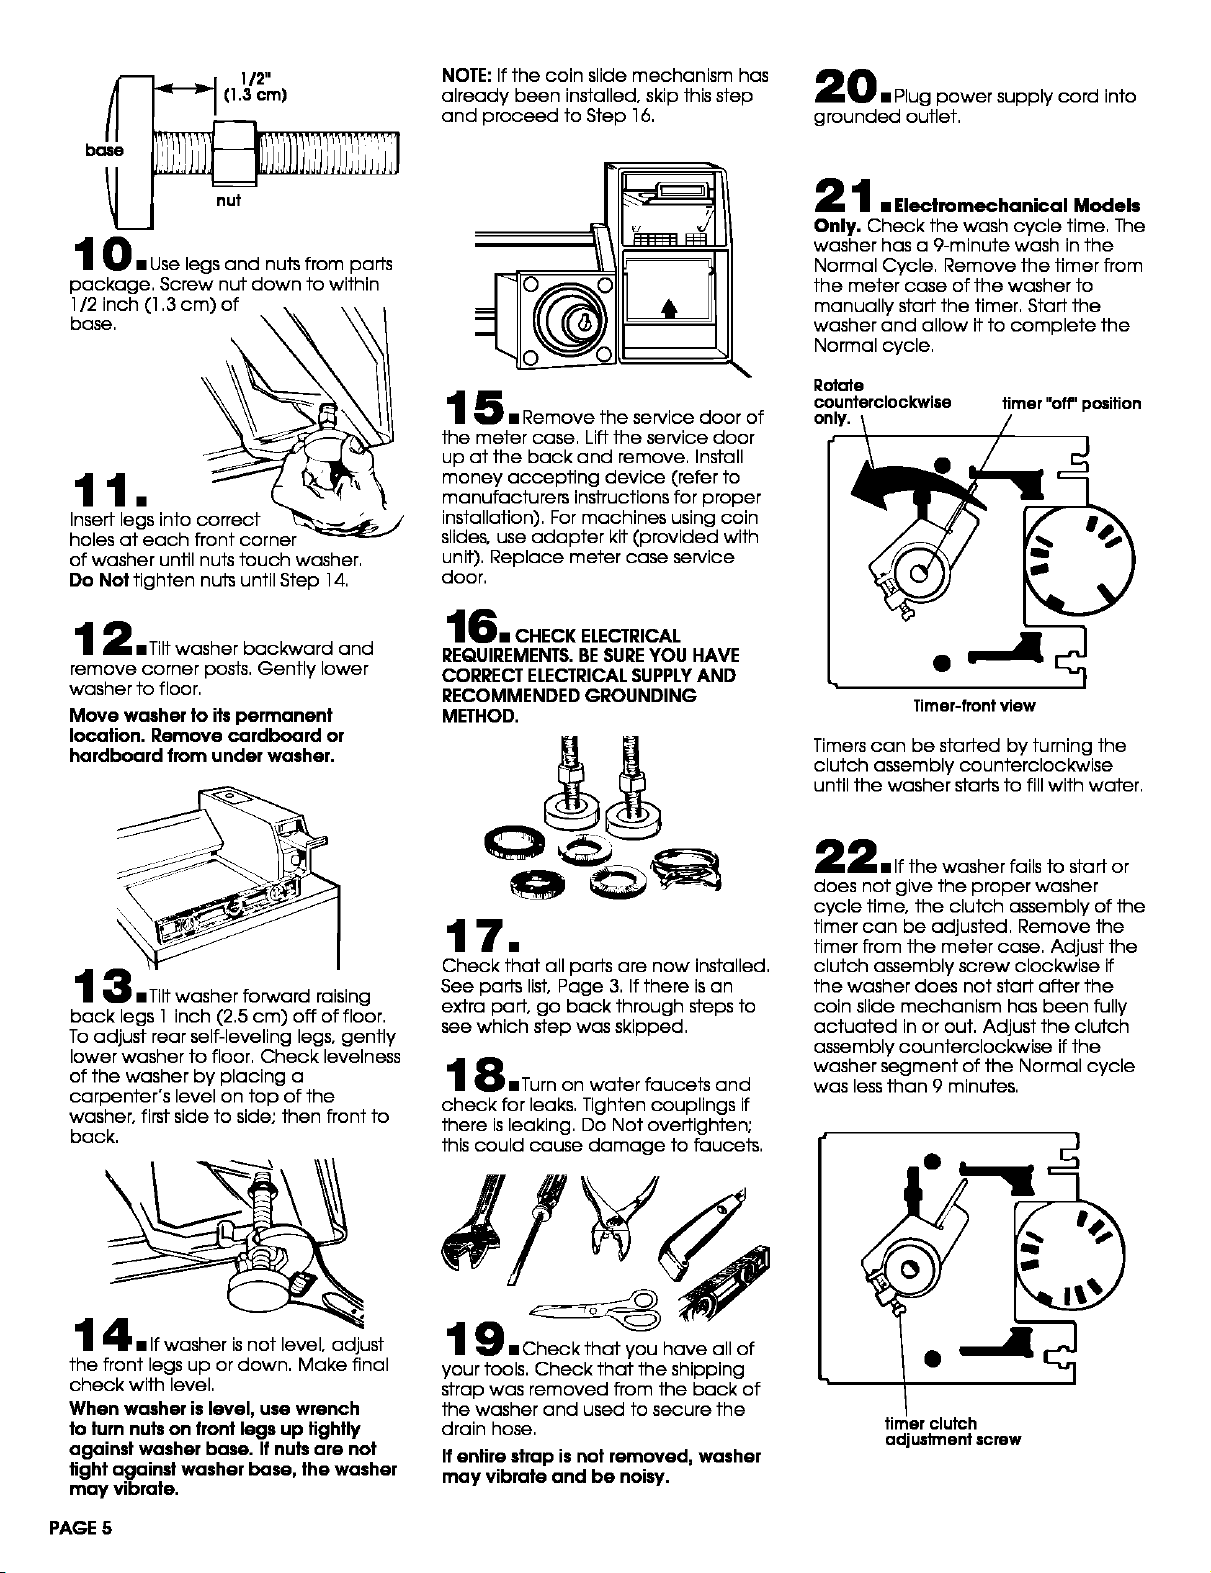
bose
112"
(1.3 cm)
L nut
JM
1 U • Use legs and nuts from parts
package, Screw nut down to within
1/2 inch (1,3 cm) of
base,
11.
Insert legs into correct
/
holes at each front corner
of washer until nuts touch washer,
Da Not tighten nuts until Step 14,
2 mTiltwasher backward and
remove corner posts, Gently lower
washer to floor,
Move washer to its permanent
location. Remove cardboard or
hardboard from under washer.
3 mTiltwasher forward raising
back legs 1 inch (2,5 cm) off of floor,
To adjust rear self-leveling legs, gently
lower washer to floor, Check levelness
of the washer by placing a
carpenter's level on top of the
washer, first side to side; then front to
back,
4mlf washer isnot level, adjust
the front legs up or down, Make final
check with level,
When washer is level, use wrench
to turn nuts on front legs up tightly
against washer base. If nuts are not
fight against washer base, the washer
may vibrate.
NOTE: If the coin slide mechanism has
already been installed, skip this step
and proceed to Step 16,
5 • Remove the service door of
the meter case, Lift the service door
up at the back and remove, Install
money accepting device (refer to
manufacturers instructions for proper
installation), For machines using coin
slides, use adapter kit (provided with
unit), Replace meter case service
door,
l_)m CHECKELECTRICAL
REQUIREMENTS.BESUREYOU HAVE
CORRECTELECTRICALSUPPLYAND
RECOMMENDEDGROUNDING
METHOD.
17.
Check that all parts are now installed,
See parts list, Page 3, If there isan
extra part, go back through steps to
see which step was skipped,
1 _% mTurn on water faucets and
check for leaks, Tighten couplings if
there is leaking, Do Not overtighten;
this could cause damage to faucets,
_k
m _! •Check that you have all of
your tools, Check that the shipping
strap was removed from the back of
the washer and used to secure the
drain hose,
If entire strop is not removed, washer
may vibrate and be noisy.
0 • Plug power supply cord into
grounded outlet,
1. Electromechanical Models
Only. Check the wash cycle time, The
washer has a 9-minute wash in the
Normal Cycle, Remove the timer from
the meter case of the washer to
manually staff the timer, Staff the
washer and allow it to complete the
Normal cycle,
Rotate
counterclockwise
timer "off" position
Timer-frontview
Timers can be started by turning the
clutch assembly counterclockwise
until the washer starts to fill with water,
2 • Ifthe washer fails to staff or
does not give the proper washer
cycle time, the clutch assembly of the
timer can be adjusted, Remove the
timer from the meter case, Adjust the
clutch assembly screw clockwise if
the washer does not staff after the
coin slide mechanism has been fully
actuated in or out, Adjust the clutch
assembly counterclockwise if the
washer segment of the Normal cycle
was less than 9 minutes,
timer clutch
adjuslment screw
PAGE 5
Loading ...
Loading ...
Loading ...