
Welcome
Thank you for purchasing a Soundcraft NOTEPAD mixing console.
This Quick Start Guide is a short guide to the NOTEPAD’s major features. Use it in addition to the NOTEPAD
PDF Manual, downloadable from the NOTEPAD product web pages:
NOTEPAD-5
https://www.soundcraft.com/en/products/notepad-5#downloads_and_docs
NOTEPAD-8FX
https://www.soundcraft.com/en/products/notepad-8fx#downloads_and_docs
NOTEPAD-12FX
https://www.soundcraft.com/en/products/notepad-12fx#downloads_and_docs
QUICK START GUIDE
Included Contents
• NOTEPAD Mixer
• AC to DC External Power Supply (with removable power lead to AC connection)
• Quick Start Guide (this document)
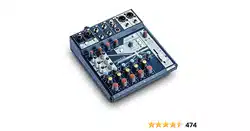
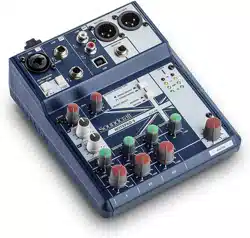
All graphic representations in this manual are of the Notepad-12FX model.
The Notepad-5 and Notepad-8FX models are similar, but with a reduced feature set.
• NOTEPAD-5 • NOTEPAD-8FX • NOTEPAD-12FX
NOTEPAD SERIES

Mono/Stereo
Keyboard
Speaker Outputs
Preamp
Gain/Trim
Aux/FX Send
L/R Pan
Channel Level
EQ
Headphone Output
Headphone Level
Aux Master Level
Mix Master Level
Microphones
Guitar
USB From
Computer
Media Player
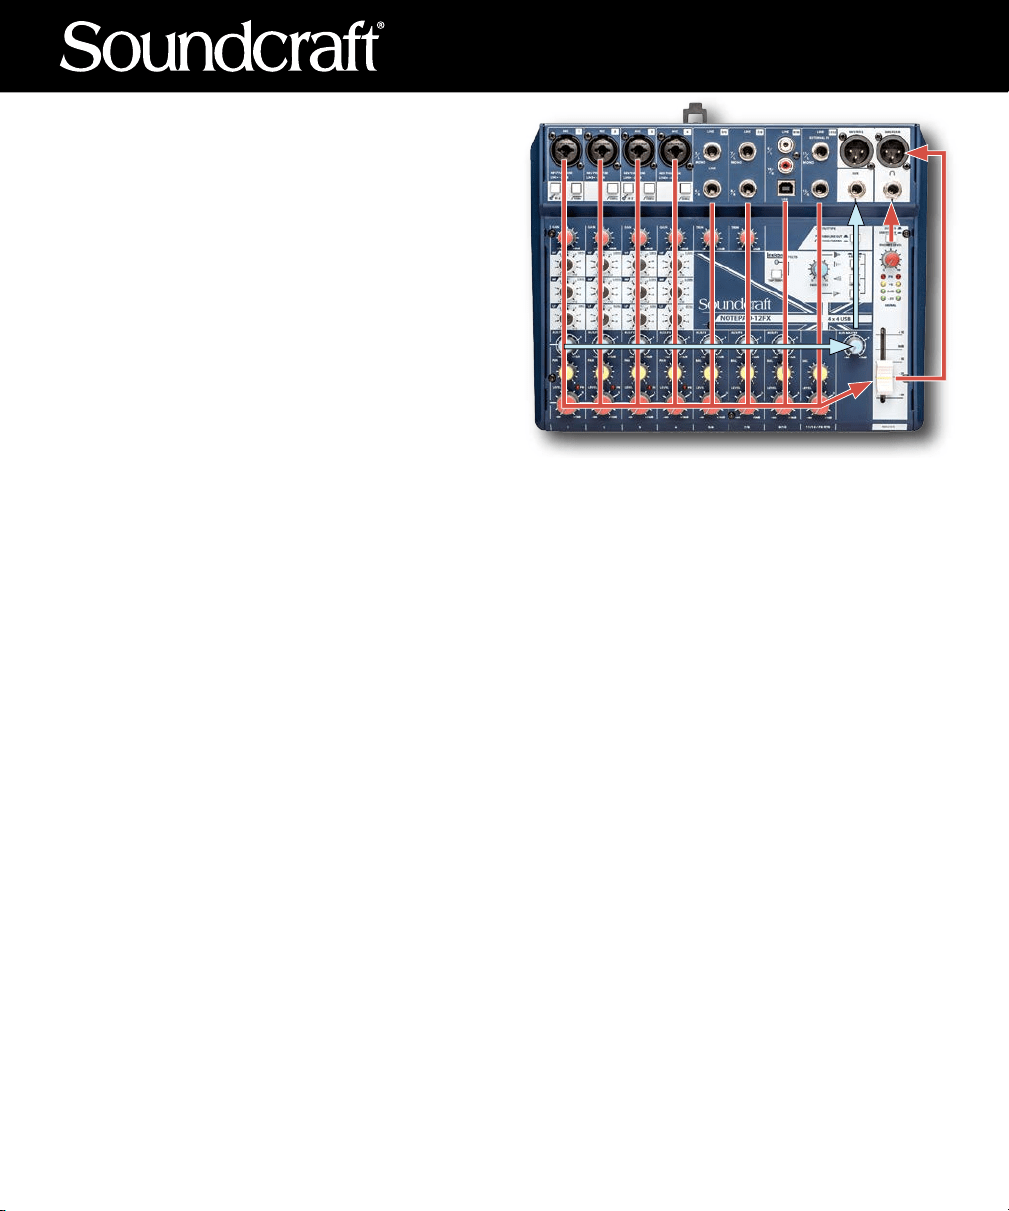
Step 1: Connecting Inputs & Outputs
Makesurethemixerandalldevicesbeingconnectedtothemixerarepoweredo.Topowerothemixer,unplug
the power plug from the AC power source.
Connecting Microphones
Connect the microphones to the channel XLR inputs using balanced XLR microphone cables.
Connecting Guitar Instruments
Plug the guitar into the center of the combi jack using an instrument cable with a ¼-inch tip/sleeve phone
connector. Engage the HI-Z switch on the connected channel (Hi-Z is available on channel 1 of all NOTEPAD
models, as well as channel 3 of the NOTEPAD-12FX).
Connecting Line Instruments
Keyboardsoftenhave¼-inchtip/ring/sleeveconnectionsandoermonoorstereoconnectivity.Plugthekeyboard
or other line instrument into the NOTEPAD’s line inputs using cables with ¼-inch tip/ring/sleeve connectors (one
cable for mono or two cables for stereo). Use the MONO input whenever connecting a mono connection.
Connecting Media Players
Consumer-level devices should be connected to the RCA input jacks. Devices with a 3.5mm output can be
connected using a 3.5mm to RCA stereo cable (sold separately). Audio signals from the RCA inputs are summed
with audio signals coming in from the USB connection.
Connecting Powered Speakers
Powered speakers should be connected to the MASTER L and MASTER R XLR output jacks. The level of these
outputs is controlled by the MASTER fader (NOTEPAD-8FX or NOTEPAD-12FX) or MASTER rotary control
(NOTEPAD-5).
Connecting Headphones
Plug the headphones into the ¼-inch HEADPHONE output. The level of this output is controlled by the PHONES
LEVEL rotary knob. (NOTEPAD-5’s TRS MONITOR output can be switched between MONO LINE OUT and
MONITOR/MASTER source select by pressing the buttons on the surface of the mixer.)
Step 4: Connecting a Computer via USB
The NOTEPAD can be connected to a Windows
®
or Mac
®
computer using a USB A to USB B computer cable (sold
separately).Beforeconnecting,downloadandinstallthelatestdriver,controlpanel,andrmwareupdatesfrom
the downloads section of the NOTEPAD product web pages.
USB routing can be selected in the downloaded Soundcraft Control Panel user interface running on the connected
computer.
Step 2: Powering on the Mixer & Adjusting Levels
a. Before powering on the NOTEPAD, turn all the red knobs to the left (MASTER, PHONES LEVEL preamp GAIN/
TRIM, and channel LEVEL knobs).
b. Power on the mixer by connecting the power supply to the AC inlet, then connect the barrel connector to the
back of the NOTEPAD, ensuring all power supply connections are secure.
c. Power on all connected devices.
d. For the channels in use, set the LEVEL knobs to the 2 o’clock position (0dB), then slowly turn up the MASTER
control until you begin to hear the signal or reach 0dB.
e. Slowly raise the preamp GAIN/TRIM knob on each channel until the desired mix balance is achieved. If a peak
LEDlights,backothecontrol.
f. Readjust the MASTER control for the desired output level.
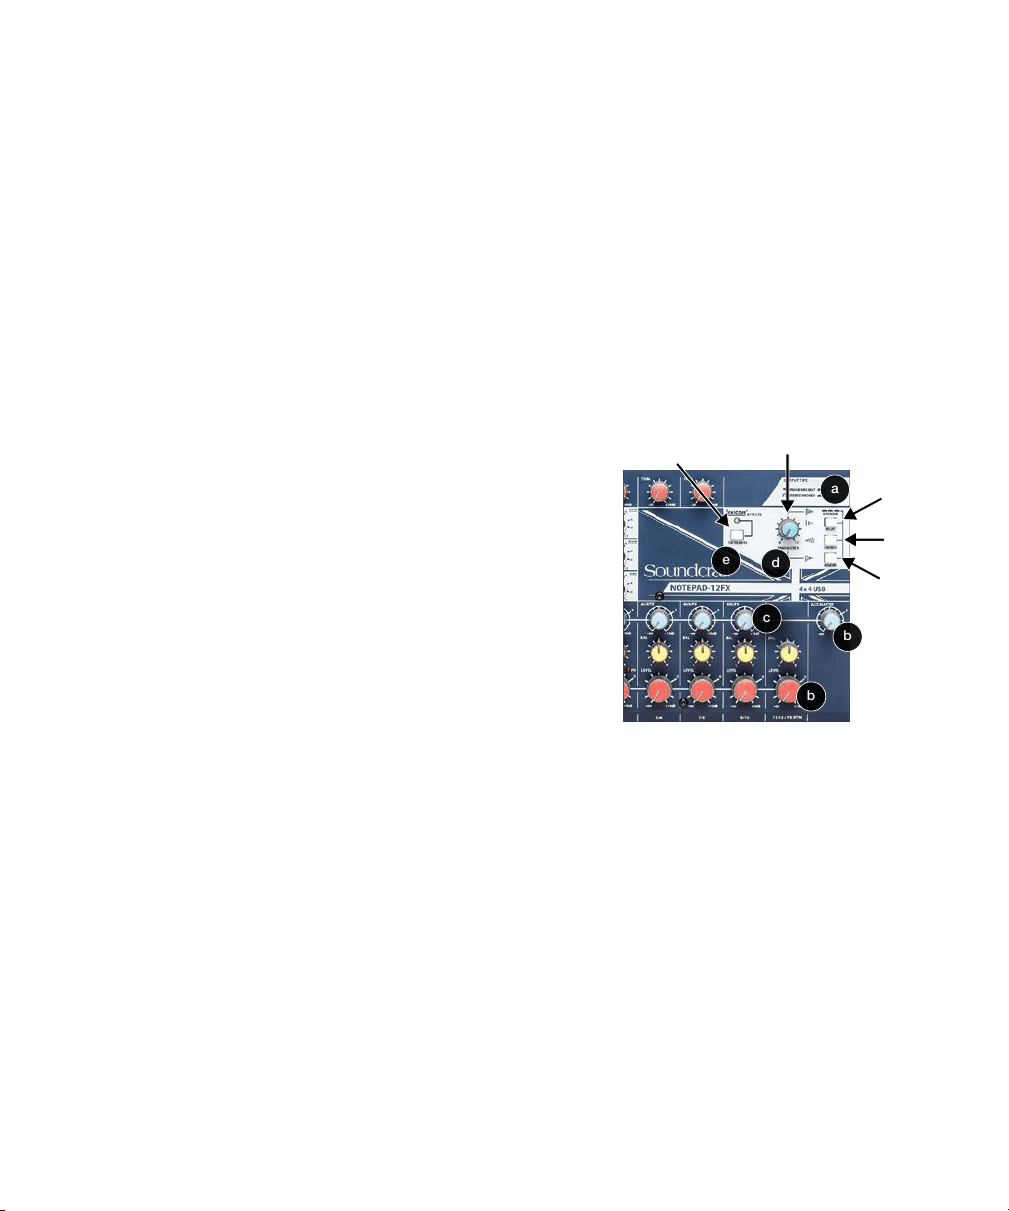
Step 3: Using FX (audio effects)
NOTEPAD-8FX and NOTEPAD-12FX include a built-in Lexicon
eectsprocessingsection.
Add Lexicon Eects to Your Mix
a. Selectthedesiredeectalgorithmbypressinga
combination of DELAY, CHORUS, and REVERB buttons.
b. Set the blue AUX MASTER knob to the 2 o’clock position
(0dB). If using the NOTEPAD-12FX, also set the FX RTN
LEVEL knob to the 2 o’clock position (0dB).
c. Raise the AUX/FX knob for each channel until the desired
eectlevelisachieved.
d. Adjust the PARAMETER knob to change the parameter of
theselectedeect.
e. Ifusingthedelayeect,thedelaytimecanbesynchronizedtothemusicbytappingtheTAPTEMPObutton
several times, in time with the music.
Using External Eects Processors
OnallNOTEPADmodels,theeects/monitoringcontrolsmayalsobeusedtosendasignaltoanexternaleects
processor. See the User Guide for more information.
Tap Tempo
Delay
Parameter Control
Reverb
Chorus
d
c
e
a
b
b
NOTEPAD SERIES
QUICK START GUIDE
Soundcraft, NOTEPAD, and Lexicon are registered trademarks of HARMAN Professional.
Other trademarks and trade names are those of their respective owners.
Issued: 8/2019Soundcraft NOTEPAD Series Quick Start Guide
Additional Information
Formoreinformation,softwaredownloads,specications,andmorevisittheNOTEPADproductwebpages:
NOTEPAD-5
https://www.soundcraft.com/en/products/notepad-5#downloads_and_docs
NOTEPAD-8FX
https://www.soundcraft.com/en/products/notepad-8fx#downloads_and_docs
NOTEPAD-12FX
https://www.soundcraft.com/en/products/notepad-12fx#downloads_and_docs
NOTEPAD Signal Flow
Signalowentersthroughtheinputjacksonthe
upper-left section of the surface of the mixer. The
signal is routed toward the front of the mixer, then
moveshorizontallytotherightonthemonitorrow
(MONonNOTEPAD-5)oreectsrow(AUX/FXon
NOTEPAD-8FX or NOTEPAD-12FX) and channel
LEVEL controls at the front of the surface. These
mixes feed each master level control on the right
side of the surface, (MONITOR MASTER, AUX
MASTER,orMASTERlevel),whichthenowupthe
rightsideofthemixertothedierentoutputjacks.
Troubleshooting
Power does not come on
There are three connections between the AC source and the NOTEPAD: at the AC connection, at the AC power
lead cable to the power supply body, and the barrel jack connector that plugs into the back of the NOTEPAD.
Make sure all three are fully inserted.
No sound
With all the red rotary knobs turned down, start turning up each of the red knobs 10% at a time, until you achieve
the desired volume. With each red knob at about the 2 o’clock position, you should have a mix with input-to-
output levels that are about equal.
Sound is faint, distorted, or not clear
Best signal level performance is often achieved when the meters peak mostly in the yellow LED area of the master
meters.
No eects applied
Review the “Using FX” section of this document.