1 2 3
4
6
5
7
B
D
C
E F G H
L
I
A
B
C
D
E
F
G
H
L
H
I
A
A
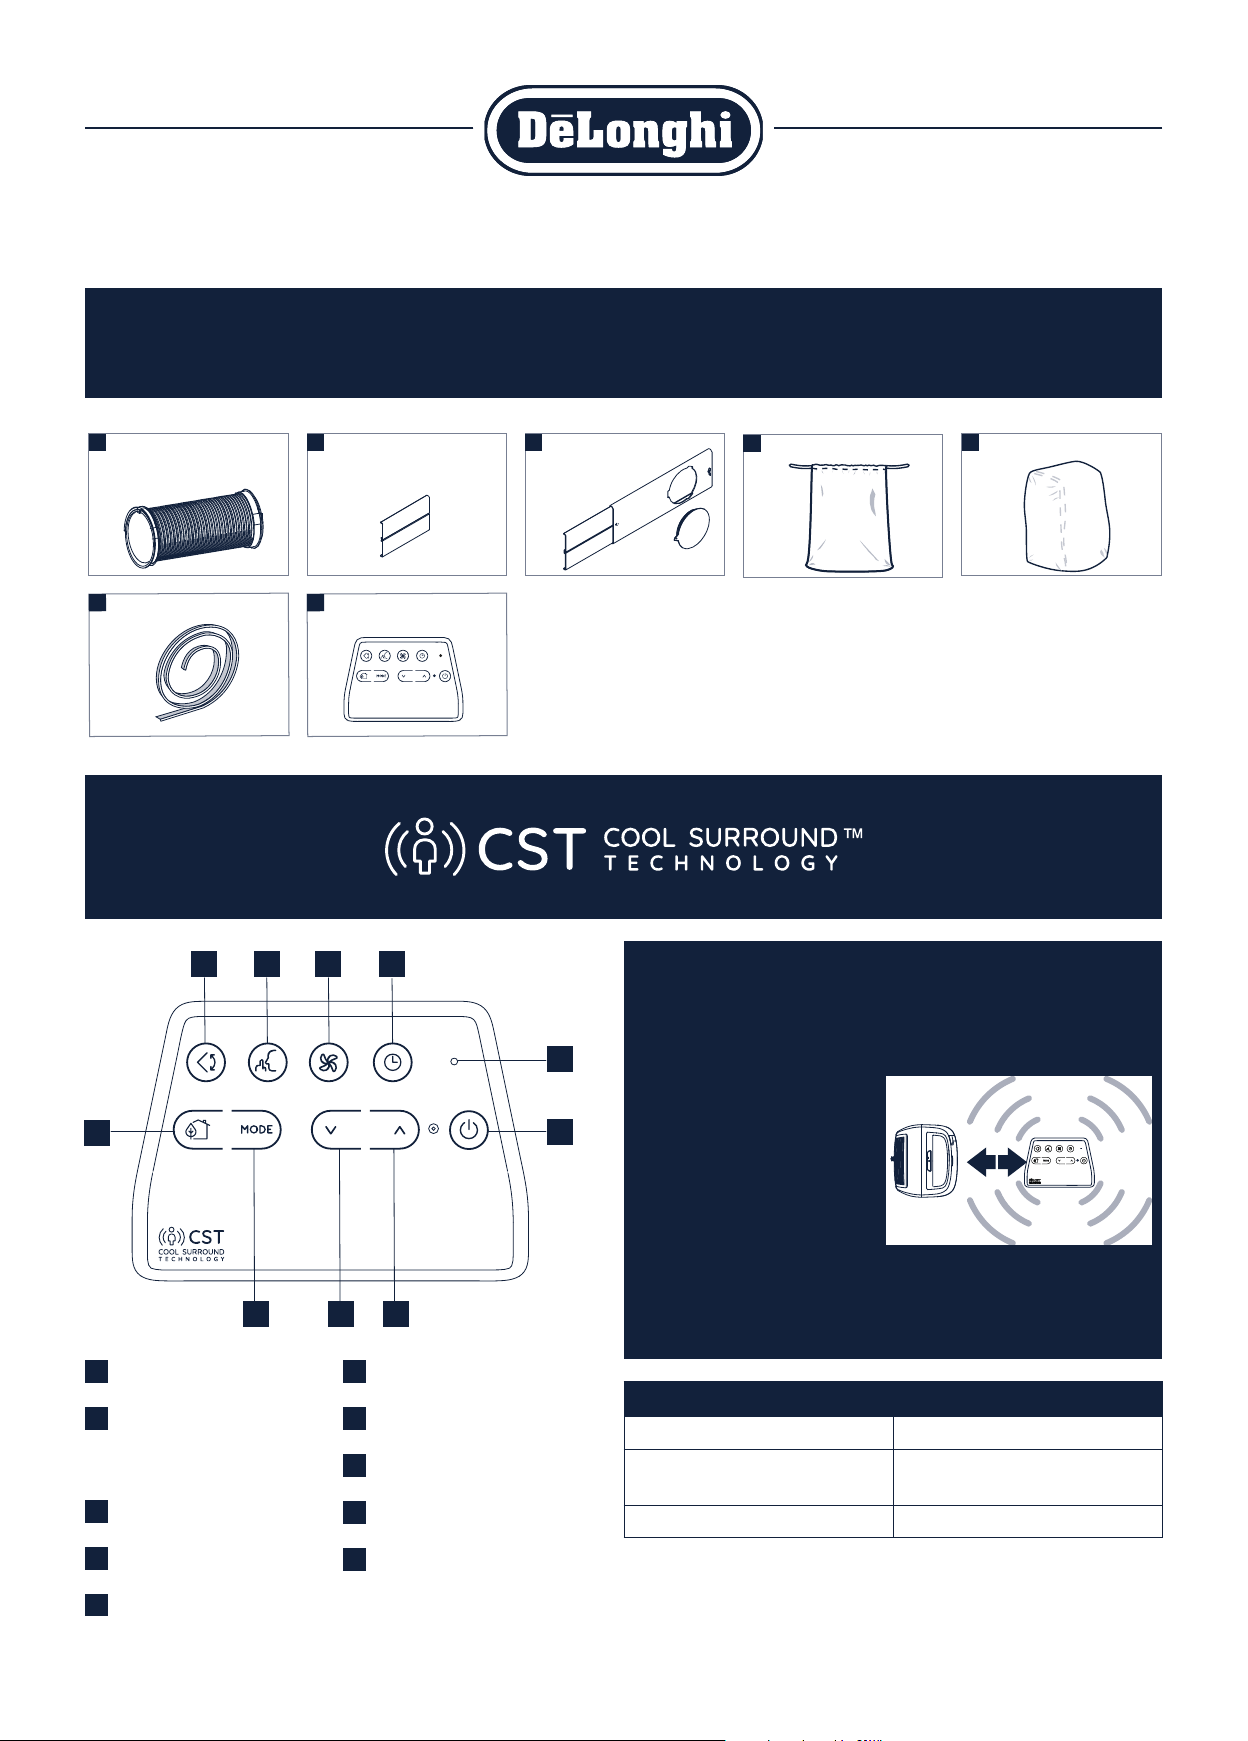
DESCRIPTION OF THE ACCESSORIES
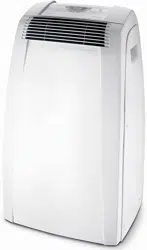
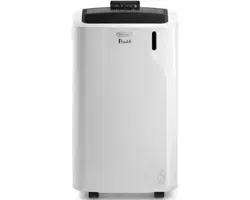
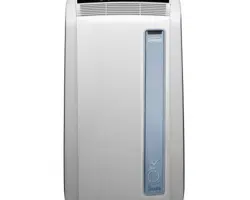
Congratulations on your purchase.
Use this quick set-up guide, and the user manual, to fully use all of the features and functions of your De’Longhi product.
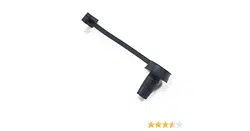
Air exhaust hose (shown with
adapters already attached)
Foam stripping
Additional bracket
CST remote control
Window outlet vent
End of season accessories bag End of season dust cover
ON/STAND-BY (on/off)
button
Decrease key
Arctic Whisper button
Swing button (flap swing)
ECO REAL FEEL button
Indication LED
Increase key
Fan button
Timer button
Function selection button
MODE (air conditioning,
dehumidifying, fan)
The CST remote control senses temperature and humidity like a thermostat for a
personalized custom cool around you.
By keeping the CST remote nearby, it will track humidity and temperature around
you making sure you’ll always enjoy your desired comfort.
• Keep the CST remote control
placed on a table or a flat sur-
face. Do not hold the CST remote
control in your hand for long
time to avoid altering the read-
ing of the sensors.
• The remote control must be no
more than about 33 ft (10 me-
ters) away from the appliance
(even in non line of sight).
• The CST sensors are also disabled if the CST remote control is positioned at a
distance less than 3.3 ft from the unit.
What led means....
3 fast flashes (white) at the touch of each button
It blinks every 30 seconds
(white)
data transmission
It blinks periodically entering pairing
White color: batteries good status.
Red color: batteries beginning to be exhausted.
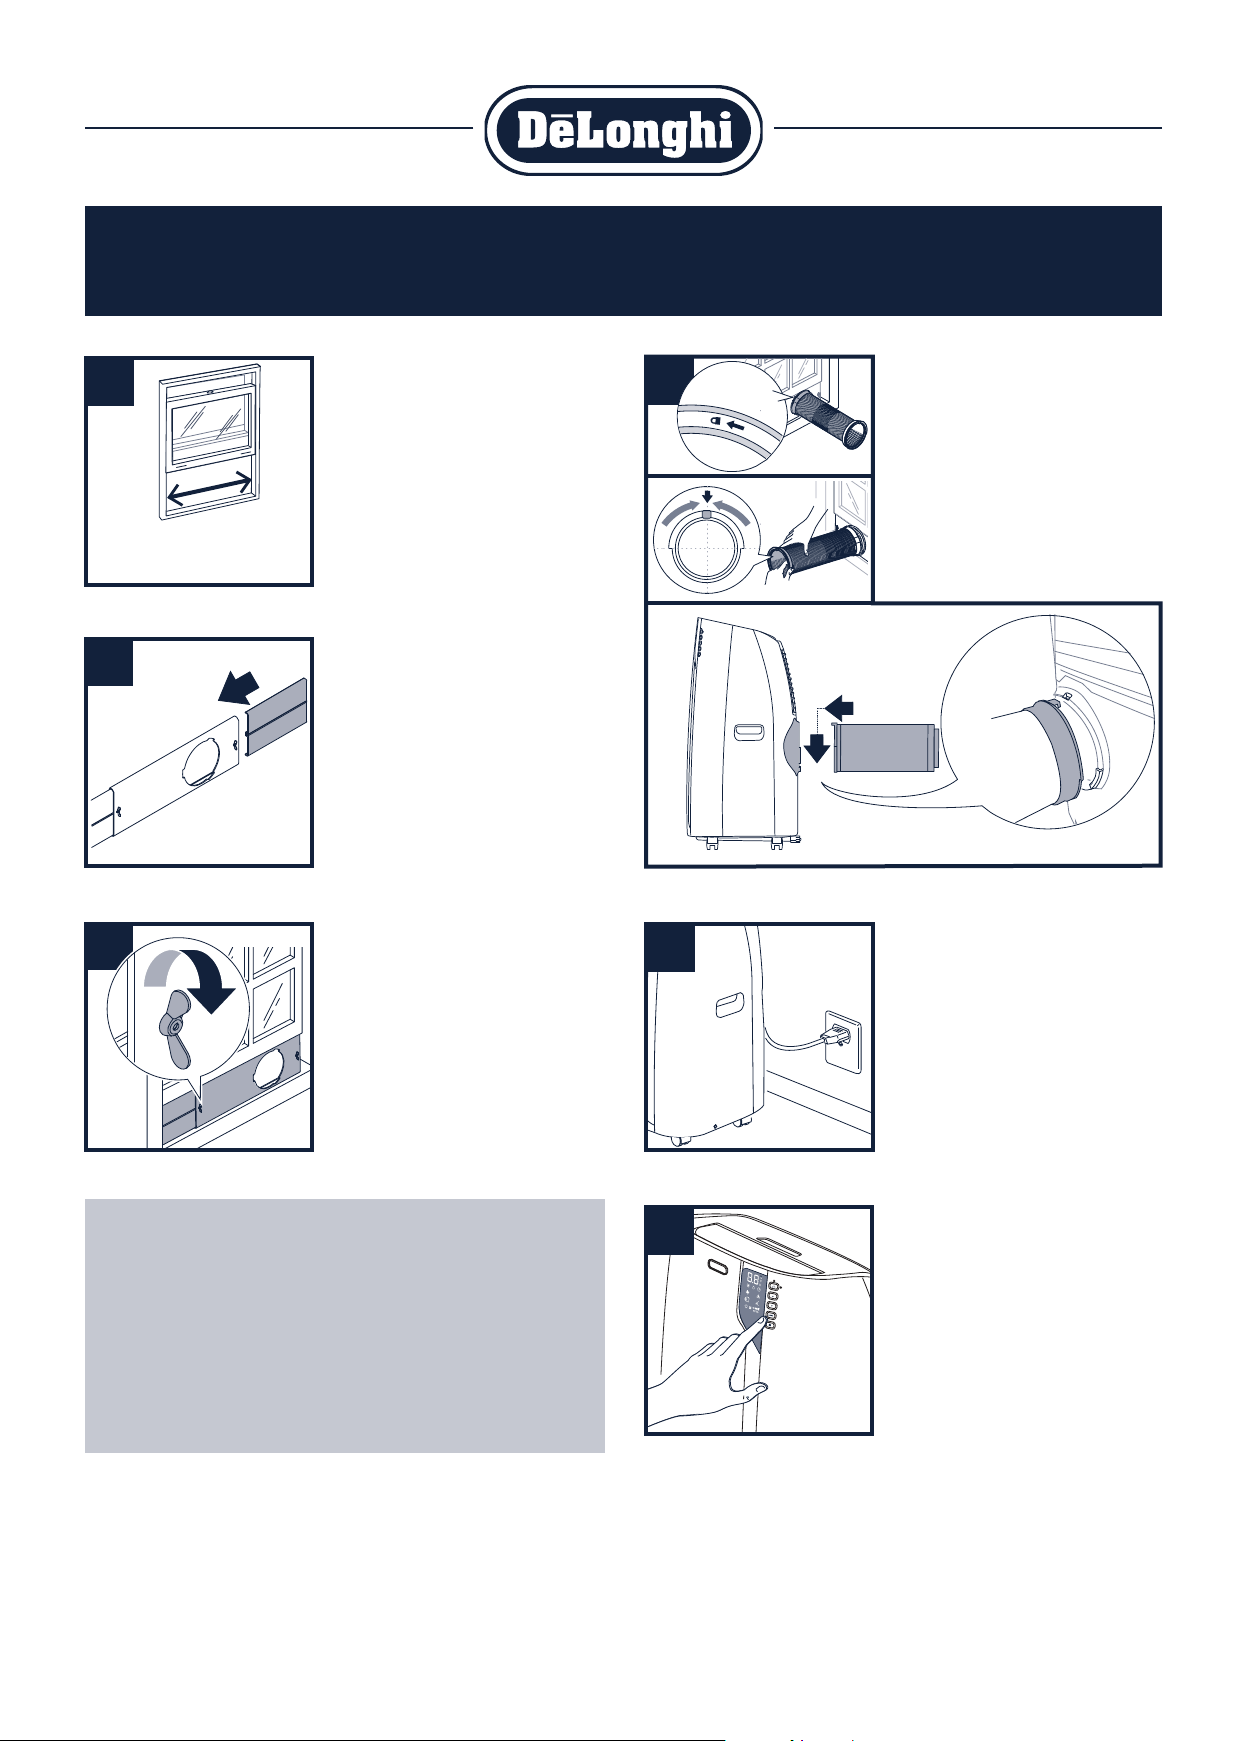
1
STEP
Window
bracket
Additional
bracket
6
STEP
from 20” to 47”
5
STEP
2
STEP
3
STEP
4
STEP
A
B
C
Click
EASY SET UP - ALL PARTS INCLUDED - NO TOOLS REQUIRED!
IMPORTANT NOTES TO PREVENT LEAKINGS:
1) Make sure air conditioner is on a level surface to prevent any conden-
sate leakage.
2) Before you move the unit, unplug the unit from the wall, and drain
any condensation from the drainage hose located on the back of
the unit into container. If you are in an especially humid region, you
should do this regularly to prevent potential leaking. Make sure drain
cap is back on tightly before resuming use.
For additional questions or comments, please call our Customer Service Hotline at 1-800-322-3848 (Toll Free – U.S. Only)
www.delonghiusa.com
Step 1 - Placement
Select the best window for the air conditioner.
The window kit will fit from a 20” to 47”
opening. You will need some clearance for the
hose and a convenient 3 hole grounded electrical
outlet within 5 ½ feet. Choose a window that is
centrally located so it is best positioned to cool
the entire room.
Do not install on same electrical circuit as other
major appliances.
Step 4 - Hose assembly
A - Insert and lock the accessory for window
bracket, already assembled to the air
exhaust hose, into the slot of the window
bracket.
B - Position the hose adapter ‘s tabs in a
vertical axis.
C - Attach assembled hose to the back of the air
conditioner.
Step 5 - Plug the unit in
Be sure it is a 3 hole grounded outlet within
5 ½ feet of air conditioner.
Step 6 - Turn unit on and set to your
desired temperature
See user manual to be able to use all func-
tions and features of this product.
Step 2 - Window kit
Take the window kit (3) and install in selected
window.
If there is still window area exposed, add the
additional window bracket (2) to fill the space.
Step 3 - Fix the bracket
Fix the bracket by the wing nut.
If desired, attach the provided stripping foam to
the top of the window bracket and then lower
the window onto the bracket.
5715113871_00_1219