Loading ...
Loading ...
Loading ...
11
INSTALLATION
Install Leveling Legs
WARNING
Excessive Weight Hazard
Use two or more people to move and install or uninstall
appliance.
Failure to do so can result in back or other injury.
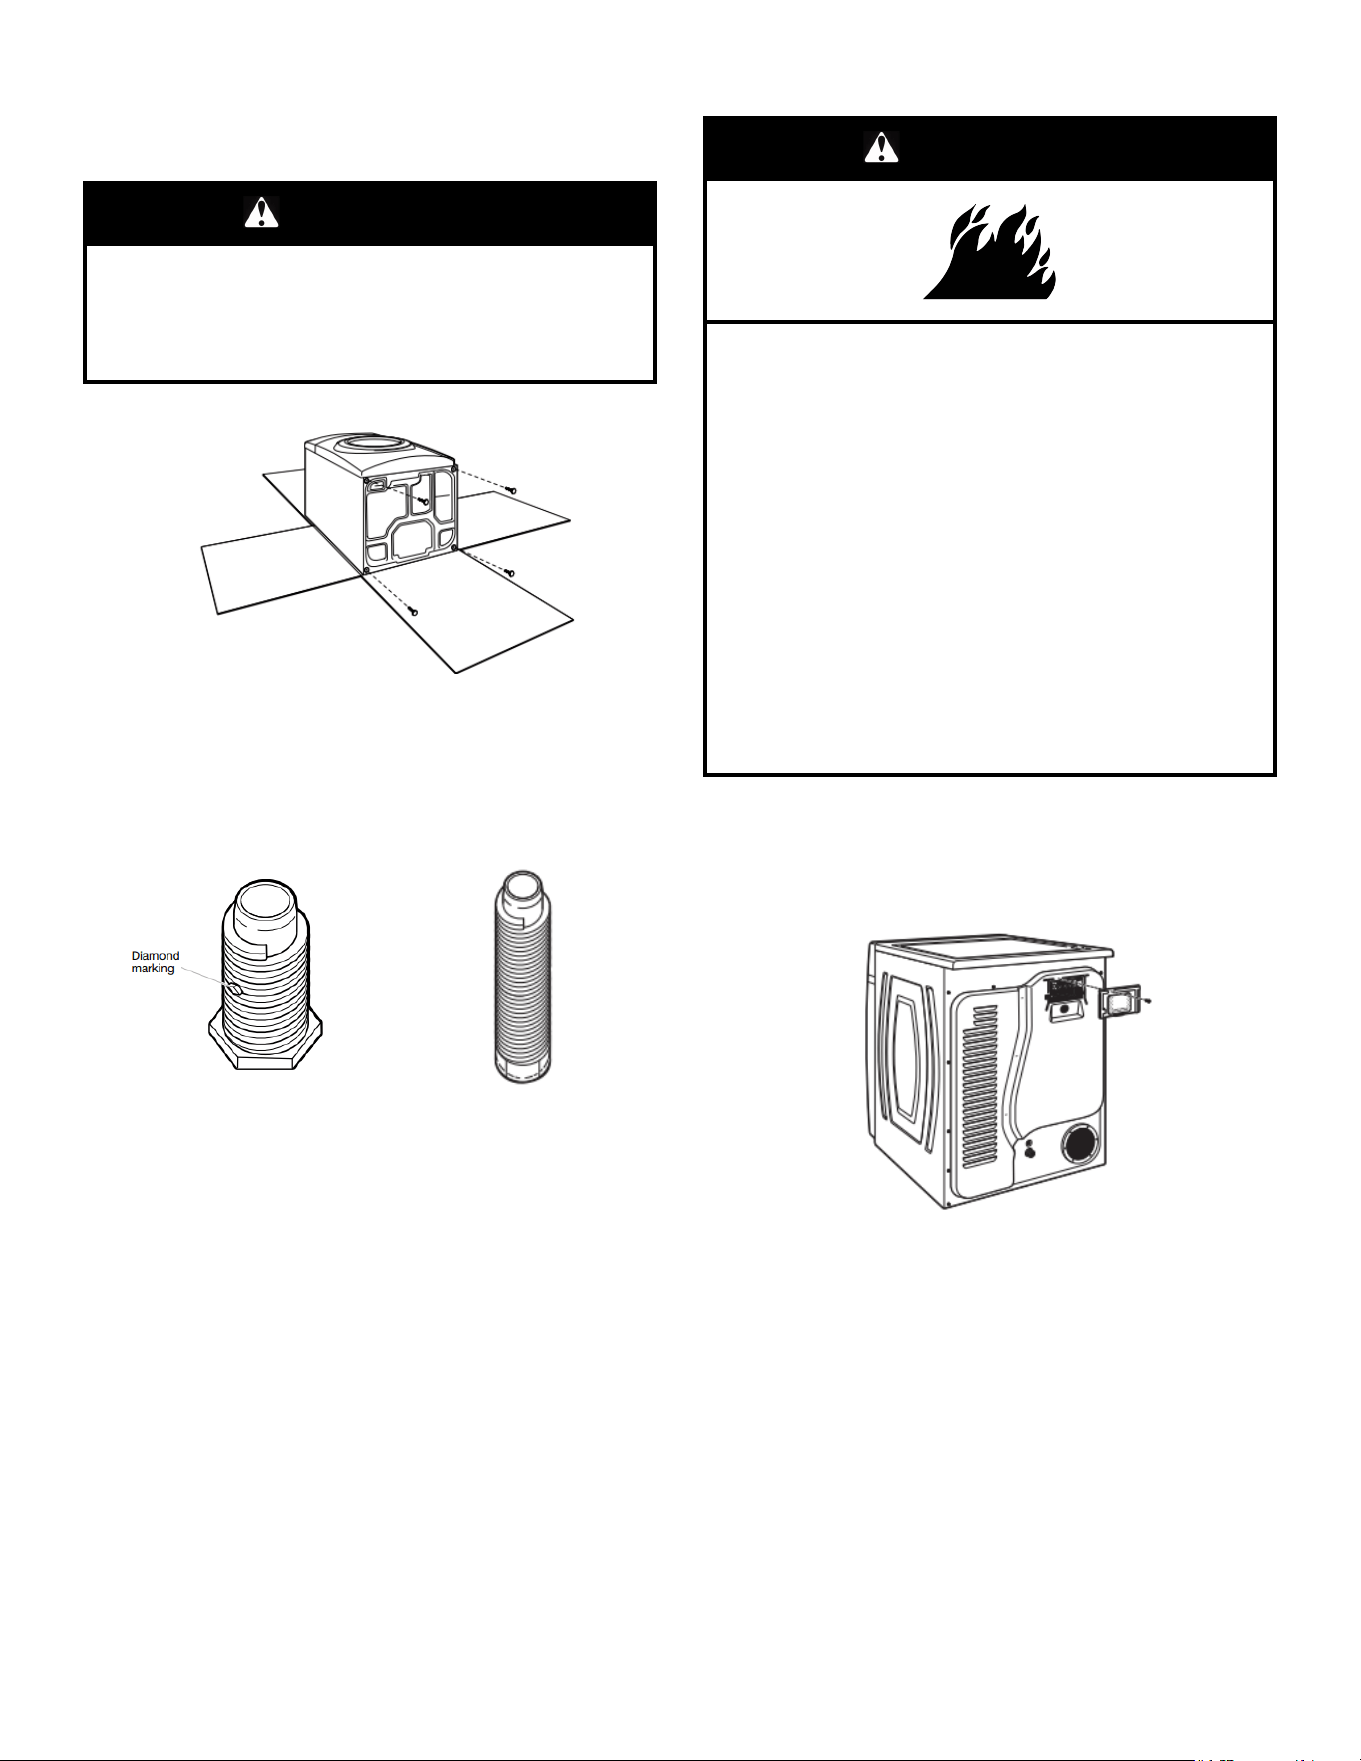
1. Prepare dryer for leveling legs
To avoid damaging floor, use a large flat piece of cardboard
from dryer carton; place under entire back edge of dryer.
Firmly grasp dryer body (not console panel) and gently lay
dryer down on cardboard.
NOTE: Residual water from factory testing may drain when
dryer is laying on its side.
2. Screw in leveling legs
Leveling leg with diamond
marking.
Leveling leg without diamond
marking
Using a wrench and tape measure, screw leveling legs into
leg holes until bottom of foot is approximately 1/2" (13 mm) to
1
1
/
2
" (38 mm) from bottom of the dryer.
For leveling legs with the diamond marking:
Screw legs into leg holes by hand. Use a wrench to finish
turning legs until diamond marking is no longer visible.
Place a carton corner post from dryer packaging under each
of the two dryer back corners. Stand the dryer up. Slide the
dryer on the corner posts until it is close to its final location.
Leave enough room to connect the exhaust vent.
Electrical Installation – U.S.A.
WARNING
Fire Hazard
For power supply cord, use a new UL listed 30 A power
supply cord.
For direct wire, use 10 gauge copper wire.
Use a UL listed strain relief.
Disconnect power before making electrical connections.
Connect neutral wire (white or center wire) to center
terminal (silver).
Connect ground wire (green or bare wire) to green
ground connector.
Connect remaining 2 supply wires to remaining 2
terminals (gold).
Securely tighten all electrical connections.
Failure to do so can result in death, fire, or electrical
shock.
1. Disconnect power
2. Remove terminal block cover
NOTE: Your terminal block cover may be in a different
location.
Remove hold-down screw and terminal block cover.
Loading ...
Loading ...
Loading ...