Loading ...
Loading ...
Loading ...
9
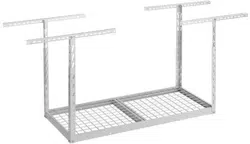
Lay two rack sections upside down on the oor. Assemble the
rack sections (P1) together using M8 - 1.25 x 12 socket-head cap
screws (F1) (2) and M8 - 1.25 Rectangular nuts (F4) (2).
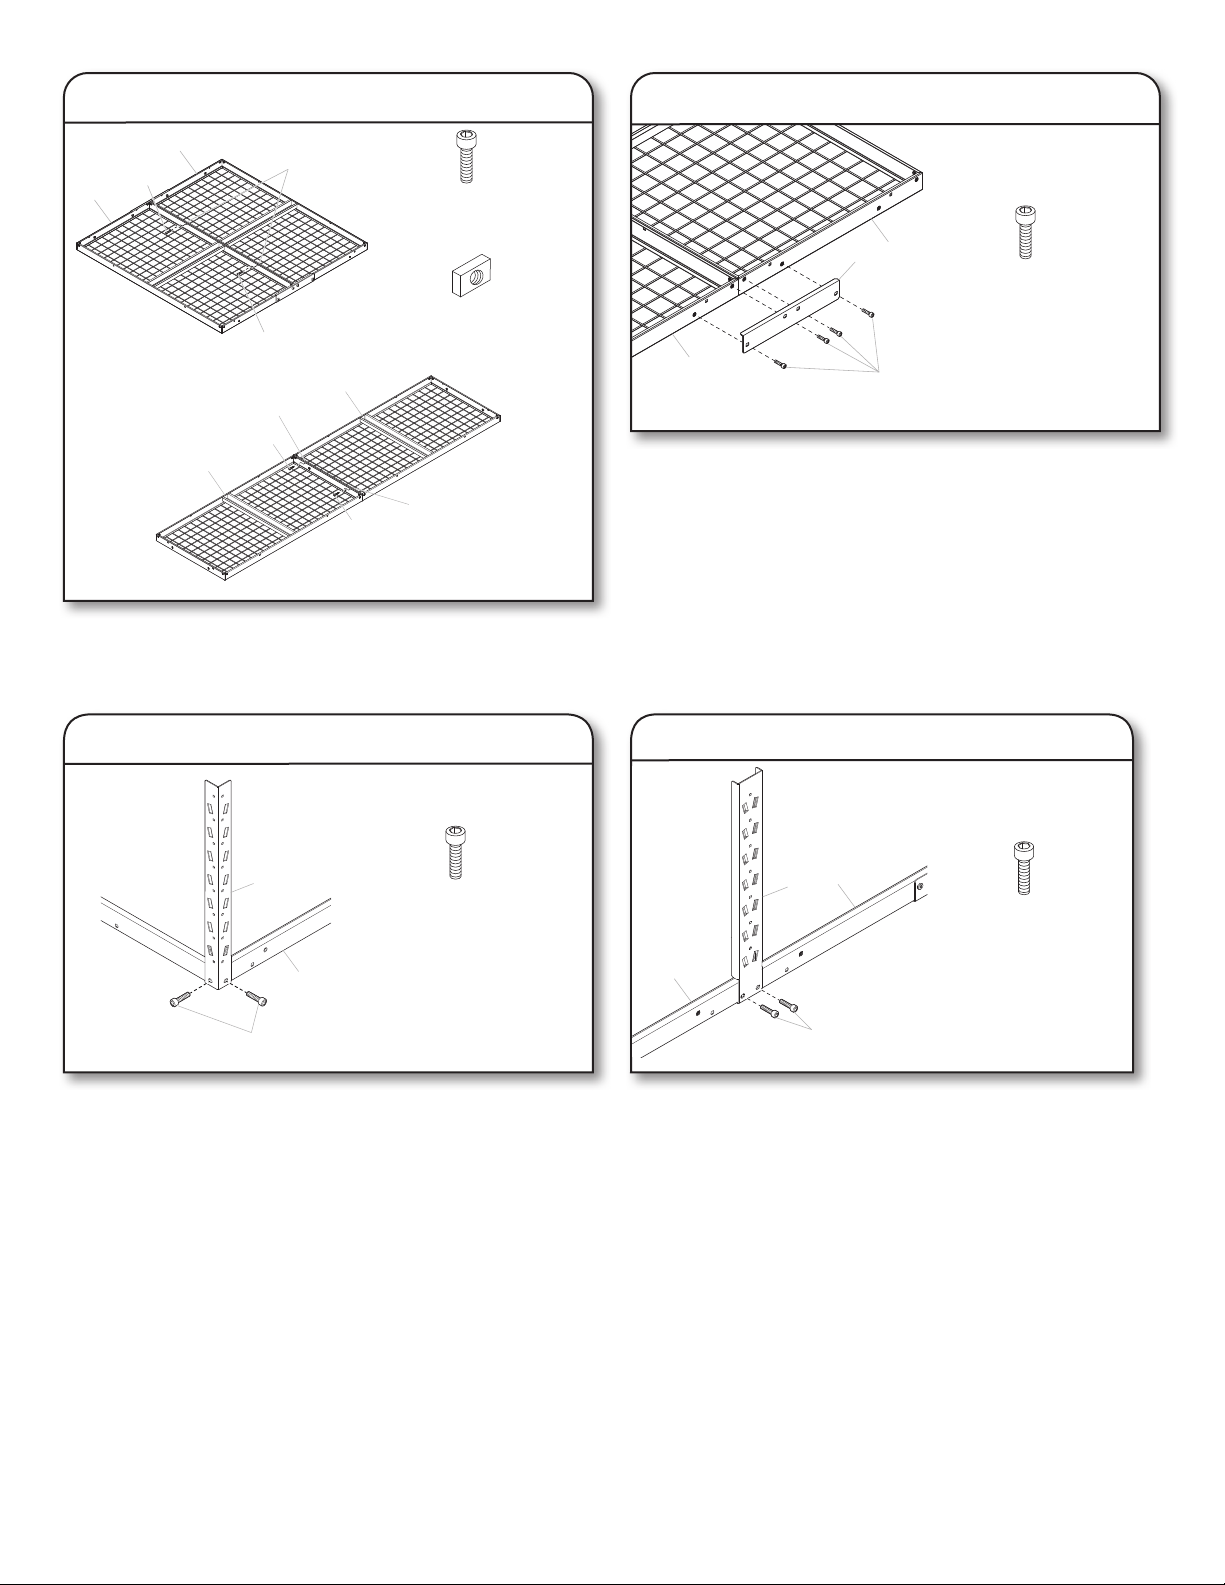
4. Attach the rack brackets (4' x 4')
P1
P7
F1
P1
F1
M8 - 1.25 x 12 Socket-head
cap screw
Attach the rack connection brackets (P7) to both sides of the two
bolted-together rack sections using M8 - 1.25 x 12 socket-head
cap screws (F1) (8).
5. Attach lower corner supports
P1
F1
P4
F1
M8 - 1.25 x 12 Socket-head
cap screw
Attach the four lower corner supports (P4) to the rack corners
using M8 - 1.25 x 12 socket-head cap screws (F1) (8).
6.
Attach lower center supports (2' x 8')
P6
P1
F1
P1
F1
M8 - 1.25 x 12 Socket-head
cap screw
Attach the two lower center supports (P6) to the rack assembly
using M8 - 1.25 x 12 socket-head cap screws (F1) (4).
3. Connect the racks (4' x 4', 2' x 8')
P1
P1
F1
F1
F4
F1
M8 - 1.25 x 12 Socket-head
cap screw
4' x 4'
P1
F1
F1
P1
F4
F4
2' x 8'
F4
M8 - 1.25 Rectangular nut
Loading ...
Loading ...
Loading ...