Loading ...
Loading ...
Loading ...
Thispowertoolisequipped with a 3-conductor cord and
ground type plug listed by Underwriters' Laboratories.
The ground conductor has a green jacket and is at-
tached to the tool housing at one end and to the ground
prong in the attachment plug at the other end.
This plug requires a mating 3-conductor grounded type
outlet as shown above.
WARNING: To maintain proper tool grounding
whenever the outlet you are planning to use for
this power tool Is of the two prong type, do not
remove or alter the grounding prong in any man-
ner. Use an adapter as shown and always connect
the grounding prong to known ground.
Have a qualified electrician replace the two prong outlet
with a properly grounded three prong outlet.
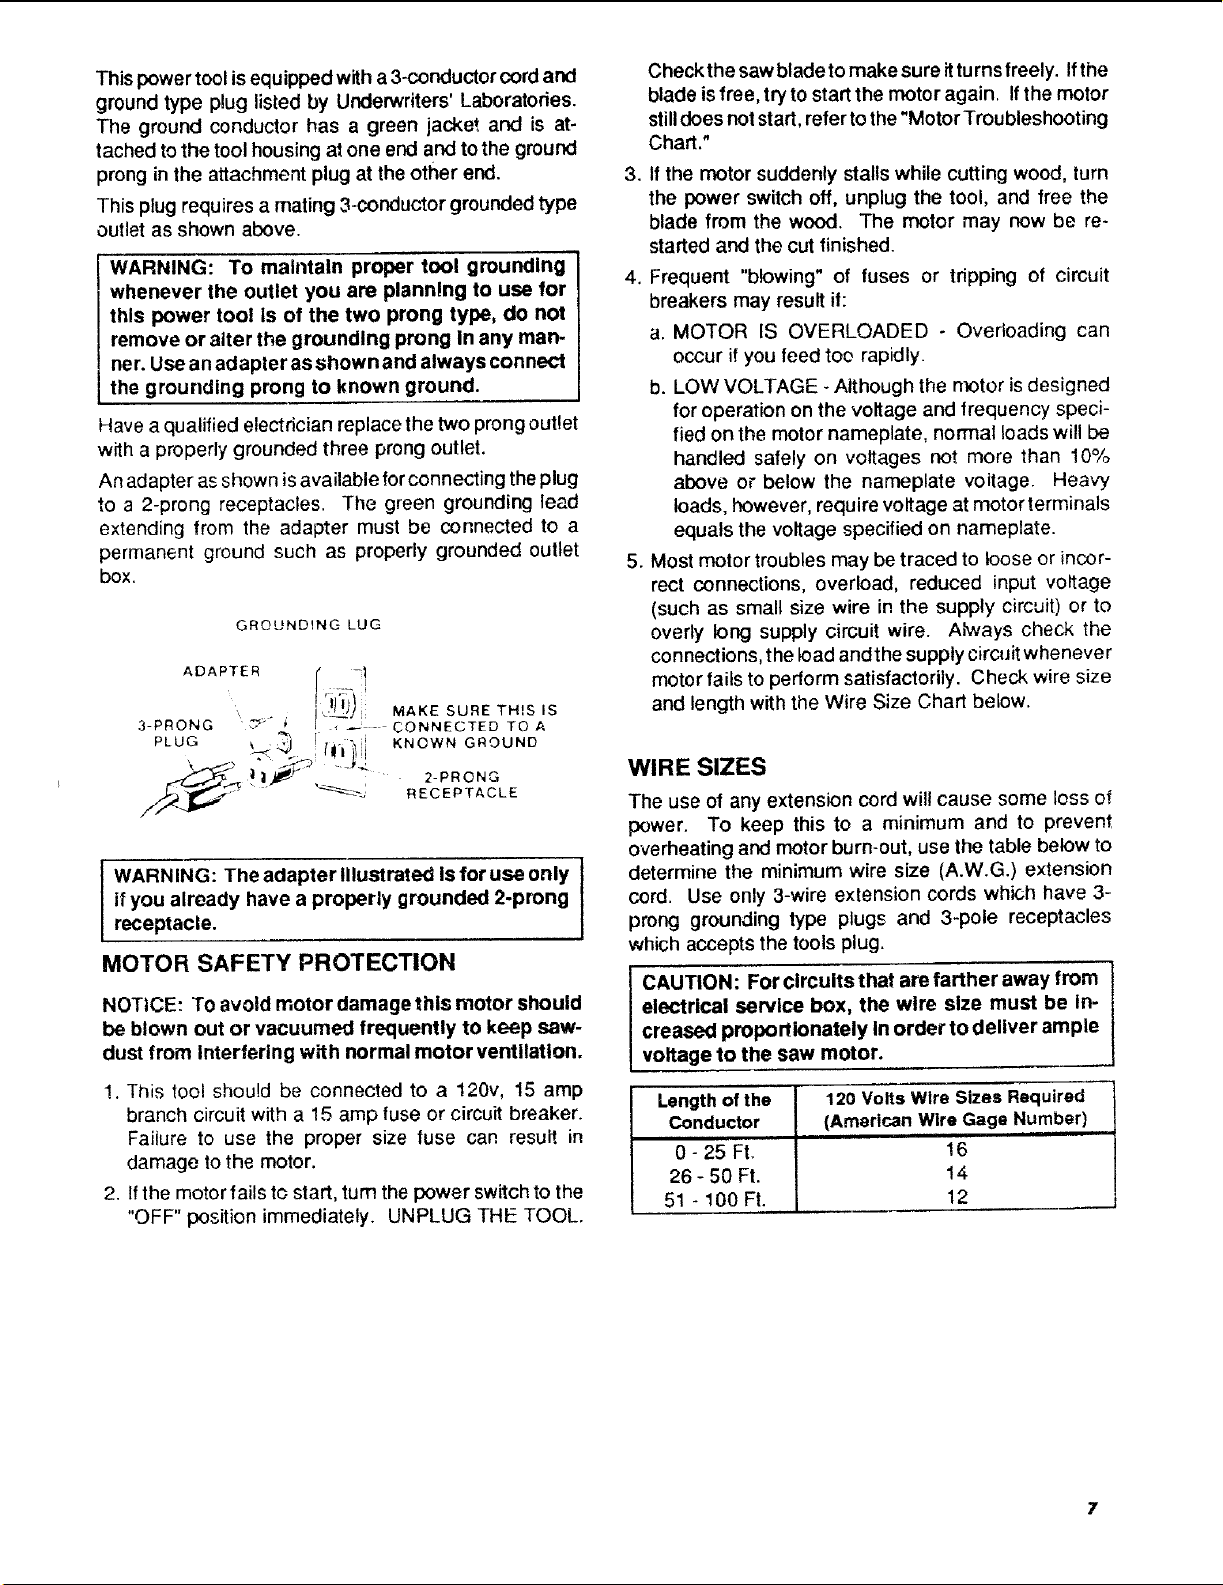
An adapter as shown is available for connecting the plug
to a 2-prong receptacles. The green grounding lead
extending from the adapter must be connected to a
permanent ground such as properly grounded outlet
box.
GROUNDING LUG
ADAPTER
PLUG _
MAKE SURE TH!S IS
-, _ - CONNECTED TO A
KNOWN GROUND
I WARNING: The adapter Illustrated Is for use only I
if you already have a properly grounded 2-prong
I
receptacle.
MOTOR SAFETY PROTECTION
NOTICE: To avoid motor damage this motor should
be blown out or vacuumed frequently to keep sew-
dust from Interfering with normal motor ventilation.
1. This tool should be connected to a 120v, 15 amp
branch circuit with a 15 amp fuse or circuit breaker.
Faiiure to use the proper size fuse cap, resui_ in
damage to the motor.
2. If the motor faUs to start, turn the power switch to the
"OFF" position immediately. UNPLUG THE TOOL.
Checkthe saw bladeto make sure itturns freely. Ifthe
blade is free, try to start the motor again. If the motor
stilldoes not start, refer to the "Motor Troubleshooting
Chart."
3. If the motor suddenly stalls while cutting wood, turn
the power switch off, unplug the tool, and free the
blade from the wood. The motor may now be re-
started and the cut finished.
4. Frequent "b!owing" of fuses or tripping of circuit
breakers may result if:
a. MOTOR IS OVERLOADED - Overloading can
occur if you teed too rapidly.
b. LOW VOLTAGE - Although the motor is designed
for operation on the voltage and frequency speci-
fied on the motor nameplate, normal loads will be
handled safely on voltages not more than 10%
above or below the nameplate voltage. Heavy
loads, however, require voltage at motor terminals
equals the voltage specified on nameplate.
5. Most motor troubles may be traced to loose or incor-
rect connections, overload, reduced input voltage
(such as small size wire in the supply circuit) or to
overly long supply circuit wire. AM,ays check the
connections, the load and the supply circuit whenever
motor fails to perform satisfactorily. Check wire size
and length with the Wire Size Chart below.
WIRE SIZES
The use of any extension cord will cause some loss of
power. To keep this to a minimum and to prevent
overheating and motor burn-out, use the table below to
determine the minimum wire size (A.W.G.) extension
cord. Use only 3-wire extension cords which have 3-
prong grounding type plugs and 3-pole receptacles
which accepts the tools plug.
CAUTION: For circuits that are farther away from
electrical service box, the wire size must be In-
creased proportionately In order to deliver ample
voltage to the saw motor.
Length of the 120 Volts Wire Sizes Required
Conductor (American Wire Gage Number)
0 - 25 Ft. 16
26 - 50 Ft. 14
51 - 100 Ft. 12
7
Loading ...
Loading ...
Loading ...