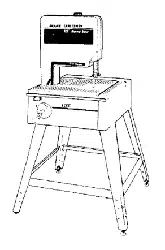
Loading ...
Loading ...
Loading ...
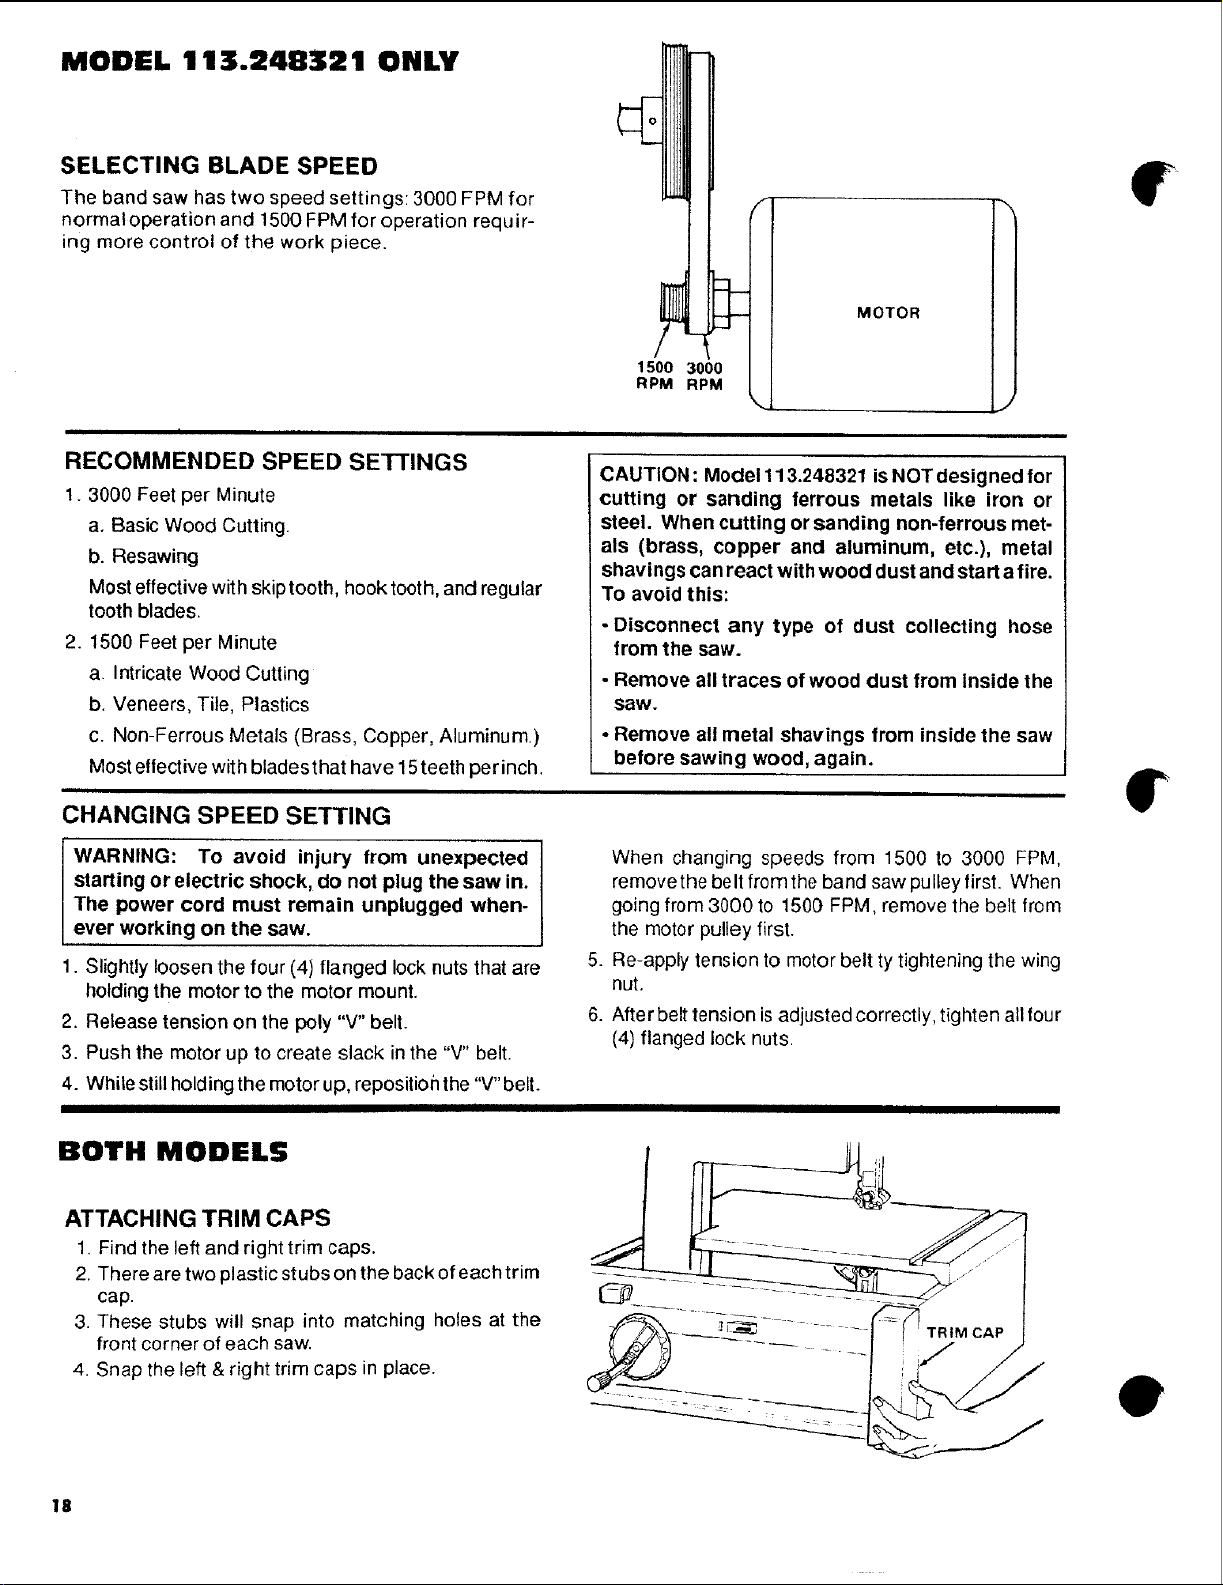
MODEL 113.248321 ONLY
SELECTING BLADE SPEED
The band saw has two speed settings: 3000 FPM for
normaloperation and 1500 FPM for operation requir-
ing more control of the work piece.
i
RECOMMENDED SPEED SETTINGS
1. 3000 Feet per Minute
a. Basic Wood Cutting.
b. Resawing
Most effectivewith skip tooth, hook tooth,and regular
tooth blades.
2. 1500 Feet per Minute
a. Intricate Wood Cutting
b. Veneers, Tile, Plastics
c. Non-Ferrous Metals (Brass, Copper, Aluminum.)
Most ellective with blades that have 15teeth per inch.
_-]
1500 3000
RPM RPM
MOTOR
J
CAUTION: Model 113.248321 isNOT designed for
cutting or sanding ferrous metals like iron or
steel. When cutting or sanding non-ferrous met-
als (brass, copper and aluminum, etc.), metal
shavings can react with wood dust and start a fire.
To avoid this:
- Disconnect any type of dust collecting hose
from the saw.
• Remove all traces of wood dust from inside the
saw.
• Remove all metal shavings from inside the saw
before sawing wood, again.
CHANGING SPEED SETTING
WARNING: To avoid injury from unexpected
starting or electric shock, do not plug the saw in.
The power cord must remain unplugged when-
ever working on the saw.
1. Slightly loosen the four (4) flanged lock nuts that are
holding the motor to the motor mount.
2. Release tension on the poly "V" belt.
3. Push the motor up to create slack in the "V" belt.
4. While still holding the motor up, repositioh the "V"belt.
I
.
6.
When changing speeds from 1500 to 3000 FPM,
remove the beIt from the band saw pu Iley first. When
going from 3000 to 1500 FPM, remove the belt from
the motor pulley first.
Re-apply tension to motor belt ty tightening the wing
nut.
After belt tension isadjusted correctly, tighten all four
(4) flanged lock nuts.
I
BOTH MODELS
ATTACHING TRIM CAPS
1. Find the leftand right trim caps.
2. There are two plastic stubs on the back of each trim
cap.
3. These stubs will snap into matching holes at the
front corner of each saw.
4. Snap the left & right trim caps in place.
TRIM CAP
€
18
Loading ...
Loading ...
Loading ...