Loading ...
Loading ...
Loading ...
Setting Oven Controls (cont'd)
Using the Temperature Probe Feature
For many foods, especially roasts and poultry, testing the internal temperature is the best method to insure properly
cooked food. The Temperature Probe gets the exact temperature you desire without having to guess.
iMPORTANT:
1. Use only the probe supplied with your appliance; any other may result in damage to the probe or the appliance.
2. Handle the Temperature Probe carefully when inserting and removing it from the food and outlet.
3. Do not use tongs to pull the cable when inserting or removing the Probe. It could damage the Probe.
4. Defrost your food completely before inserting the Probe to avoid breaking it.
5. Never leave or store the Temperature Probe inside the oven when not in use.
6. To prevent the possibility of burns, carefully unplug the Temperature Probe using hot pads.
Proper Temperature Probe Placement:
1. Always insert the probe so that the tip rests in the center of the thickest part of the
meat. Do not allow probe to touch bone, fat, gristle or pan.
2. For bone-in ham or lamb, insert the Probe into the center of the lowest large muscle or
joint. For dishes such as meat loaf or casseroles, insert the Probe into the center of the
food. When cooking fish, insert the Probe from just above the gill into the meatiest
area, parallel to the backbone.
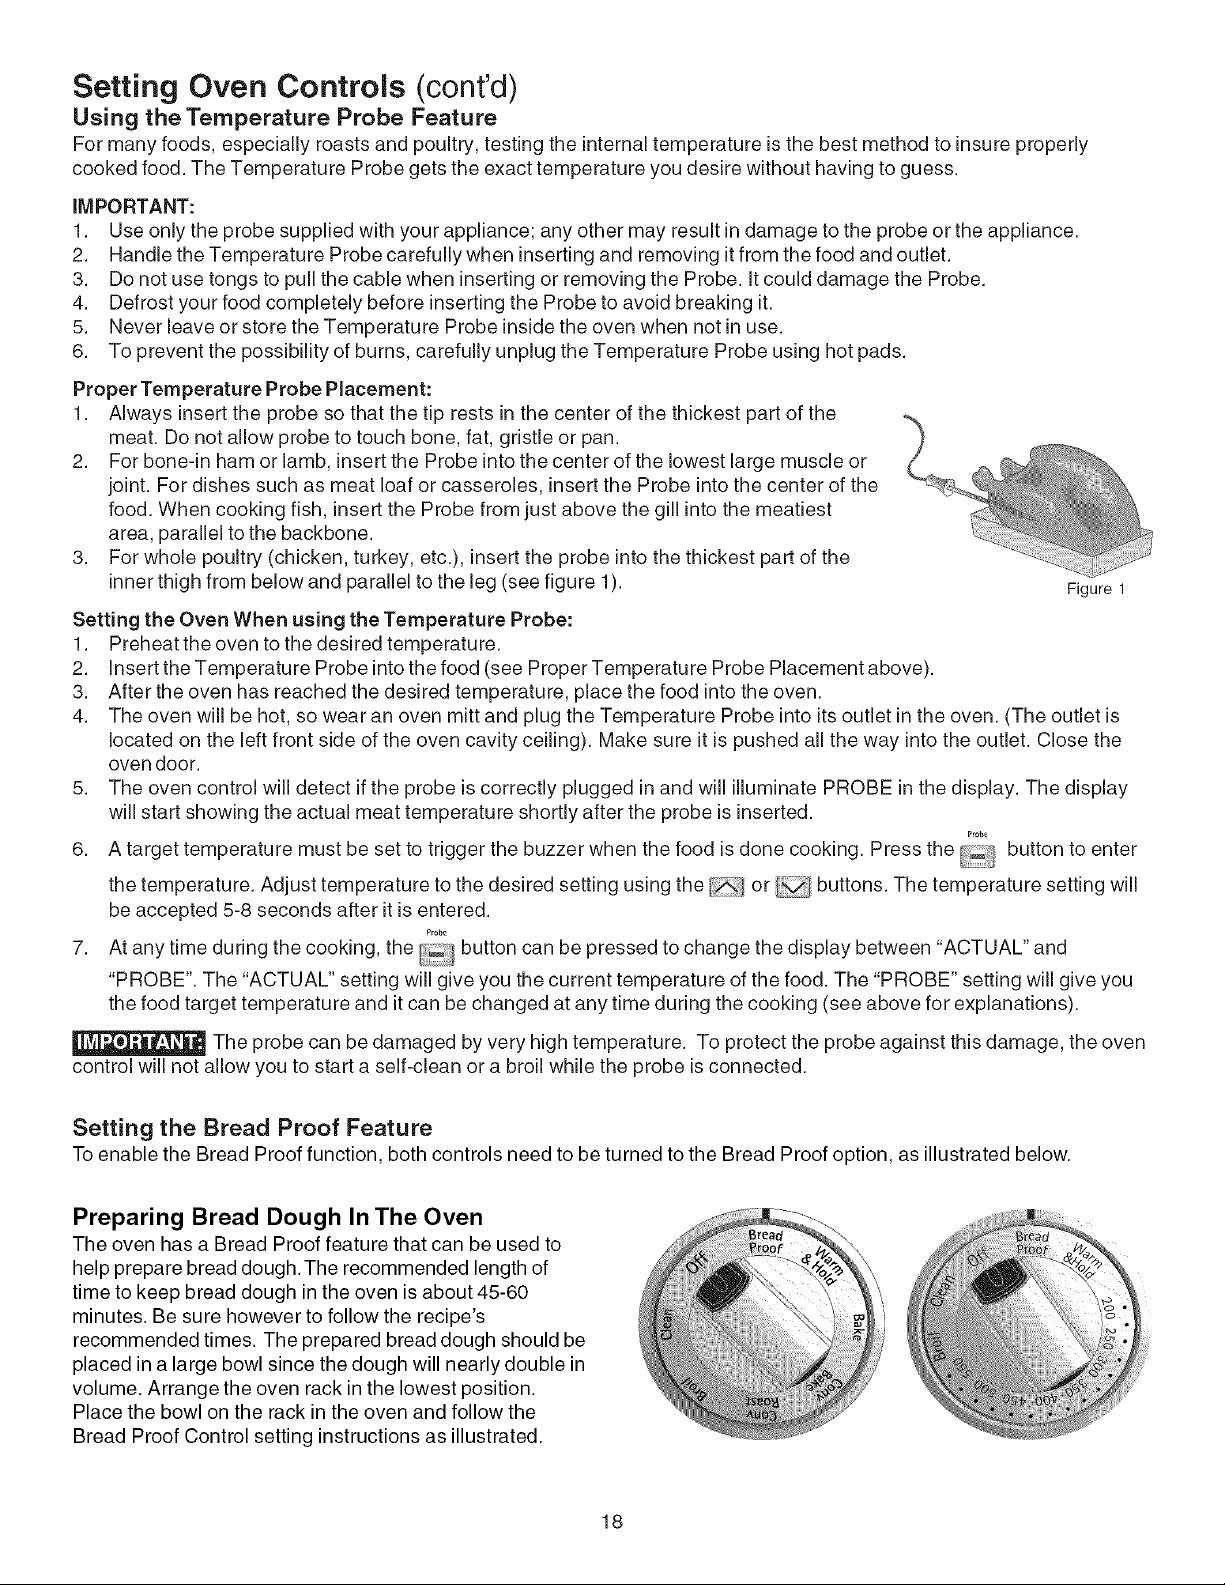
3. For whole poultry (chicken, turkey, etc.), insert the probe into the thickest part of the
inner thigh from below and parallel to the leg (see figure 1).
Setting the Oven When using the Temperature Probe:
t. Preheat the oven to the desired temperature.
2. insert the Temperature Probe into the food (see Proper Temperature Probe Placement above).
3. After the oven has reached the desired temperature, place the food into the oven.
Figure 1
4. The oven will be hot, so wear an oven mitt and plug the Temperature Probe into its outlet in the oven. (The outlet is
located on the left front side of the oven cavity ceiling). Make sure it is pushed all the way into the outlet. Close the
over door.
5. The oven control will detect if the probe is correctly plugged in and will illuminate PROBE in the display. The display
will start showing the actual meat temperature shortly after the probe is inserted.
Pro_
6. A target temperature must be set to trigger the buzzer when the food is done cooking. Press the [i _t button to enter
the temperature. Adjust temperature to the desired setting using the or _ buttons. The temperature setting will
be accepted 5-8 seconds after it is entered.
Prob_
7. At any time during the cooking, the button can be pressed to change the display between "ACTUAL" and
"PROBE". The "ACTUAL" setting will give you the current temperature of the food. The "PROBE" setting will give you
the food target temperature and it can be changed at any time during the cooking (see above for explanations).
The probe can be damaged by very high temperature. To protect the probe against this damage, the oven
control will not allow you to start a self-clean or a broil while the probe is connected.
Setting the Bread Proof Feature
To enable the Bread Proof function, both controls need to be turned to the Bread Proof option, as illustrated below.
Preparing Bread Dough In The Oven
The oven has a Bread Proof feature that can be used to
help prepare bread dough.The recommended length of
time to keep bread dough in the oven is about 45-60
minutes. Be sure however to follow the recipe's
recommended times. The prepared bread dough should be
placed in a large bowl since the dough will nearly double in
volume. Arrange the oven rack in the lowest position.
Place the bowl on the rack in the oven and follow the
Bread Proof Control setting instructions as illustrated.
18
Loading ...
Loading ...
Loading ...