Loading ...
Loading ...
Loading ...
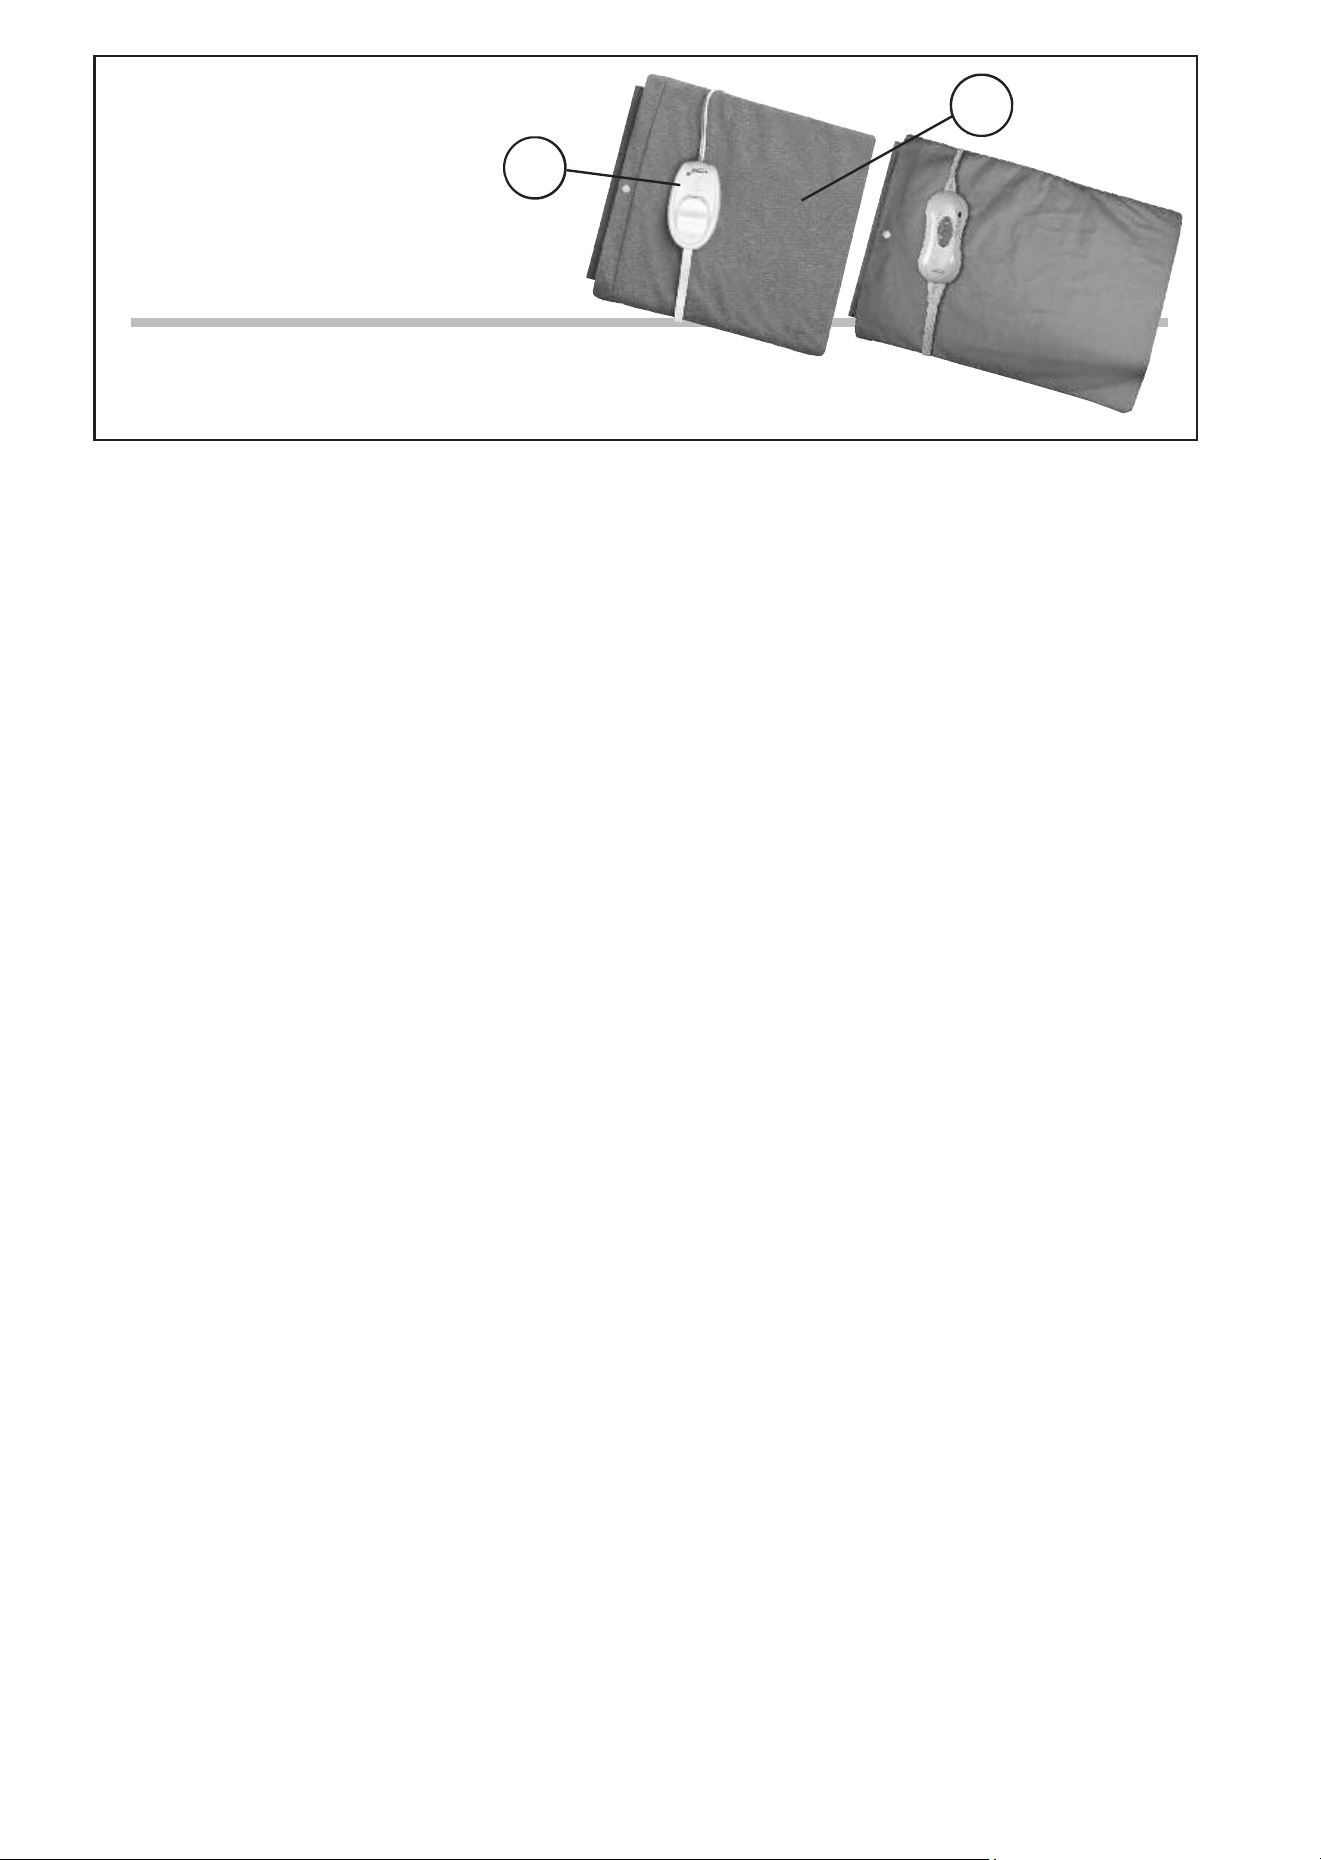
Features /
Características /
Caractéristiques
A. Machine Washable Cover
A. Cubierta Lavable a Máquina
A. Housse lavable à la machine
B. Controller with 3 or 4 heat settings
B. Control con 3 o 4 regulaciones de calor
B. Commande à 3 au 4 réglages de chaleur
HOW TO USE YOUR HEATING PAD
1. Lay the cloth cover on a flat surface with the printing face up. Open the snap at the bottom.
2. Insert the pad into the cover completely, fitting one side at a time. (Figure 1) Make sure the cord and control
remain on the outside of the cover.
3. The pad will lie flat, filling the entire cover. Close snap.
4. Plug into any 110-120 volt AC electrical outlet and set control to the desired heat.
WARNING: Never use the heating pad without the cloth cover.
FOR MODELS WITH HOT (RED) GEL PACK:
1. Remove gel pack from heating pad.
a. Place gel pack in microwave.
b. Make sure gel is spread evenly across pack for proper heating
CAUTION: UNEVEN GEL COULD CAUSE HOT SPOTS
c. Heat at full power (700 Watts) for one minute. NOTE: Heat time may vary based on microwave wattage.
d. Remove and check heat guide.
2. If not hot enough, return to microwave and heat in ten second intervals, checking Heat Guide until ready.
3. If Heat Guide reads TOO HOT, let cool before use.
GEL PACK SAFETY REMINDERS:
a. Gel Pack can be used without heating pad, but must be enclosed in cover.
b. NEVER HEAT GEL PACK FOR MORE THAN 90 SECONDS AT ONE TIME OR GEL PACK MAY RUPTURE AND LEAK.
c. NEVER BOIL GEL PACK.
4. Reassemble gel pack to heating pad by aligning hook and loop with the heating pad.
5. Insert Heating Pad and Gel Pack in cover.
a. Lay heating pad flat.
b. Attach Gel Pack to heating pad. NOTE: You can use heating pad WITHOUT Gel pack.
c. Slip inside cover, making sure cord and controls remain on outside.
d. Close snap.
6. Plug cord in wall. NOTE: Although your heating pad is meant to get hot, it should NEVER hurt or feel like it is burning
your skin. If it does, remove the heating pad immediately.
FOR MODELS WITH COLD (BLUE) GEL PACK:
Follow the instructions located on the gel pack.
FOR MODELS WITH AUTO OFF FEATURES
The Auto-off feature is indicated by a LED light in the upper left corner of the controller. The LED light is red when the heating
pad is turned on. After 2 hours of continuous usage, the pad shuts off automatically and the LED light turns off. Note: this
heating pad has a built in safety feature that prevents the heating pad from being turned on immediately after the
auto off feature has turned it off. Please wait at least 1 minute before turning your heating pad back on.
USING MOIST HEAT OPTION ON SELECTED MODELS
Your heating pad may include a separate sponge for moist heat.
1. Run warm water over sponge until it is thoroughly saturated.
2. Gently wring out excess water.
3. Place the sponge on top of the heating pad and slip the cloth cover over the heating pad. Snap cover closed.
DANGER: Do not immerse pad in water or place under running water
to dampen surface. Failure to comply may result in personal injury.
FABRIC COVER WASHING INSTRUCTIONS
1. Disconnect pad from outlet.
2. Remove cover from pad. (Figure 1)
3. Machine or hand wash; use mild detergent. Wash with cool water only.
4. Hang to dry or machine dry on gentle, cool cycle. (Figure 2)
A
B
Loading ...
Loading ...
Loading ...