Loading ...
Loading ...
Loading ...
21
Ⅰ
Ⅱ
WASHING CLOTHES
Before washing clothes for the first time, the washing machine must be run with a small amount of detergent and
without clothes. Follow below instructions.
1. Connect power source and water.
2. Place a small amount of detergent into the detergent dispenser and close.
3. Press [On/Off] button.
4. Turn the cycle to [Normal/Cotton] and press the [Temp.] button until the word Hot is displayed.
5. Press [Start/Pause] button.
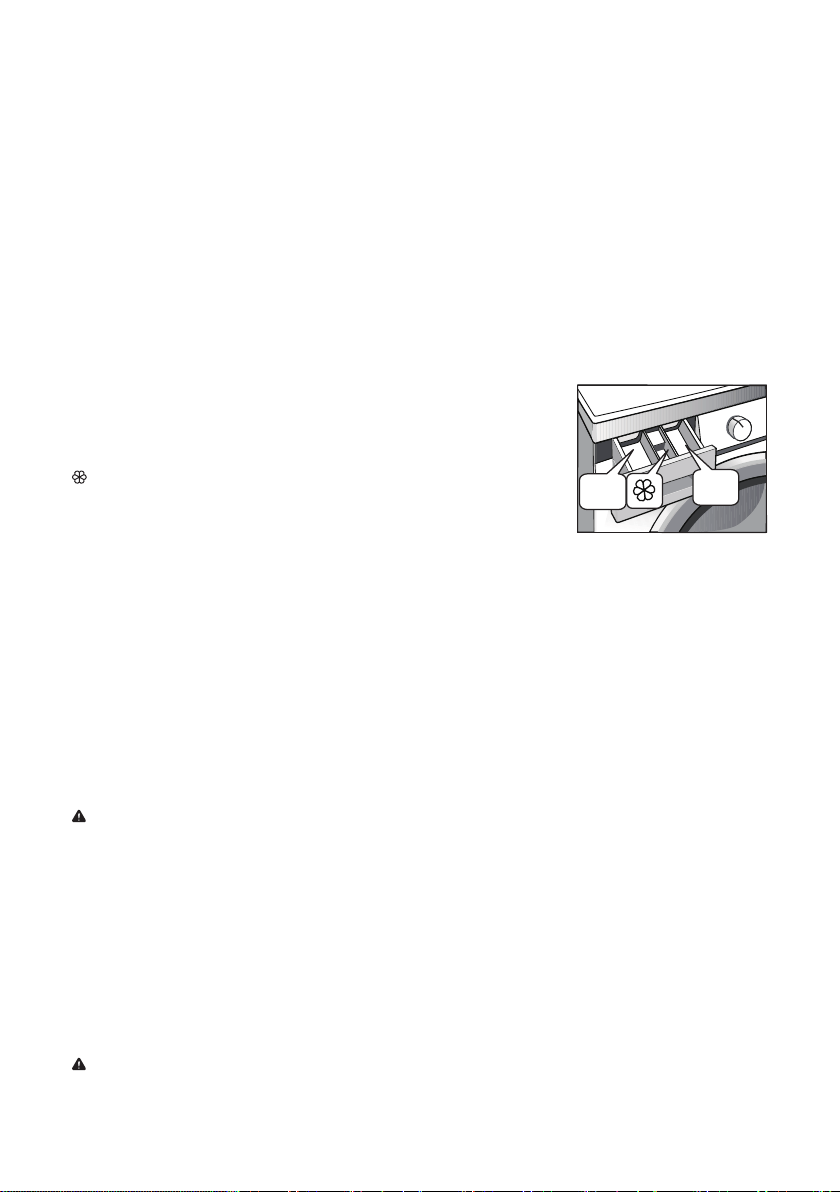
DETERGENT DISPENSER DRAWER
I. Pre-detergent or washing powder
II. Main Detergent
. Softener
Once you have loaded the washer and added laundry products, you are ready to
wash and dry.
START THE WASHING MACHINE
1. Make sure the unit is properly connected to a power source and water lines.
• Tap should be turned on (in an open position).
• Place your wash load into the drum.
2. Press the [On/Off] button. Control panel will illuminate.
3. Turn the cycle selector knob to the desired cycle based on load. The LCD display panel will reflect the preset
features for that cycle.
4. If you would like to modify any of the preset settings for the desired cycle, press on the individual options
until the display panel reflects the desired settings.
NOTE: If you have a favorite cycle, once you modify all settings, press and hold [Spin] to save as My Cycle.
Depending on the desired cycle, all options may not be available.
5. Press the [Start/Pause] button to begin cycle. Once the cycle begins, the door will automatically lock and
wash cycle will begin. Display panel will change to reflect estimated time and state of wash. At any time, you
can pause the cycle by pressing on the [Start/Pause] button again.
CYCLE GUIDE
This guide shows you the options for each cycle.
If it is displayed in the table, then that is an option for that cycle. If an option is bold, that means it is the default
setting for that cycle.
NOTE: The Time and Time Save times listed are in minutes. Those are the default times for those cycles. Cycle
times can vary depending on what changes you make to the cycle.
OPERATION INSTRUCTIONS
Figure 18
Loading ...
Loading ...
Loading ...