Loading ...
Loading ...
Loading ...
Fireplace Installation
Ensure that the 3-Position Switch is
set to the Off position ("O") and that
the circuit on which the replace is to
be installed has the power cut off at
the service panel until installation is
complete.
3. Lift replace and insert into
opening (Figure 5).
4. Use bubble level (supplied) to
level the replace within the
framing. Adjust as required.
5. Drive four (4) supplied
mounting screws through
the four (4) mounting holes
located in each corner of the
replace chassis, into wall
studs (Figure 6).
6. Refer to Front Glass
Installation section, for nal
installation procedures.
Flush Mounted Installation
- 200mm Deep
CAUTION: Two people may
be required for various steps of
this procedure.
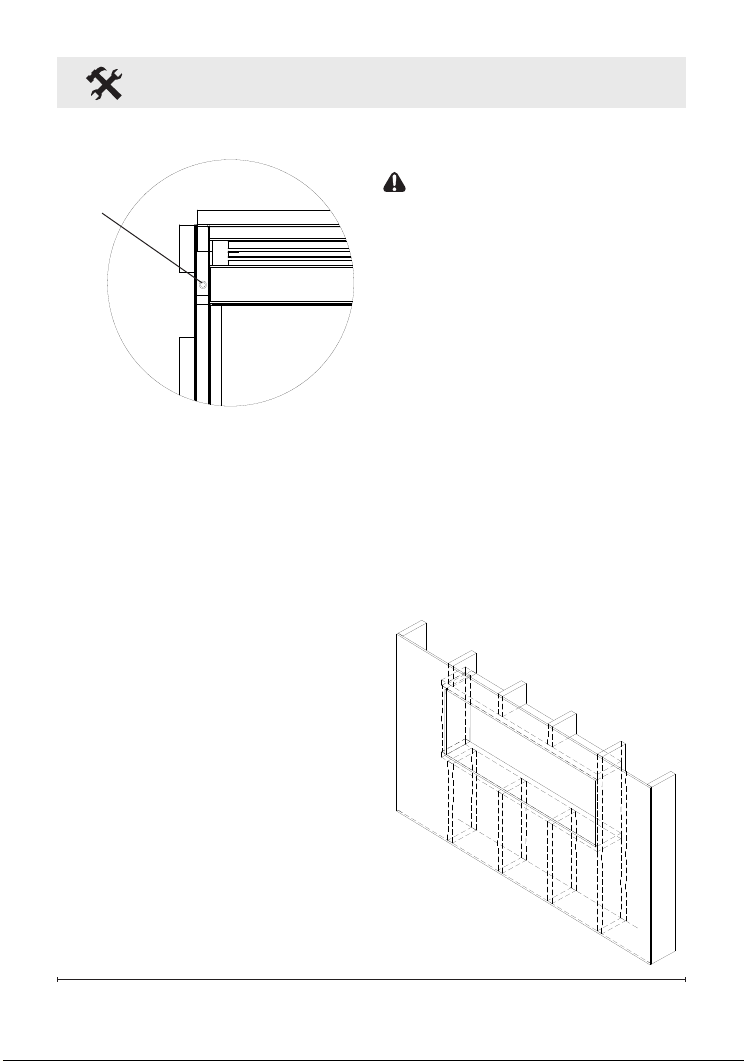
1. Prepare a wall with a framed
opening of 124.5 cm wide x 47
cm high (Figure 7).
!
NOTE: The sizing has allowed
for 6.4mm around the fireplace
insert for ease of installation. This
fireplace does not require any
additional venting.
2. Choose your method of
supplying power to the unit:
• Plug in (you may run the
power cord out of the framed
wall opening to an existing
Figure 6
Mounting
hole
Figure 7
Loading ...
Loading ...
Loading ...