
Loading ...
Loading ...
Loading ...
28
PREPARING THE ICE MACHINE FOR STORAGE
8. Reconnect the water valve outlet water line.
(See Figure 35 and 35a).
9. Reinstall the ice machine’s access cover.
10. Clean and dry the ice machine’s storage bin.
11. Prop the door open for air circulation to prevent mold
and mildew.
12. Leave the water supply line disconnected or reconnect
the supply line and leave it shut off. Do NOT turn the
water on and allow water to enter back into the water
valve.
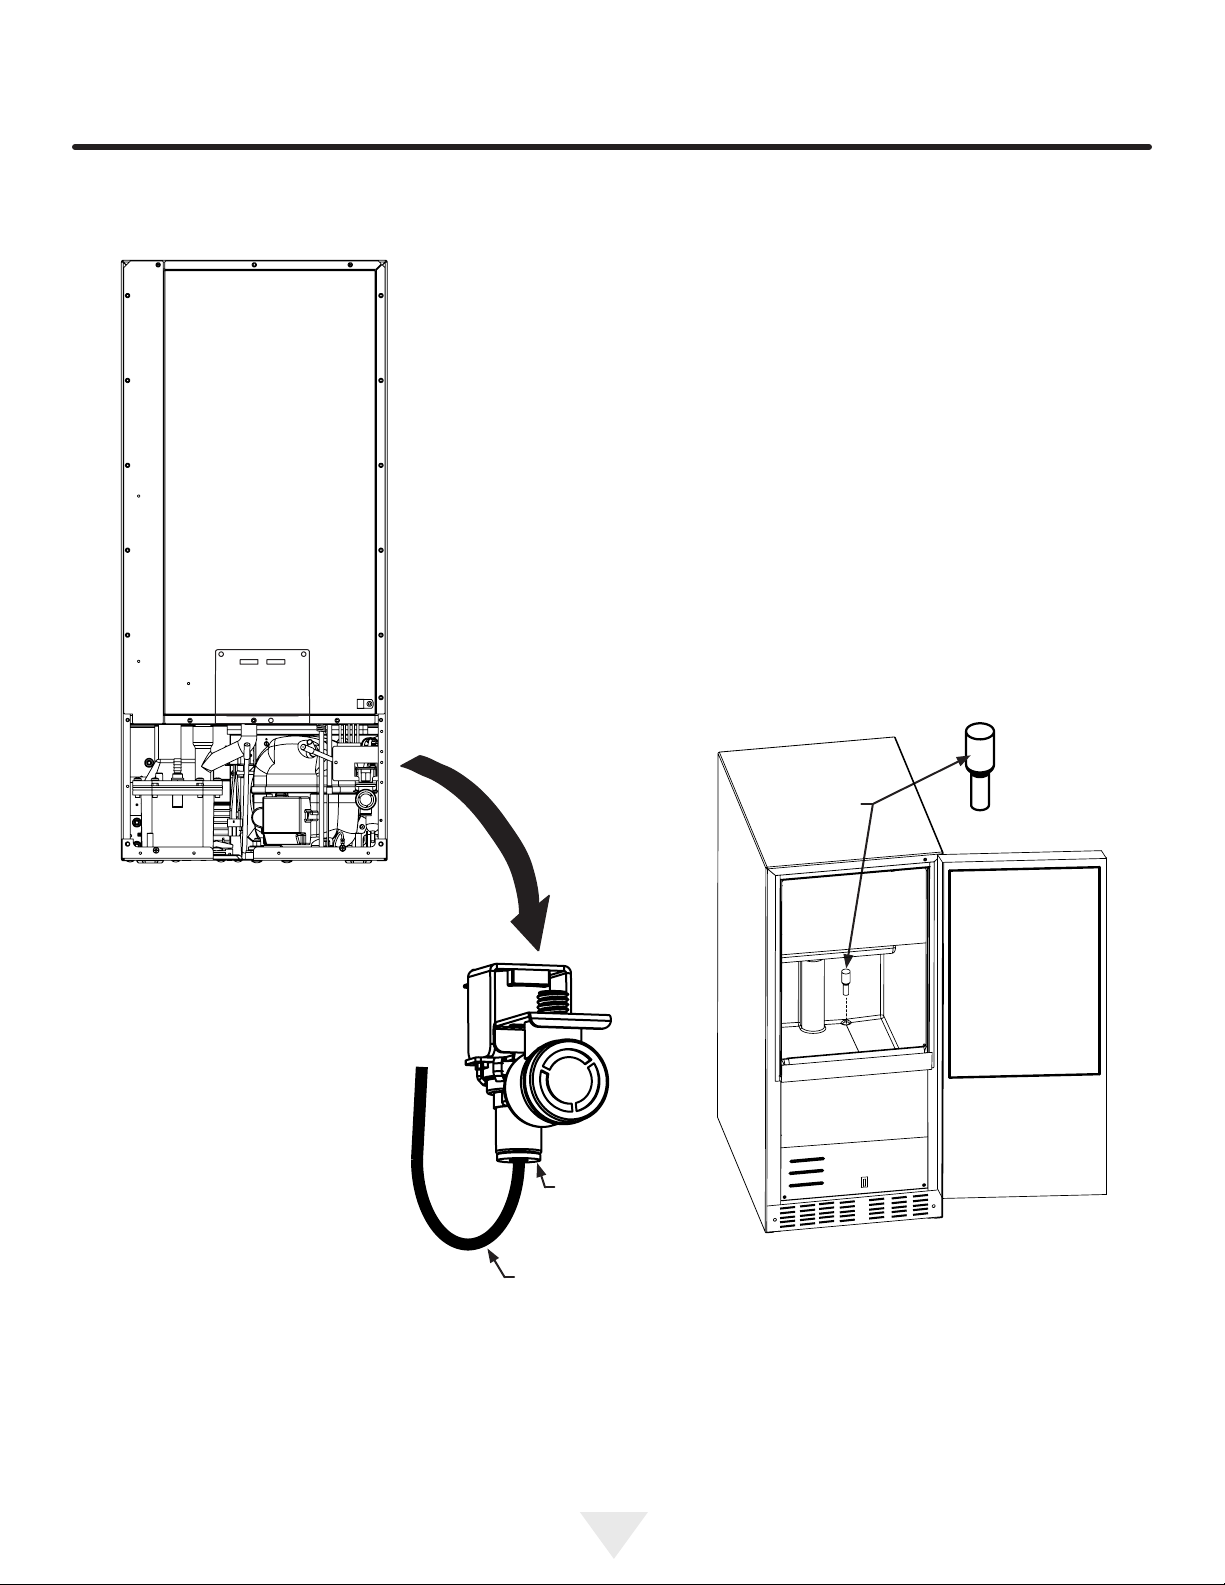
To disconnect the water outlet
line: Push up on the white collar
and pull the plastic water line
from the bottom of the water
valve.
To reconnect the water outlet
line: Simply insert the plastic
tubing into the white collar and
push until it stops (about
1
⁄2", 12
mm, of water line will enter the
valve).
White
collar
Plastic outlet
water line
7. Disconnect the water valve’s outlet water line to the
reservoir and drain the remaining water left in the water
line trap area. (See Figure 35 and 35a).
Figure 35
Figure 35a
Draining Water for Factory Installed Drain
Pump Applications
Follow steps 1 through 12 for the gravity drain then do the
following:
13. Install the winterization plug in the water drain hole
inside the ice bin. (See Figure 36).
Figure 36
Winterization
plug
Loading ...
Loading ...
Loading ...