Loading ...
Loading ...
Loading ...
4. Raiseor lowerthe _outeruntil topcutting edg(_cf bd _,.__f!:(m,}d
with line 'B. (Refertoyour routerownel's!rla,llual hji' adjusliq_ I
your routerproper}y).AFTERMAKINGTHISAOJUS:rMENT,i-3E:
SURETHATROUTERISSECURELYTIGHTENEDtN ]HE ROUTER
BASE,BITtS SECURELYTIGHTENEDIN THEROUTEF_CHUCK,
ANDROUTERBASEIS 1tGHTLYSECUREDTOTABLETOK
5, Removethe boardflora thefence,
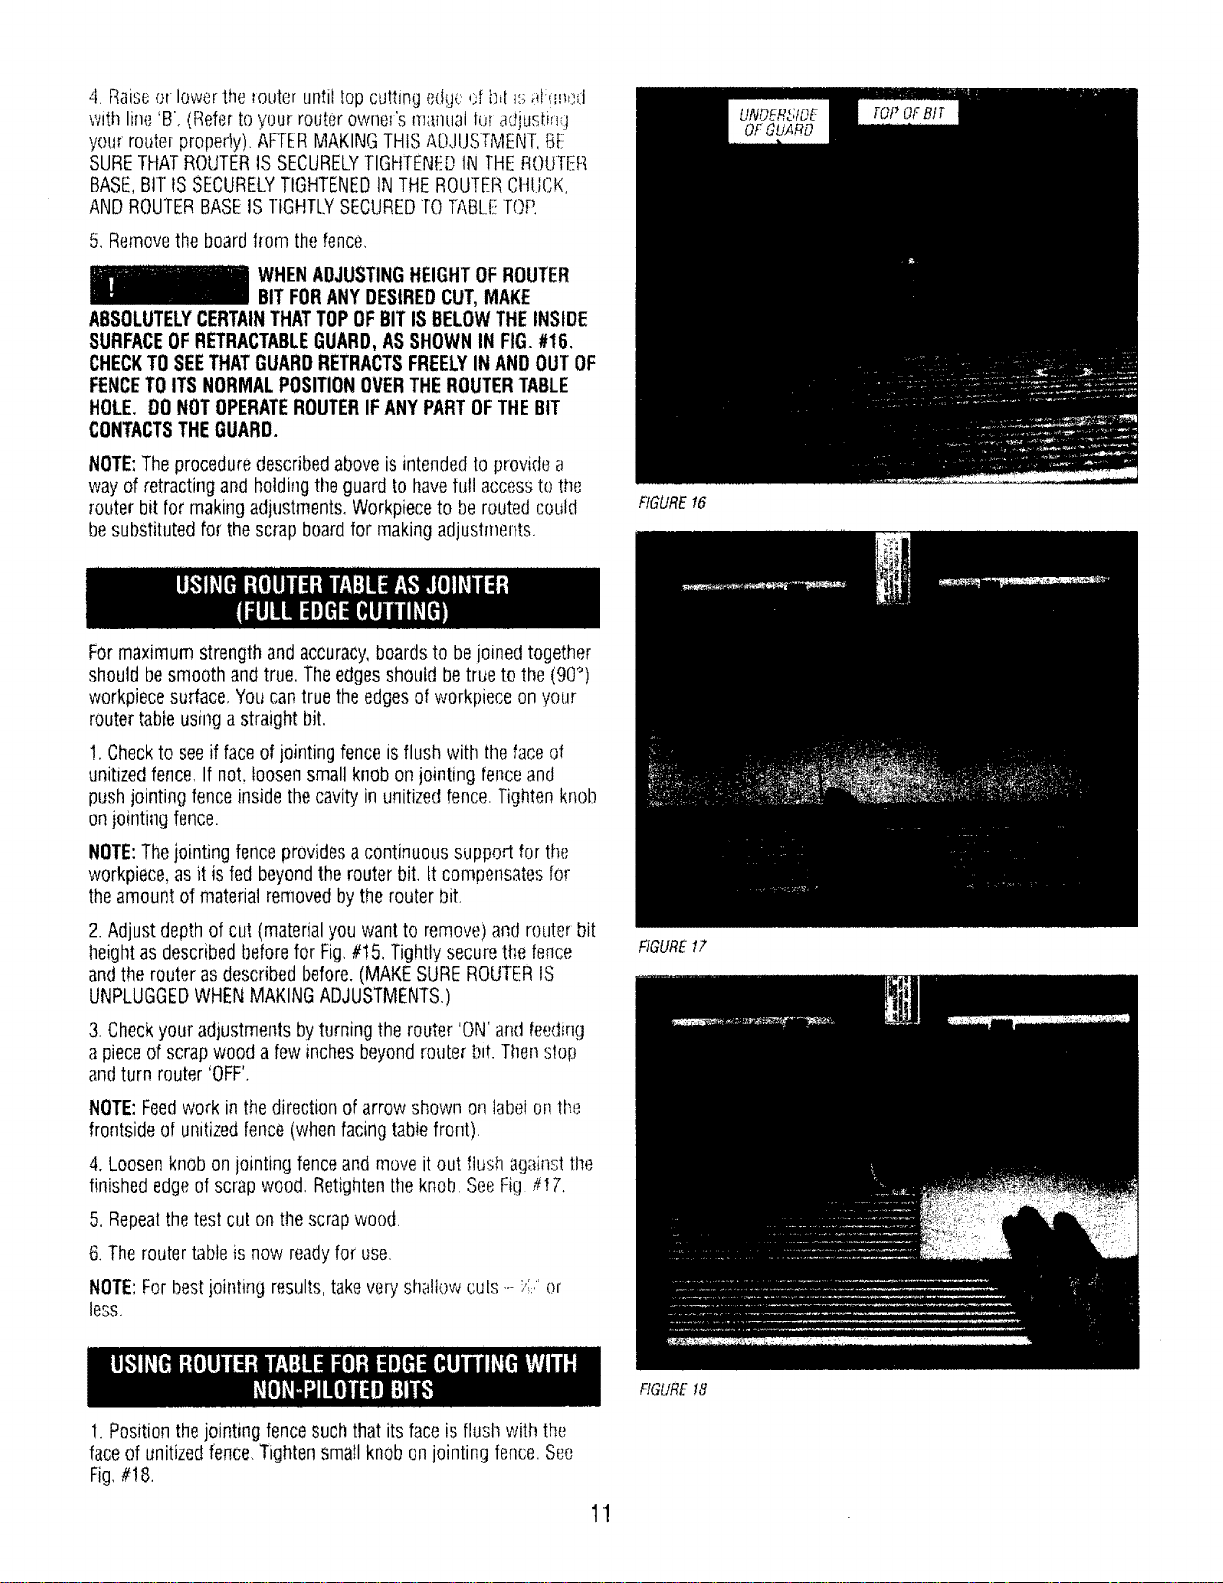
WHENADJUSTINGHEIGHTOFROUTER
BITFORANYDESIREDCUT,MAKE
ABSOLUTELYCERTAINTHATTOPOFBITIS BELOWTHEINSIDE
SURFACEOFRETRACTABLEGUARD,ASSHOWNIN FIG.#16,
CHECKTOSEETHATGUARDRETRACTSFREELYIN ANDOUTOF
FENCETOITS NORMALPOSITIONOVERTHEROUTERTABLE
HOLE, DONOTOPERATEROUTERIF ANYPARTOFTHEBIT
CONTACTSTHEGUARD.
NOTE:Theproceduredescribedaboveis intendedto providea
wayof retractingand holdingthe guard to havefull accessto the
_outerbit for makingadjustment&Workpieceto be routed could
besubstitutedfor thescrap boardfor makingadjustmertts.
Formaximumstrengthandaccuracy,boardsto be joinedtogether
shouldbe smoothandtrue. Theedgesshould be trueto the (90°)
workpiecesurface,You cantruethe edgesof workpieceon your
routertableusinga straightbit.
!, Checkto seeif faceofjointingfence isflush with thefaceof
unitizedfence,If not, loosensmall knobon jointing fenceand
pushjointingfenceinsidethecavity in unitizedfence.Tightenknob
on jointiagfence.
NOTE:Thejointingfenceprovidesa continuoussupport for the
workpiece,asit is fed beyondthe routerbit, tt compensatesfor
theamount of materialremovedbythe routerbit,
2. Adjustdepthof cut (materialyouwant to remove)and routerbit
l]eightas describedbeforefor Fig,#!5, Tightlysecurethefence
andthe routerasdescribedbefore.(MAKESUREROUTERIS
UNPLUGGEDWHENMAKINGADJUSTMENTS.)
3. Checkyour adjustmentsbyturningthe router 'ON'andfeeding
a pieceof scrapwood a few inchesbeyondrouterb_t.Thenstop
andturn router 'OFF',
NOTE:Feedwork in the directionof arrowshown on labelonthe
frontsideof unitizedfence(whenfacingtablefront).
4, Loosenknobon jointing fenceandmove it out flushagainsti:l]e
finishededgeof scrapwood, Retightentheknob SeeFig _17.
5. Repealthetest cut on the scrapwood.
6. Theroutertableis now readyfor use,
NOTE:Forbestjointing results,takevery shallowcuts_--/;:,"or
less.
1.Positionthe jointingfence suchthat its faceis flush with the
faceof unitizedfence.Tightensmall knobon jointing fence.See
Fig,#! 8,
fIGUREt6
FIGURE17
RGURE t8
11
Loading ...
Loading ...
Loading ...