Loading ...
Loading ...
Use the below table to select the proper
personality ID. The personality must be set
correctly for the new service control to operate
properly.
Note: If the Model has a ducting kit installed
use the smaller number in the chart below for
initial setting. The ducted personality number
will not display and cannot be programed in
this step. The Ducting Accessory adjustment is
completed in Step 7 (page 4).
GEH50DEEDSR* 50C
GEH50DEEDSC* 50D
GEH50DFEJSR* 51A
(CCE Active) 54A
GEH50DEEJSC* 52A
(CCE Active) 55A
GEH80DFEJSR* 81A
(CCE Active) 84A
GEH80DEEJSC* 82A
(CCE Active) 85A
BEH50DCEHSB*/RE2H50R10-1 NCWW 50E
BEH50DCEJSB*/RE2H50R10B-1NCWT 53A
(CCE Active) 56A
BEH80DCEJSB*/RE2H80R10B-1NCWT 83A
(CCE Active) 86A
* Denotes Engineering Digit
Example: Model GEH50DEEJSC* personality will
have 52A as an initial setting, the ducted setting
will update at the end of step 7.
Step 5 - Finish Setting Personality
ID
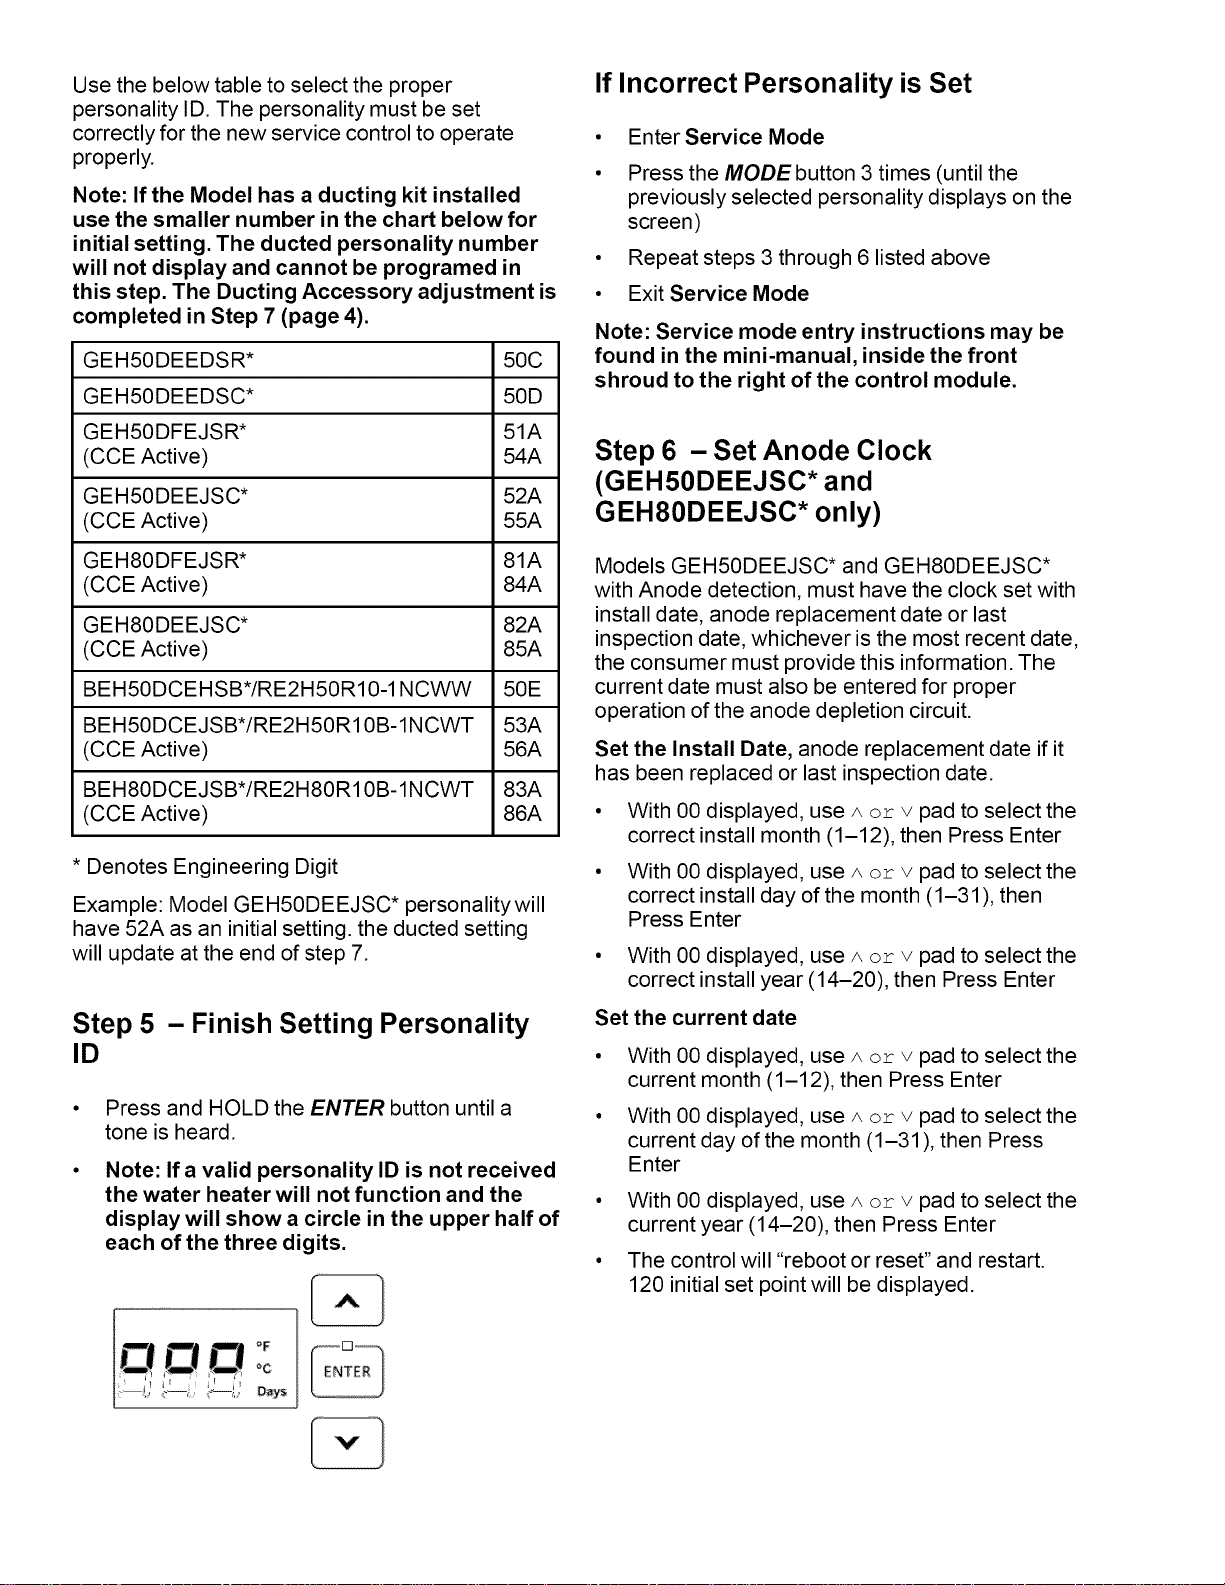
Press and HOLD the ENTER button until a
tone is heard.
Note: If a valid personality ID is not received
the water heater will not function and the
display will show a circle in the upper half of
each of the three digits.
o'
_C
'_---, Oays
If Incorrect Personality is Set
• Enter Service Mode
Press the MODE button 3 times (until the
previously selected personality displays on the
screen)
Repeat steps 3 through 6 listed above
Exit Service Mode
Note: Service mode entry instructions may be
found in the mini-manual, inside the front
shroud to the right of the control module.
Step 6 - Set Anode Clock
(GEH50DEEJSC* and
GEH80DEEJSC* only)
Models GEH50DEEJSC* and GEH80DEEJSC*
with Anode detection, must have the clock set with
install date, anode replacement date or last
inspection date, whichever is the most recent date,
the consumer must provide this information. The
current date must also be entered for proper
operation of the anode depletion circuit.
Set the Install Date, anode replacement date if it
has been replaced or last inspection date.
• With 00 displayed, use A or v pad to select the
correct install month (1-12), then Press Enter
• With 00 displayed, use A or v pad to select the
correct install day of the month (1-31), then
Press Enter
• With 00 displayed,
correct install year
Set the current date
use A or v pad to select the
(14-20), then Press Enter
With 00 displayed, use A or v pad to select the
current month (1-12), then Press Enter
With 00 displayed, use A or v pad to select the
current day of the month (1-31), then Press
Enter
With 00 displayed, use A or v pad to select the
current year (14-20), then Press Enter
The control will "reboot or reset" and restart.
120 initial set point will be displayed.
Loading ...
Loading ...
Loading ...