Loading ...
Loading ...
Loading ...
www.123filter.com | (678) 261-7611 | Support@123Filter.com Page 10
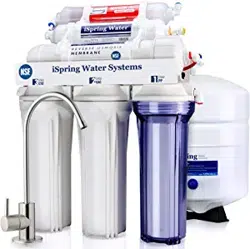
Step 6: Installing the Reverse Osmosis Membrane
Figure 8 Figure 9
6.1 First, disconnect the white tube from the quick-fitting connection on the membrane cap.
This will allow you to unscrew the membrane housing cap.
6.2 All the systems are wet tested without filters prior to shipment, so you may notice some
water drops still inside the housing.
6.3 Unscrew (counter clockwise) and remove the membrane cap.
6.4 Note: the membrane is a “wet” membrane, and comes vacuum sealed wet with a special
solution. Following the flow direction sign on the membrane, cut open the “small end” of
the bag, hold the membrane with the bag to avoid touching or contaminating it, and firmly
insert it into the housing. This way the end with the two small black O-rings towards the
bottom. When it is inserted fully and properly, the “bigger” end of the membrane will be
even with the housing opening. See Figures 8-9. After the membrane has been fully inserted
you may then disregard the bag.
6.5 Before twisting the housing cap back on, make sure the O-ring is seated at the end of the
membrane housing as shown in figures 8 and 9. This is very important to avoid leaking
and damage to the O-ring.
6.6 Place the membrane housing cap back on and hand tighten it, then use the housing wrench
to tighten it another ¼-½” of a turn. Do not over tighten.
6.7 DO NOT reconnect the tubing to the fitting on the cap at this point (will be done in system
start up).
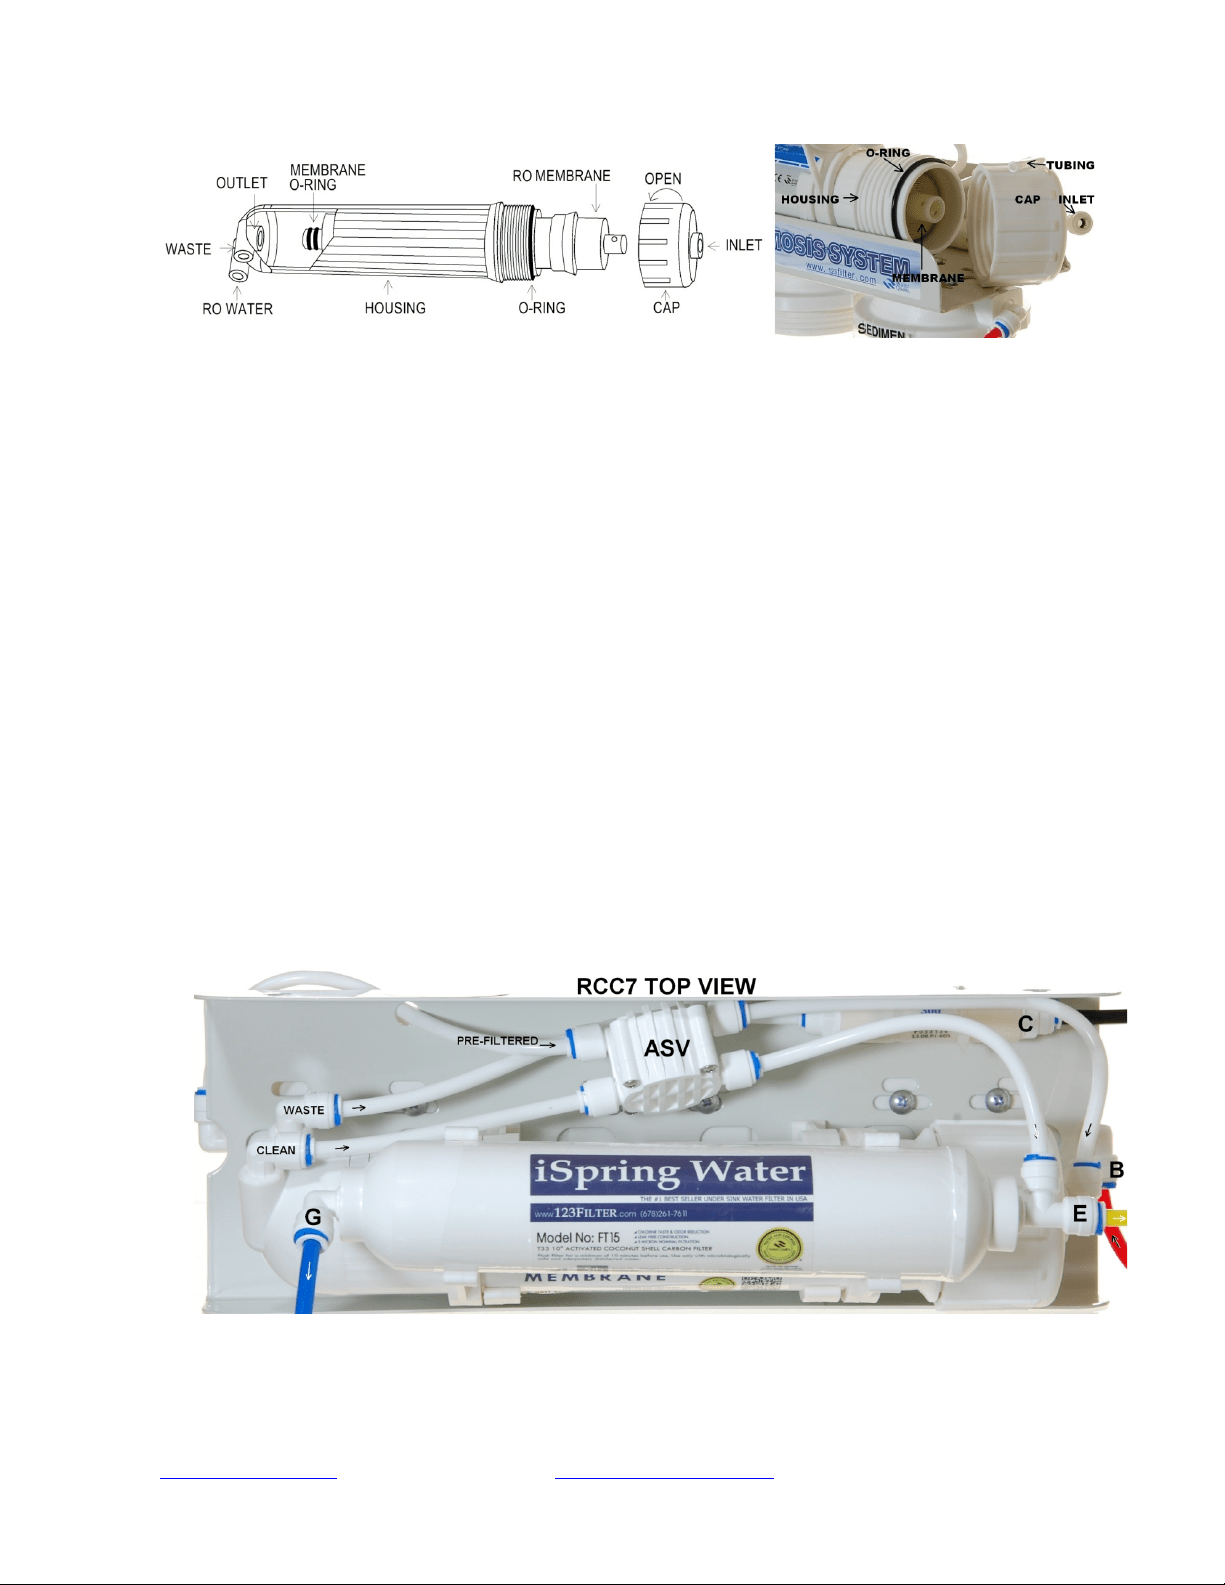
Step 7: Tubing Hook Up (see figure 5 above to see letters not shown below)
Loading ...
Loading ...
Loading ...