
Loading ...
Loading ...
Loading ...
CLEANAIRFILTER
Adirtyairfilterdecreasesengineper-
formanceandincreasesfuelcon-
sumptionandharmfulemissions.Al-
wayscleanafterevery5hoursof
operation.
1. Cleanthecoverandthearea
aroundittokeepdirtfromfalling
intothecarburetorchamberwhen
thecoverisremoved.
2. Loosenknob.Removeairfilter
coverandairfilter.
NOTE:Toavoidcreatingafirehazard
orproducingharmfulevaporative
emissions,donotcleanfilteringaso-
lineorotherflammablesolvent.
3. Washthefilterinsoapandwater.
4. Allowfiltertodry.
5. Replaceparts.
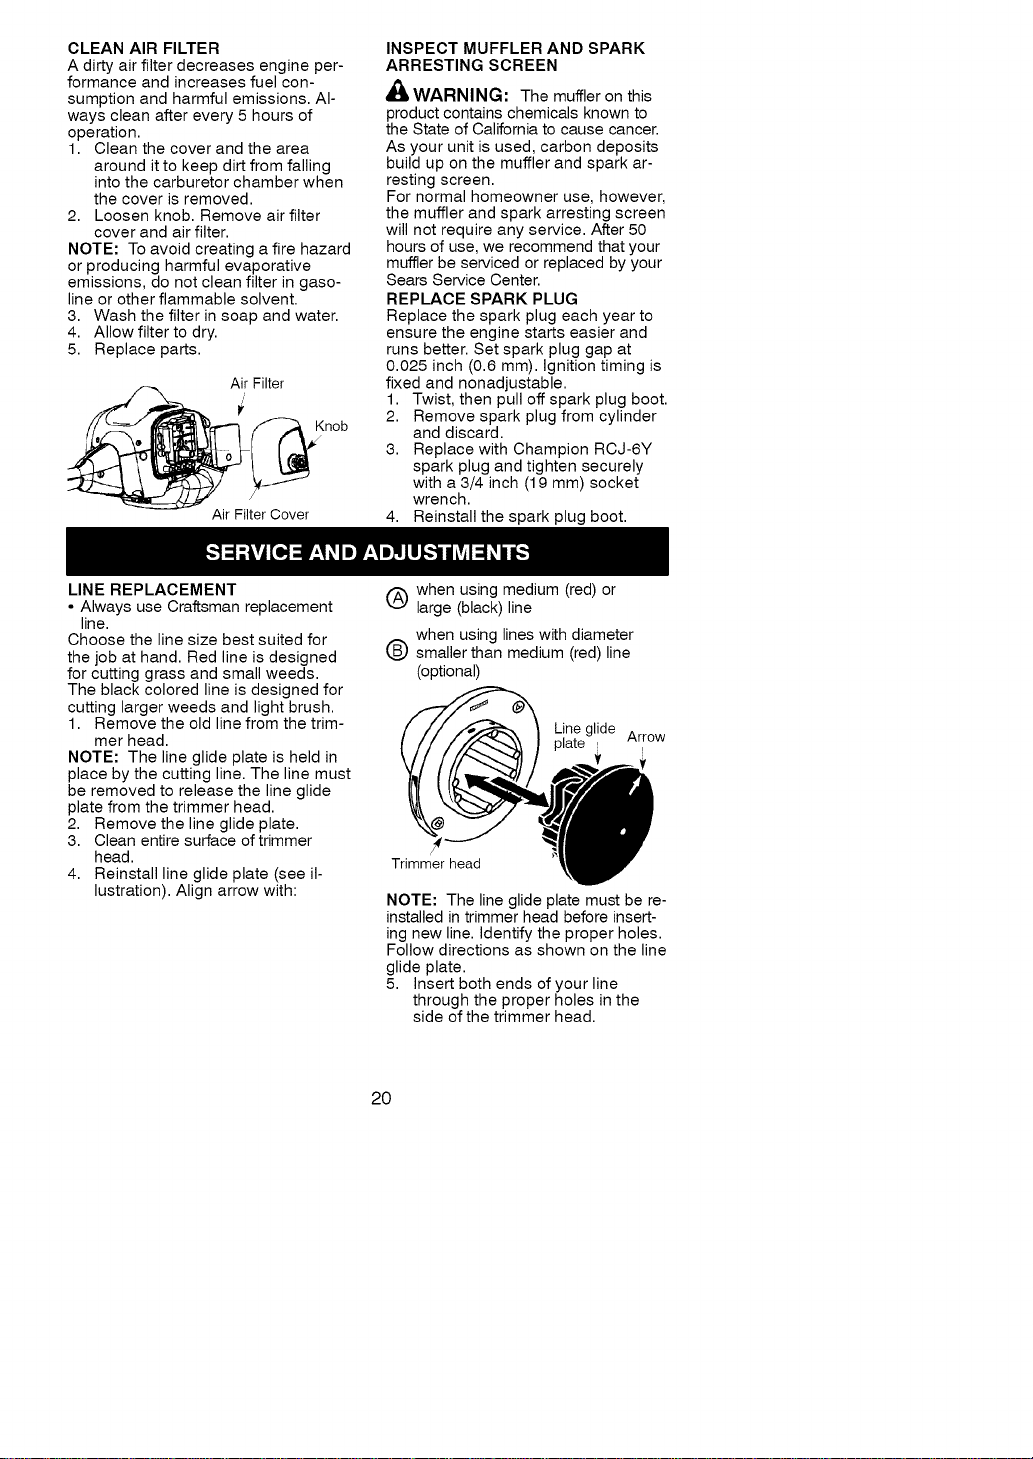
Air Filter
/
V
Knob
Air Filter Cover
INSPECT MUFFLER AND SPARK
ARRESTING SCREEN
_, WARNING: The muffler on this
product contains chemicals known to
the State of California to cause cancer.
As your unit is used, carbon deposits
build up on the muffler and spark ar-
resting screen.
For normal homeowner use, however,
the muffler and spark arresting screen
will not require any service. After 50
hours of use, we recommend that your
muffler be serviced or replaced by your
Sears Service Center.
REPLACE SPARK PLUG
Replace the spark plug each year to
ensure the engine starts easier and
runs better. Set spark plug gap at
0.025 inch (0.6 mm). Ignition timing is
fixed and nonadjustable.
1. Twist, then pull off spark plug boot.
2. Remove spark plug from cylinder
and discard.
3. Replace with Champion RCJ-6Y
spark plug and tighten securely
with a 3/4 inch (19 mm) socket
wrench.
4. Reinstall the spark plug boot.
LINE REPLACEMENT
• Always use Craftsman replacement
line.
Choose the line size best suited for
the job at hand. Red line is designed
for cutting grass and small weeds.
The black colored line is designed for
cutting larger weeds and light brush.
1. Remove the old line from the trim-
mer head.
NOTE: The line glide plate is held in
place by the cutting line. The line must
be removed to release the line glide
plate from the trimmer head.
2. Remove the line glide plate.
3. Clean entire surface of trimmer
head.
4. Reinstall line glide plate (see il-
lustration). Align arrow with:
(_) when using medium (red) or
large (black)line
when using lines with diameter
(_ smaller than medium (red)line
(optional)
Trimmer head
Line glide Arrow
plate
NOTE: The line glide plate must be re-
installed in trimmer head before insert-
ing new line. Identify the proper holes.
Follow directions as shown on the line
glide plate.
5. Insert both ends of your line
through the proper holes in the
side of the trimmer head.
2O
Loading ...
Loading ...
Loading ...