Loading ...
Loading ...
Loading ...
De not use the ice chute as a handte when
removing or replacing the ice storage bin.
Surfaces there may be sharp,
De not put fingers up ice chute, Surfaces
there may be sharp.
CLEANING THE iCE DISPENSER
Cban the dispenser and ice container at reguUar intervaUs, partbuUarUy
before you take a vacation or move, or if the ice dispenser sticks,
1, Turn off ice production by pressing the ice maker's On/Off switch,
2, Remove ice container by Hfting up and out, Empty and carefully dean
the container with mild detergent, Rinse with clear water, Do not use
harsh or abrasive cleaners, Allow ice container to dry completely before
3, Remove ice chips and clean the shelf and chute that supports the ice
container,
4, Replace the ice container, Press the ice maker's On/Off switch to
resume ice production,
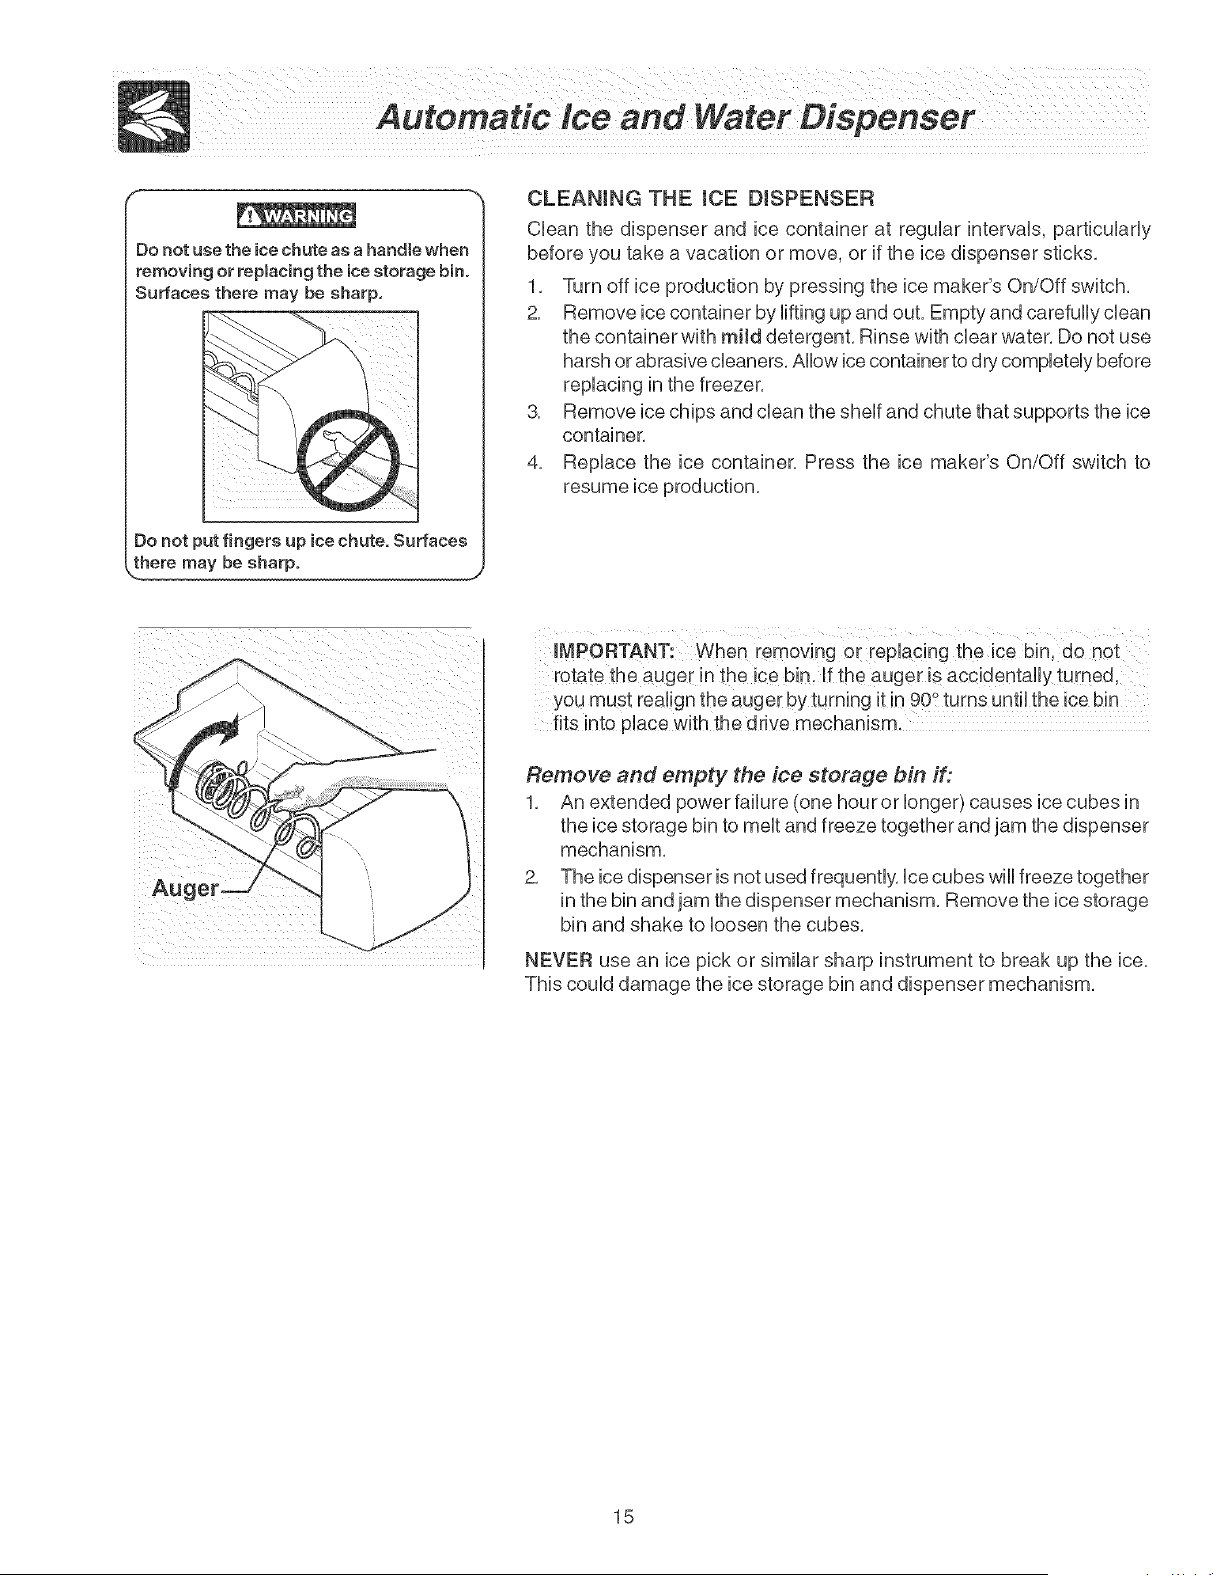
iMPORTANT: When removing or replacing the ice bin, do not
rotate the auger m the ice bin. if the auger is accidentally turned,
you must realign the auger byturning it in 90° turns until the ice bin
fits into place with the drive mechanism.
Remove and empty the ice storage bin if:
1, An extended power failure (one hour or longer) causes ice cubes in
the ice storage bin to melt and freeze together and jam the dispenser
mechanism
2, The ice dispenser is not used frequently, ice cubes will freeze together
n the bin and jam the dispenser mechanism, Remove the ice storage
bin and shake to loosen the cubes
NEVER use an ice pick or similar sharp instrument to break up the ice,
This could damage the ice storage bin and dispenser mechanism,
15
Loading ...
Loading ...
Loading ...