Loading ...
Loading ...
Loading ...
2. Carefully pry inward on rear panels of hood to
release snaps. (Fig. 12)
Fig. 12
1. Lift hood until it clears latches and push forward to
remove.
H. Nozzle front plate / seal
The nozzle front plate is stocked as a part of the hood
assembly.
It is not recommended the front plate be removed.
This could damage or misposition the seal which is
critical to the machine's performance.
I. Door assembly
1. Open door and pry outward on either side
to release one pin and remove. (Fig. 14)
The door is replaced as an assembly (door, seal and
speed nut).
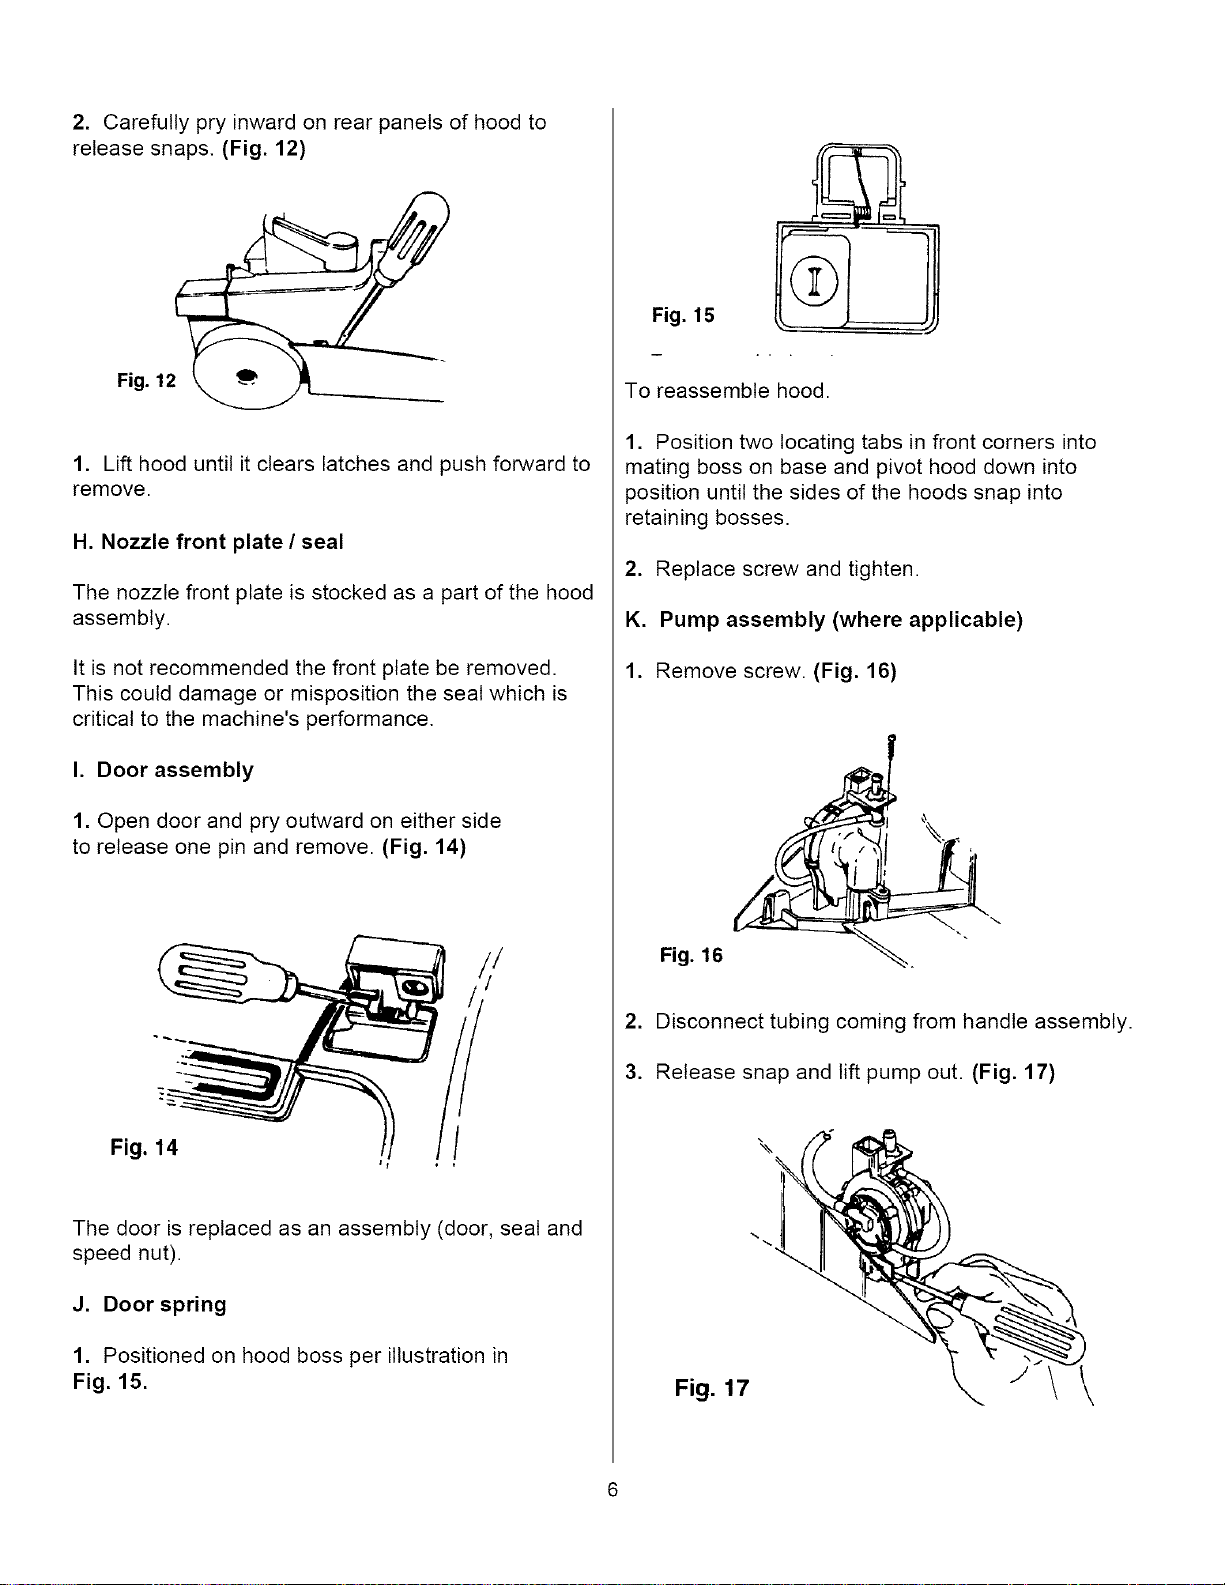
J. Door spring
1. Positioned on hood boss per illustration in
Fig. 15.
Fig. 15
To reassemble hood.
1. Position two locating tabs in front corners into
mating boss on base and pivot hood down into
position until the sides of the hoods snap into
retaining bosses.
2. Replace screw and tighten.
K. Pump assembly (where applicable)
1. Remove screw. (Fig. 16)
,
3.
Fig. 16
Disconnect tubing coming from handle assembly.
Release snap and lift pump out. (Fig. 17)
Loading ...
Loading ...
Loading ...