Loading ...
Loading ...
Loading ...
–
8
–
8.4 ‘HOT START’ FEATURE
The machine is equipped with a ‘Hot Start’ feature.
− A peak of current is delivered when striking the arc.
This gives easy starting the electrodes, especially
when faced with challenging operating conditions, ie;
damp, or ‘difficult to run’ electrodes or an imperfect
workpiece.
8.5 ‘ANTI-STICK’ FEATURE
The machine is equipped with an ‘Anti-Stick’ feature,
which ensures smooth welding and reduces instances of
the electrode becoming stuck to the parent metal.
− The machine will automatically reduce the intensity
of the current in order to aid quick and simple
separation of the electrode and parent metal.
8.6 ‘ARC FORCE’ FEATURE
Also known as ‘Dig’ or ‘Arc Control’, Arc Force shares
similar functionality to ‘Hot Start’, but not just when
striking the arc. This function is beneficial in stabilising
the arc, preventing cut-out whilst welding and also
prevents the electrode from sticking.
8.7 DUTY CYCLE
Duty Cycle is a percentage of 10 mins, in which a
machine can operate at a rated load without overheating
and interruption from the thermal cut-out device.
Example: 150A @ 30% Duty factor:
150A welding for 3 minutes
7 minutes down time
Example: 95A @ 100% Duty factor:
95A continuous welding
To increase the operation time, reduce the amperage.
Note: The heating tests have been carried out at
ambient temperature and the duty cycle (duty factor) at
20°C has been determined by simulation.
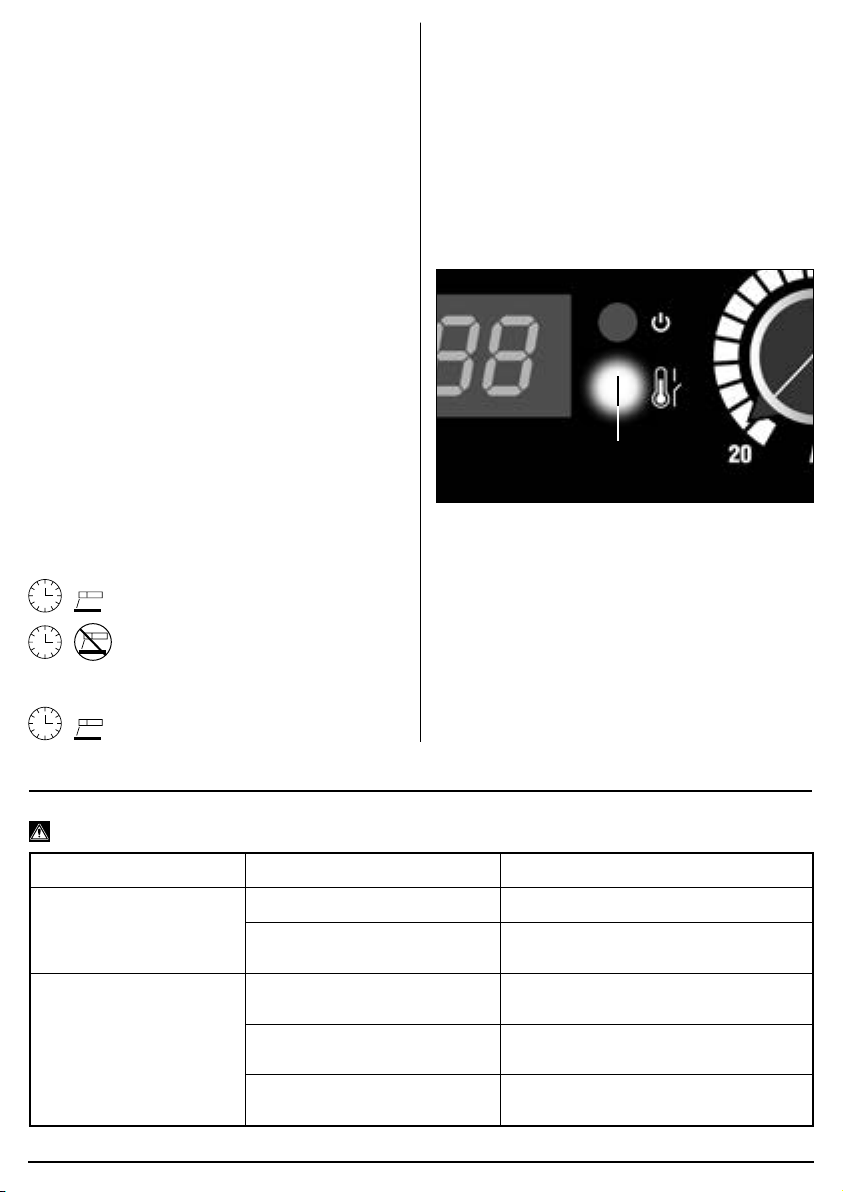
8.8 THERMAL CUT-OUT – FIG.6
If welding for extended periods, the thermal cut-out will
activate and the LED indicator (2) will illuminate,
prohibiting use of the machine until sufficiently cool.
Caution! After completion of any welding task, leave the
unit connected to the power supply for a sufficient period
to allow the cooling fan to continue working.
6
FIG.
9. MAINTENANCE AND TROUBLESHOOTING
9.1 TROUBLESHOOTING GUIDE
Warning! For your own safety, turn the switch off and remove the plug from the power supply socket.
Problem Possible cause Required action
No spark. Bad clamp connection. Check clamp connection.
PCB on the inverter is defective
or damaged.
Contact Draper Tools/authorised service
agent for repair/replacement.
No output voltage. Overheated unit – the thermal
cut-out LED will be illuminated.
Wait for unit to cool and the re-setting of
the thermal cut-out.
Failure of internal relay. Contact Draper Tools/authorised service
agent for repair/replacement.
PCB on the inverter is defective
or damaged.
Contact Draper Tools/authorised service
agent for repair/replacement.
(2)
Loading ...
Loading ...
Loading ...