Loading ...
Loading ...
Loading ...
Installation
*INSTALLATION*
29
2
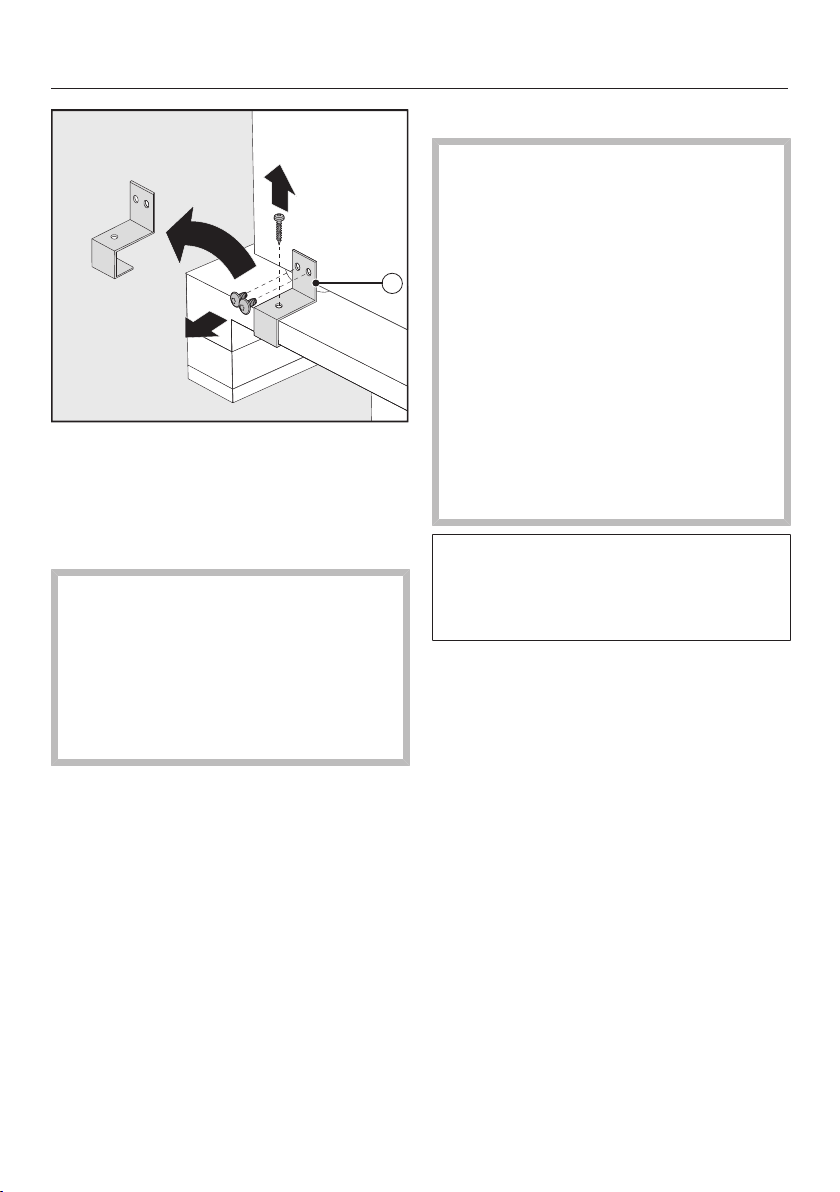
Unscrew the fixing brackets.
With the help of several people as re-
quired, carefully lift the wine storage
unit from the pallet, starting with the
back of the appliance.
Risk of damaging the floor from
the load.
Moving the wine storage unit can
cause damage to the floor.
Move the wine storage unit carefully
on floors that are sensitive to
scratching.
As soon as you have set the wine stor-
age unit upright, you can move it using
the rollers on the bottom.
Preparing the installation niche
Risk of damage and injury from
the wine conditioning unit tipping
over.
The wine conditioning unit is very
heavy and can tip forwards when the
appliance door is open.
The installation niche must be se-
cured to the wall behind it and/or
above it with several screws. Only
this can ensure that the wine condi-
tioning unit will not tip over after be-
ing installed in the installation niche.
In addition, use the provided anti-tip
brackets to secure the installation
niche.
Parts required for installation are sup-
plied with the wine conditioning unit.
The plastic bags supplied are marked
with letters for easy identification.
When performing the individual as-
sembly steps, observe the letters
specified and use the matching plas-
tic bag with the required installation
equipment.
Loading ...
Loading ...
Loading ...