Loading ...
Loading ...
Loading ...
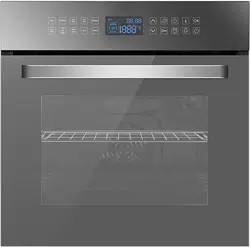
16
!After cleaning the oven chamber wipe it dry
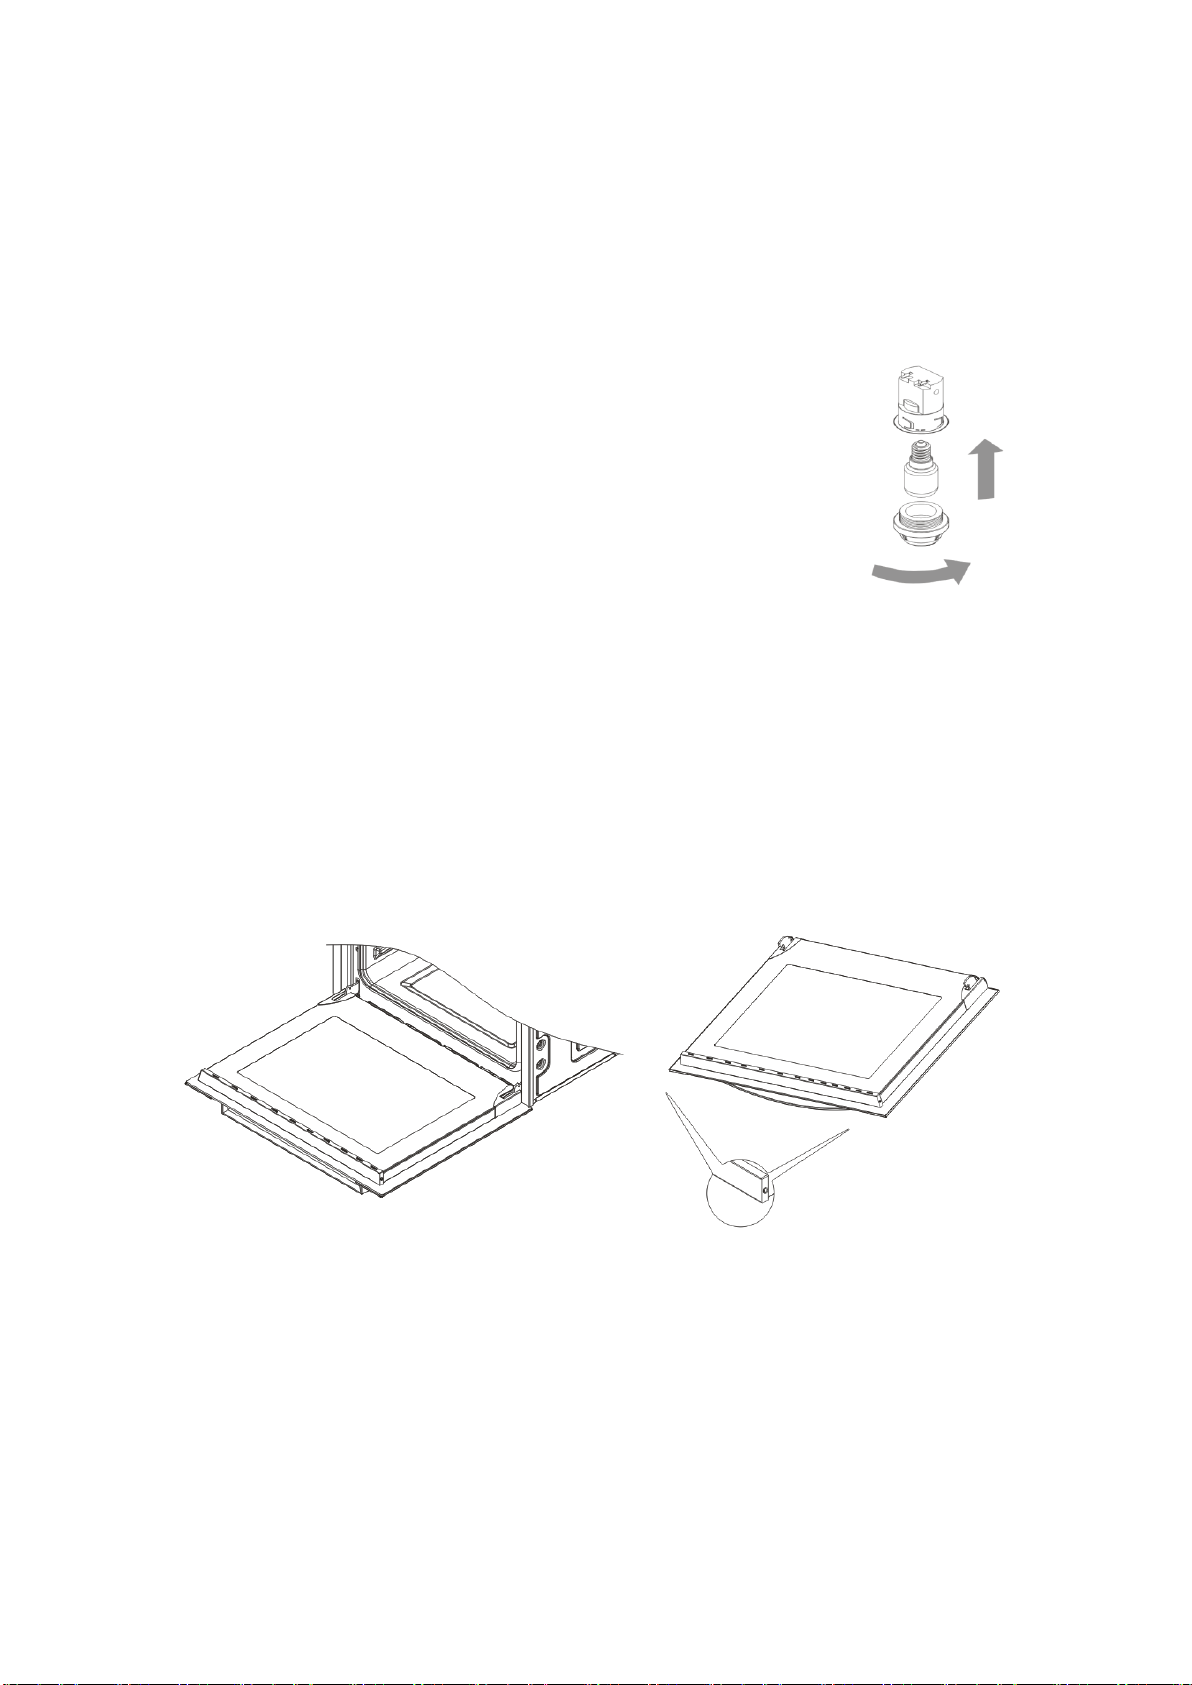
Replacement of the oven light bulb
In order to avoid the possibility of an electric shock ensure that the appliance is switched off
before replacing the bulb
!Set all control knobs to the position“OFF”/ “STOP” and disconnect the mains plug
!unscrew and wash the lamp cover and then wipe it dry
!unscrew the light bulb from the socket replace the bulb with a new one-a high temperature bulb (575
℉) with the following parameters:
-voltage 220~240 V~
-power 15 W
-thread E14
! Screw the bulb in, making sure it is properly
Inserted into the ceramic socket
! Screw in the lamp cover.
Oven light bulb
Door removal
In order to obtain easier access to the oven chamber for cleaning, it is possible to remove the door, To do
this, tilt the safety catch part of the hinge upwards. Close the door lightly, lift and pull it out towards you. In
order to fit the door back on to the cooker, do the inverse. When fitting, ensure that the notch of the
Hinge is correctly placed on the protrusion of the hinge holder. After the door is fitted to the oven, the
safety catch should be carefully lowered down again. If the safety catch is not set it may cause damage
to the hinge when closing the door.
Door removal Removal of the intemal glass panel
Removal of the internal glass panel
Unscrew and unfasten the plastic latch that is in the corner at the top of the door .Next take out the glass
from the second blocking mechanism and remove. After cleaning, insert and block the glass panel, and
screw in the blocking mechanism.
OPERATION IN CASE OF EMERGENCY
In the event of an emergency, you should:
!switch off all working units of the cooker
Loading ...
Loading ...