
Loading ...
Loading ...
Loading ...
4
PRIOR TO INSTALLATION INSTALLATION MILESTONES
DURING INSTALLATION
z
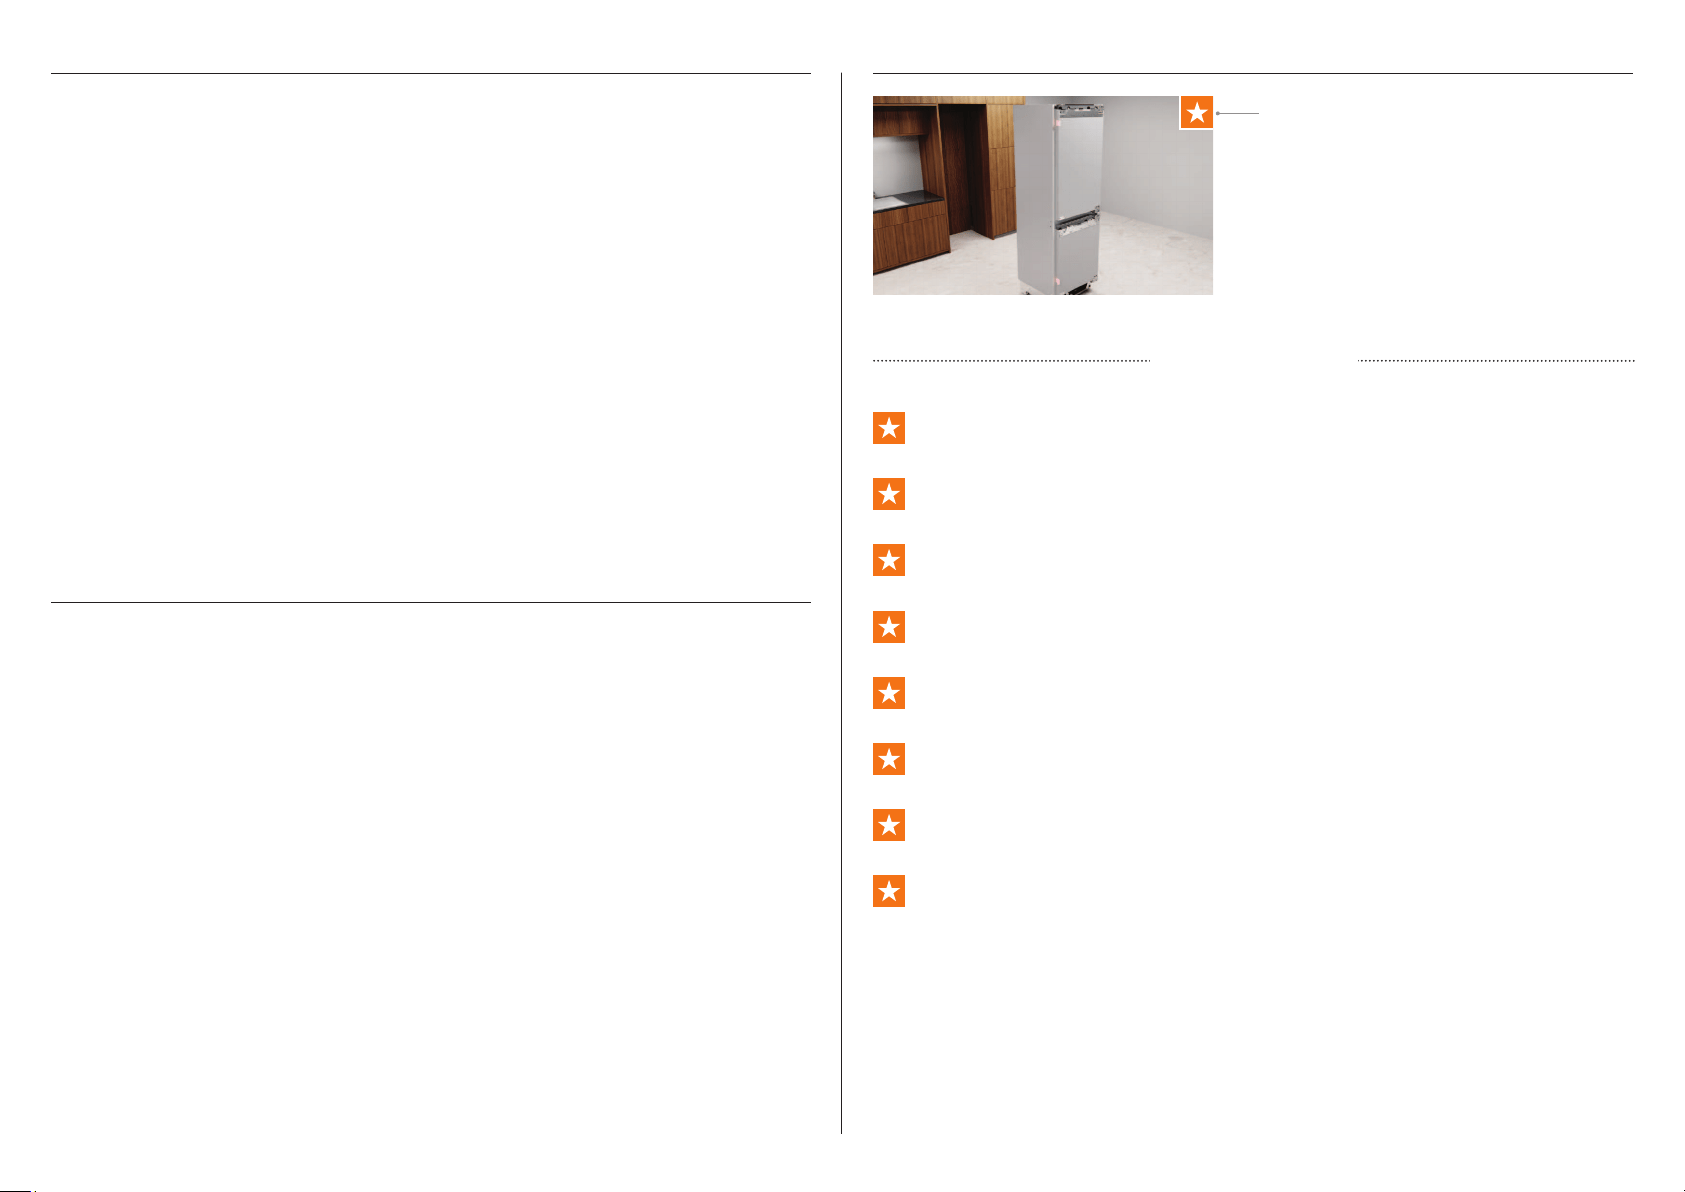
The appliance has front and rear rollers to easily move forward and backward. Do not move
the appliance sideways to avoid damaging the rollers or the floor covering/surface.
z
Ensure your appliance is not exposed to any heat generating appliance eg cooktop, oven
or dishwasher.
z
The appliance must be installed by a qualified installer, or Fisher and Paykel trained and
supported service technician to avoid faulty electrical and plumbing connections.
z
All connections for electrical power and grounding must comply with local codes and
ordinances and be made by licensed personnel when required.
z
All plumbing meeting local codes also required.
z
Avoid installation of the appliance/s under a ground fault circuit interrupter (GFCI).
z
Ensure the appliance is installed properly. Improper installation that results in appliance
failure is not covered under the appliance warranty.
ELECTRICAL/PLUMBING
z
Electrical and water supply connections for these appliances can be located in an
adjacent area or unit (cabinet or cupboard) that is easily accessible in case of repair or
disconnection.
z
Ensure an isolating switch is available if electrical connection is not accessible.
z
Ensure an isolation valve is available if water connection is not accessible.
z
Contact an electrical and/or a plumbing professional if you are uncertain the electrical and/
or plumbing conditions for installation.
z
Ensure the door of the appliance is closed when rolling into thecabinetry.
z
For flush installation, ensure the door panels are installed flush with cabinetry front surface.
Ensure appliance is properly centred.
z
Ensure floor is protected to prevent damage.
z
All four corners of the appliance must be supported firmly on the floor to eliminate any
movement. Installing the appliance on a soft, uneven, or not level floor may cause twisting
and poor door sealing.
z
Use low speed, low torque setting when using a powered driver for the screws when fixing
or aligning the product.
These milestones represent areas throughout
that are pivotal to an optimal installation
outcome. These steps require additional
installer attention and should be quality
checked once completed.
Check anti-tip bracket is correctly installed.
Remove cap from valve before connecting the hose and tightening.
Connect to services and check for leaks.
Push into alcove. Ensure depth gauges touch the alcove front.
Adjust product height. Ensure all feet engage with the floor and the upper bracket
touches the alcove.
Expand spacers. Ensure no gaps are present.
Milestone indicator
MILESTONE LINKS
Recheck all gaps and any clashing.
Installer checklist.
Loading ...
Loading ...
Loading ...