Loading ...
Loading ...
Loading ...
10
Figure 3a
Figure 3b
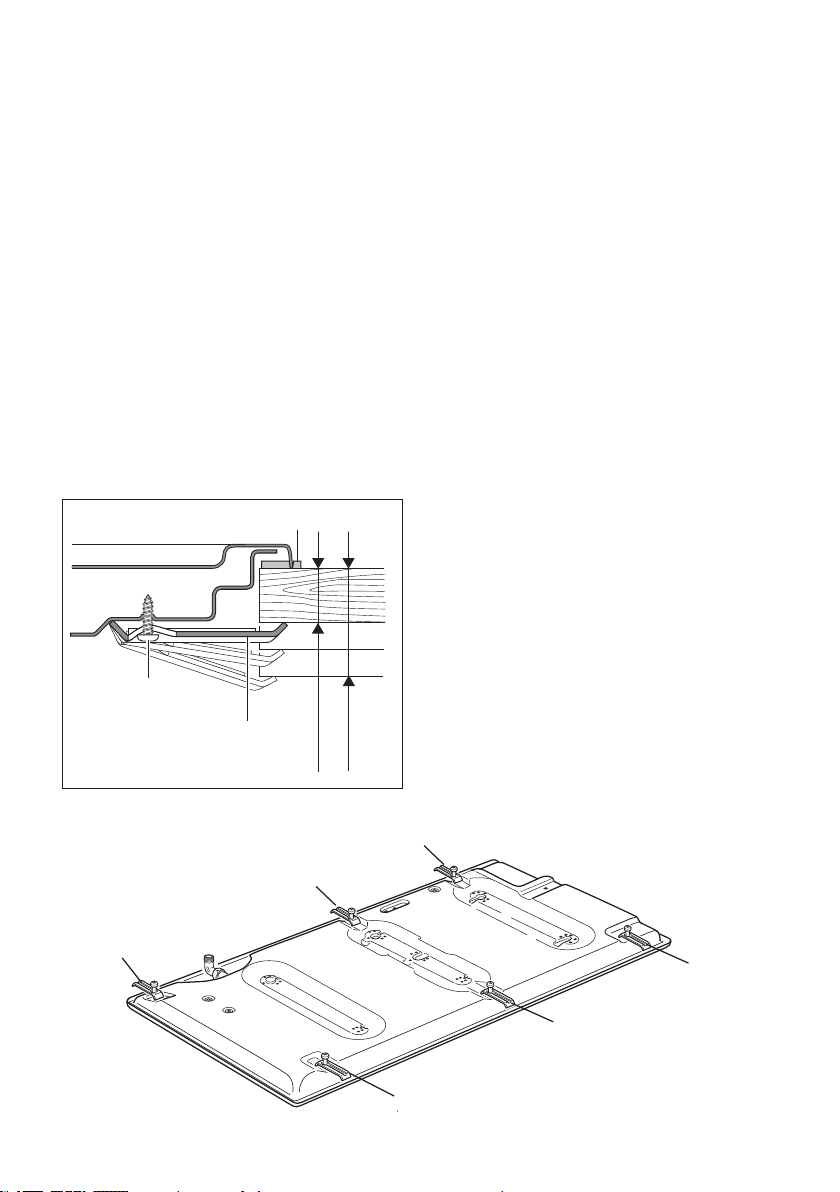
FASTENING THE INSTALLATION BRACKETS (gs. 3a, 3b)
■ Each cooker top is provided with an installation kit including brackets and screws for
fastening the top to xture panels from 2 to 4 cm thick.
■ Turn the cooker top upside down and fasten the brackets “A” to the appropriate socket
holes, without tightening the screws “B” for the moment.
■ Make sure that the brackets are fastened as shown in gure 4.7.
FASTENING THE COOKER TOP (gs. 3a, 3b)
■ Spread the sealing material “C” out along the xture hole, making sure that the jun-
ctions overlap at the corners.
■ Insert the cooker top into the hole and position it correctly.
■ Adjust the position of the brackets “A” and tighten screws “B” to block the cooker top
rmly in position.
■ With a sharp cutter or trimmer knife trim the excess sealing material around the edge
of the cooker top. Take care not to damage the benchtop.
20 mm min.
40 mm max.
B
C
A
A
A
A
A
A
A
A
A
C
A
B
A
A
A
A
Loading ...
Loading ...
Loading ...