9441 • 092221
If a problem cannot be remedied or you are experiencing diculty in installation,
please contact the Service Department: 1-877-459-3267, 8 a.m. - 5 p.m. Central Time.
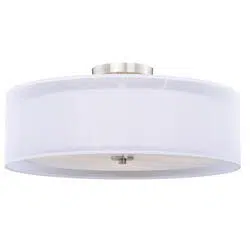
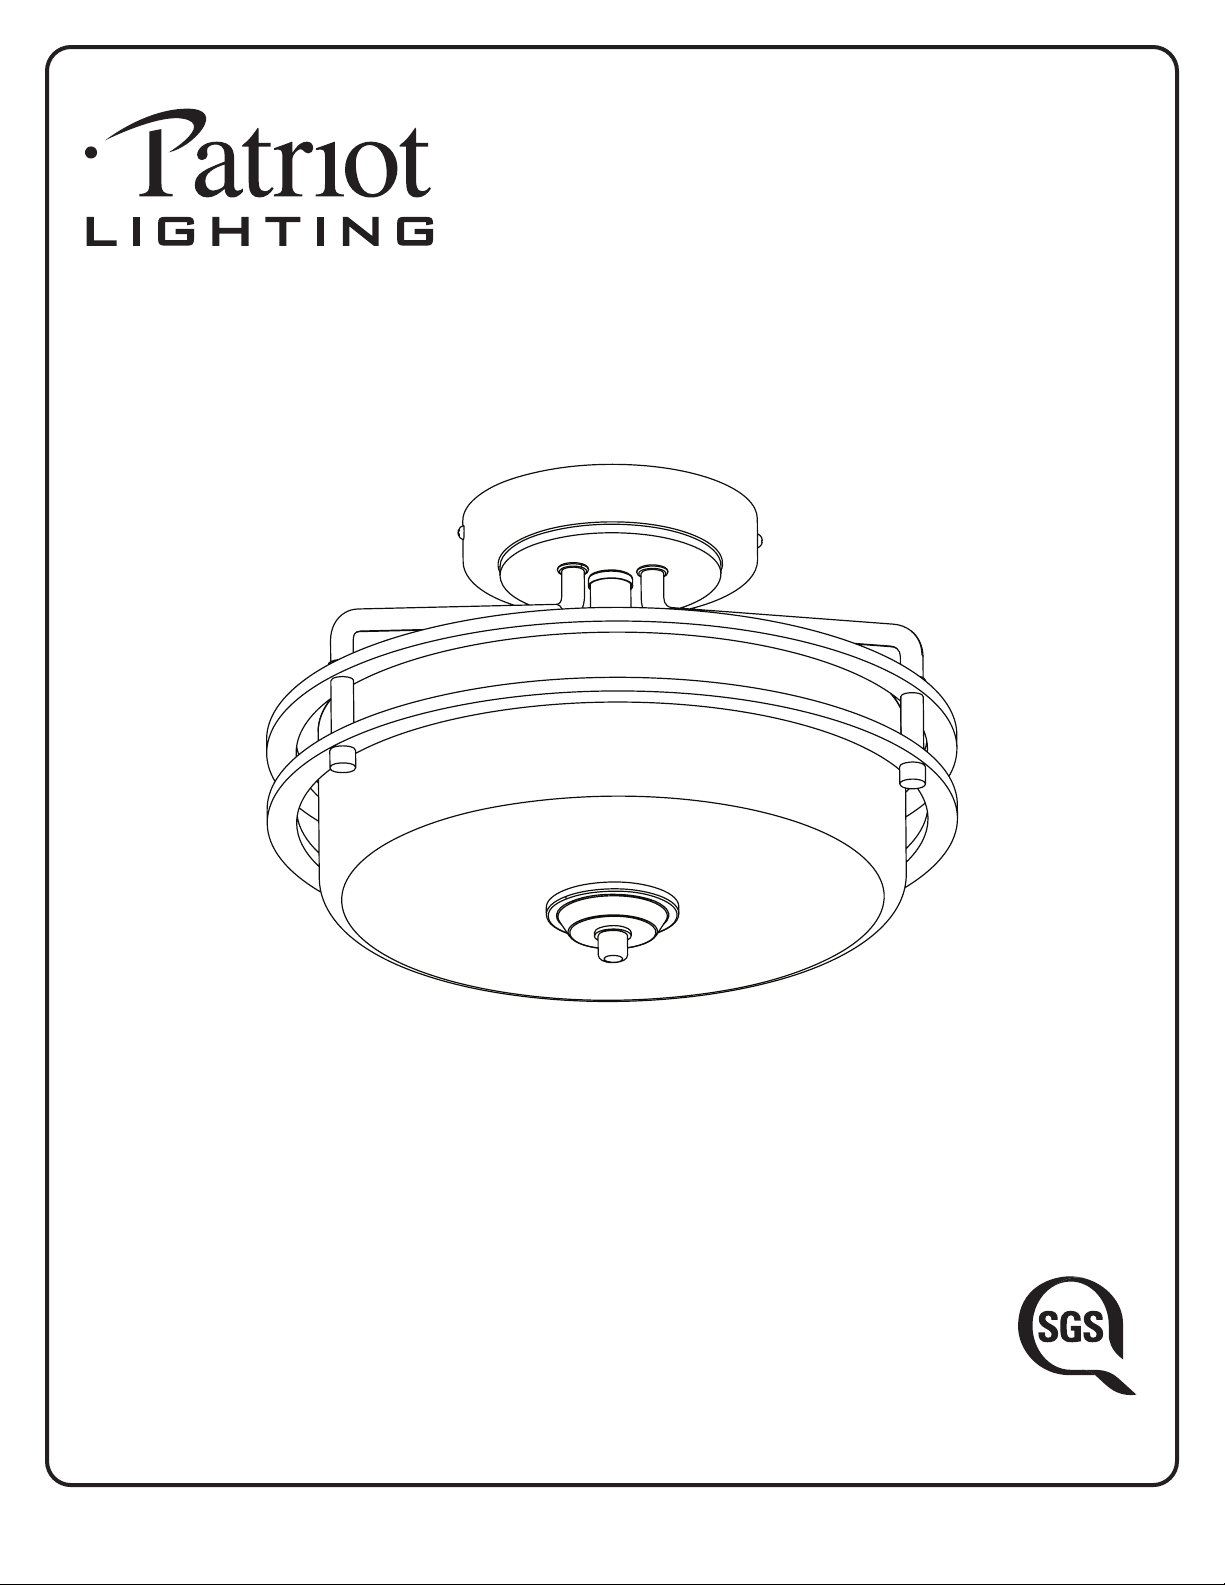
2-LIGHT
SEMI-FLUSHMOUNT
Owner’s Manual
Model #20710
20731
SKU #351-8391
351-8637
®
US
Hardware Kit
Owner’s
Manual
1
13 14
3
4
8
9
1211
7
6
2
5
10
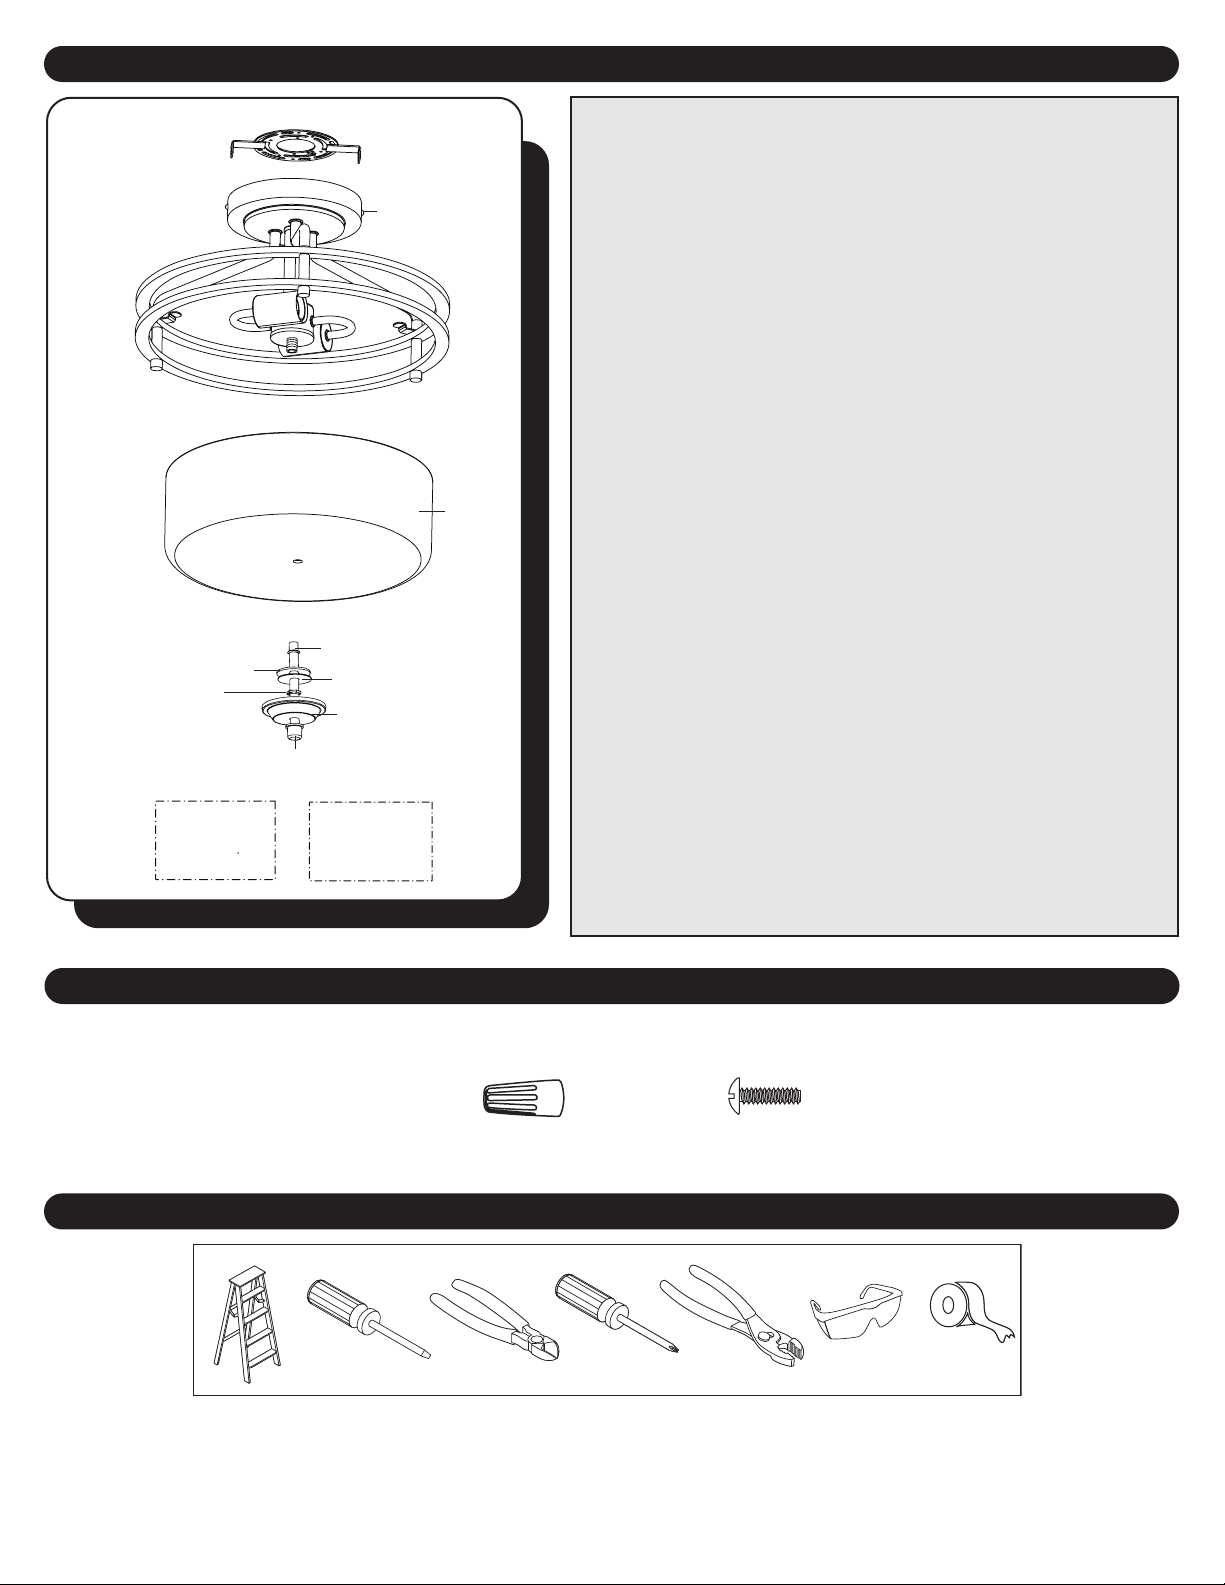
PACKAGE CONTENTS
2
1. Mounting Bracket
2. Fixture
3. Glass Bowl
4. Threaded Rod
5. Rubber Washer
6. Metal Washer
7. Hex Nut
8. Finial Cap
9. Finial
10. Mounting Screws (x2)
11. Owner’s Manual
12. Hardware Kit
AA. Wire connector (x3)
RR. Outlet Box Screw (x2)
Unpack your xture and check the contents. You should
have the following items:
Note: Some of the hardware listed is pre-assembled to
other parts. You will be instructed where to locate it.
PACKAGE CONTENTS
HARDWARE LIST
HARDWARE CONTENTS
(preassembled)
TOOLS REQUIRED (not included)
Tools required for assembly: Electrical tape, Phillips Screwdriver, Pliers, Safety Glasses, Step Ladder, Wire Cutters
and Wire Strippers
Helpful Tools: AC Tester Light, Tape Measure, and Wiring Handbook
WARNING
READ ALL SAFETY INFORMATION AND INSTALLATION INSTRUCTIONS BEFORE BEGINNING TO INSTALL THE
LIGHT FIXTURE AND SAVE INSTRUCTIONS.
This xture is intended for indoor use only. Not suitable for damp or outdoor locations.
The net weight of the light xture is less than: 5.5 lb.
To avoid risk of electric shock, be sure to shut o power at the main fuse or circuit breaker box before
installing or servicing this xture. Turning o the electrical power by using the light switch is not
sucient to prevent electrical shock.
Installation must comply with the National Electrical Code, ANSI/NFPA 70-1999 and local codes. If you
are unfamiliar with the methods of installing electrical wiring, seek the services of a qualied licensed
electrician.
To avoid personal injury, the use of gloves or protective clothing may be necessary when handling
xture parts with sharp edges.
To reduce the risk of re, electrical shock or personal injury, do not connect this xture to a outlet box
that is not properly grounded.
To reduce the risk of re, electrical shock, or personal injury, each wire connector used with this light
xture should accept only one 18-gauge wire from the light xture and one 18-gauge wire from the
outlet box.
Ensure the light xture is mounted to an outlet box with a ground wire and is secured to the building
structure.
Wire colors from outlet box may not be the same color used in this manual. When in doubt, consult a
qualied licensed electrician to determine the proper wiring.
SAFETY INSTRUCTIONS
3
4
ASSEMBLY INSTRUCTIONS
1
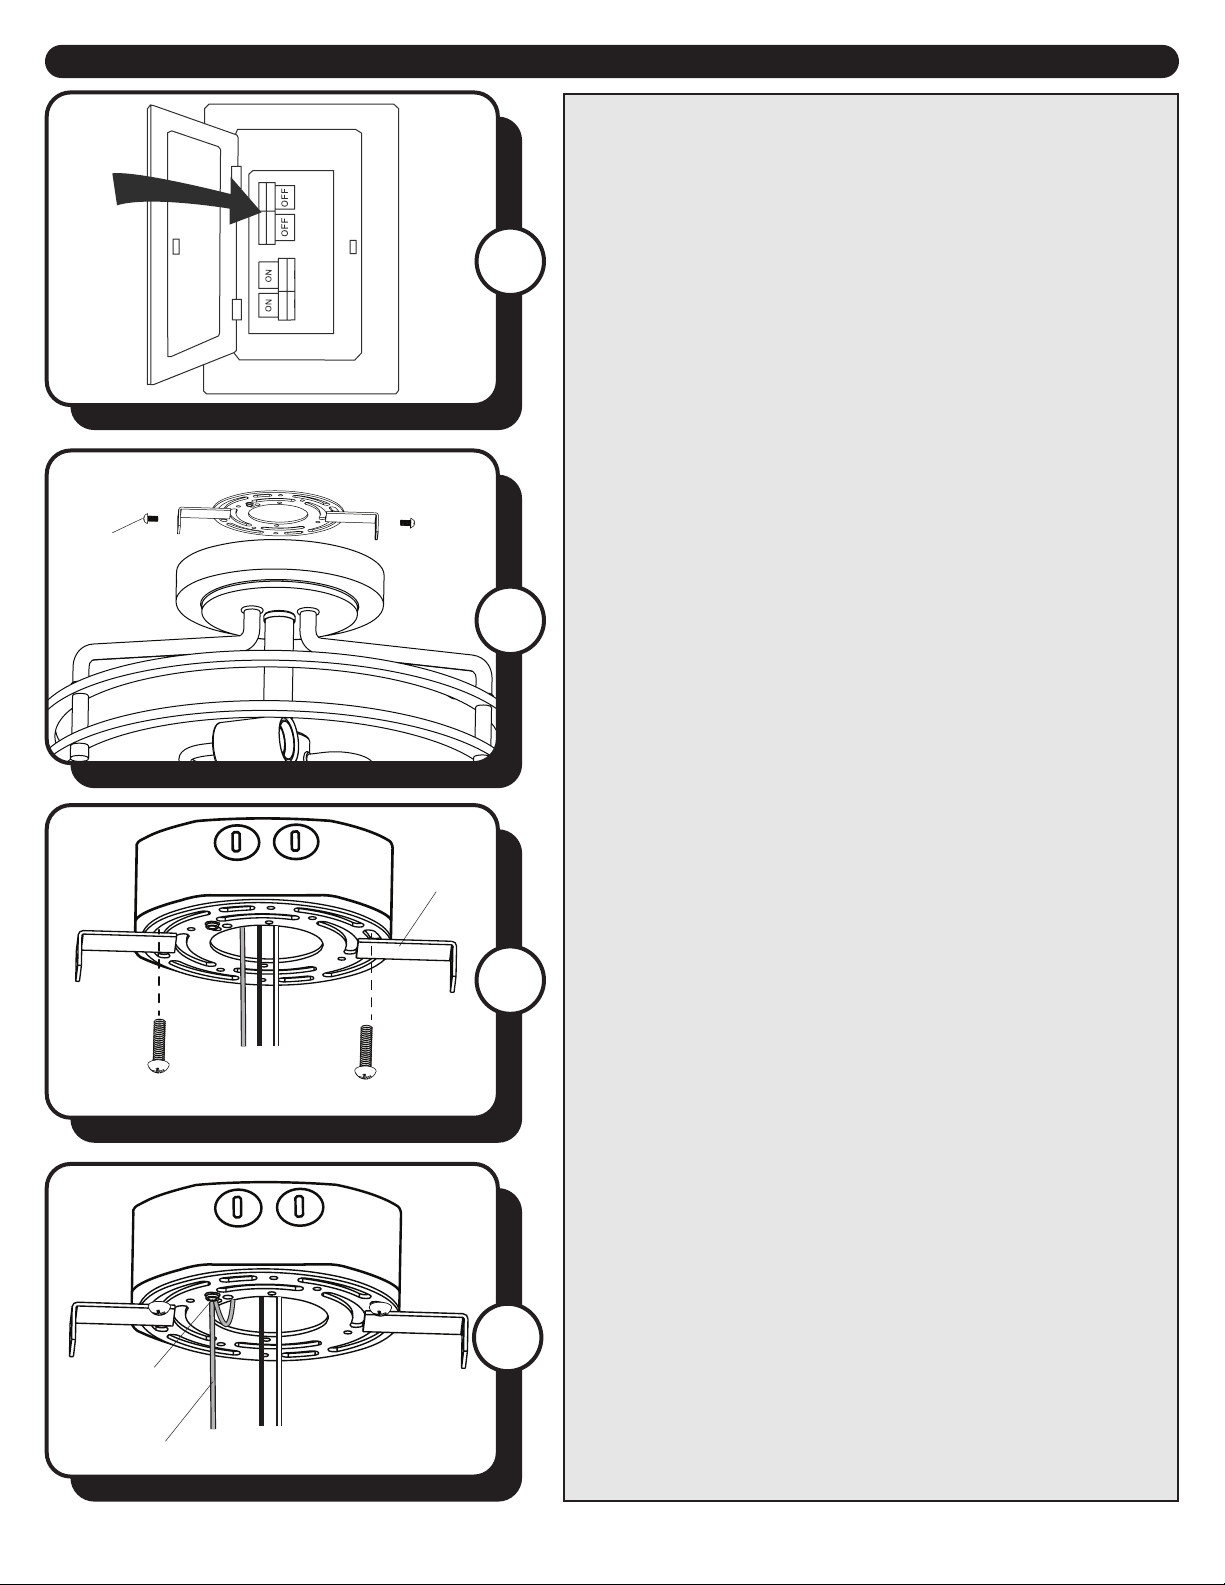
3. Attach the mounting bracket to the outlet box (not
included) using the two outlet box screws from the
hardware bag.
2. Remove the two mounting screws from the sides of the
canopy and remove the mounting bracket.
4. Loosen the ground screw preassembled to the
mounting bracket. Wrap the Green/Bare (ground) supply
wire around the shaft of the ground screw. Re-tighten the
ground screw.
Mounting
Bracket
Ground
Screw
Outlet Box
Screw
Green/Bare (ground)
3
2
4
Mounting
Screw
Mounting Bracket
Canopy
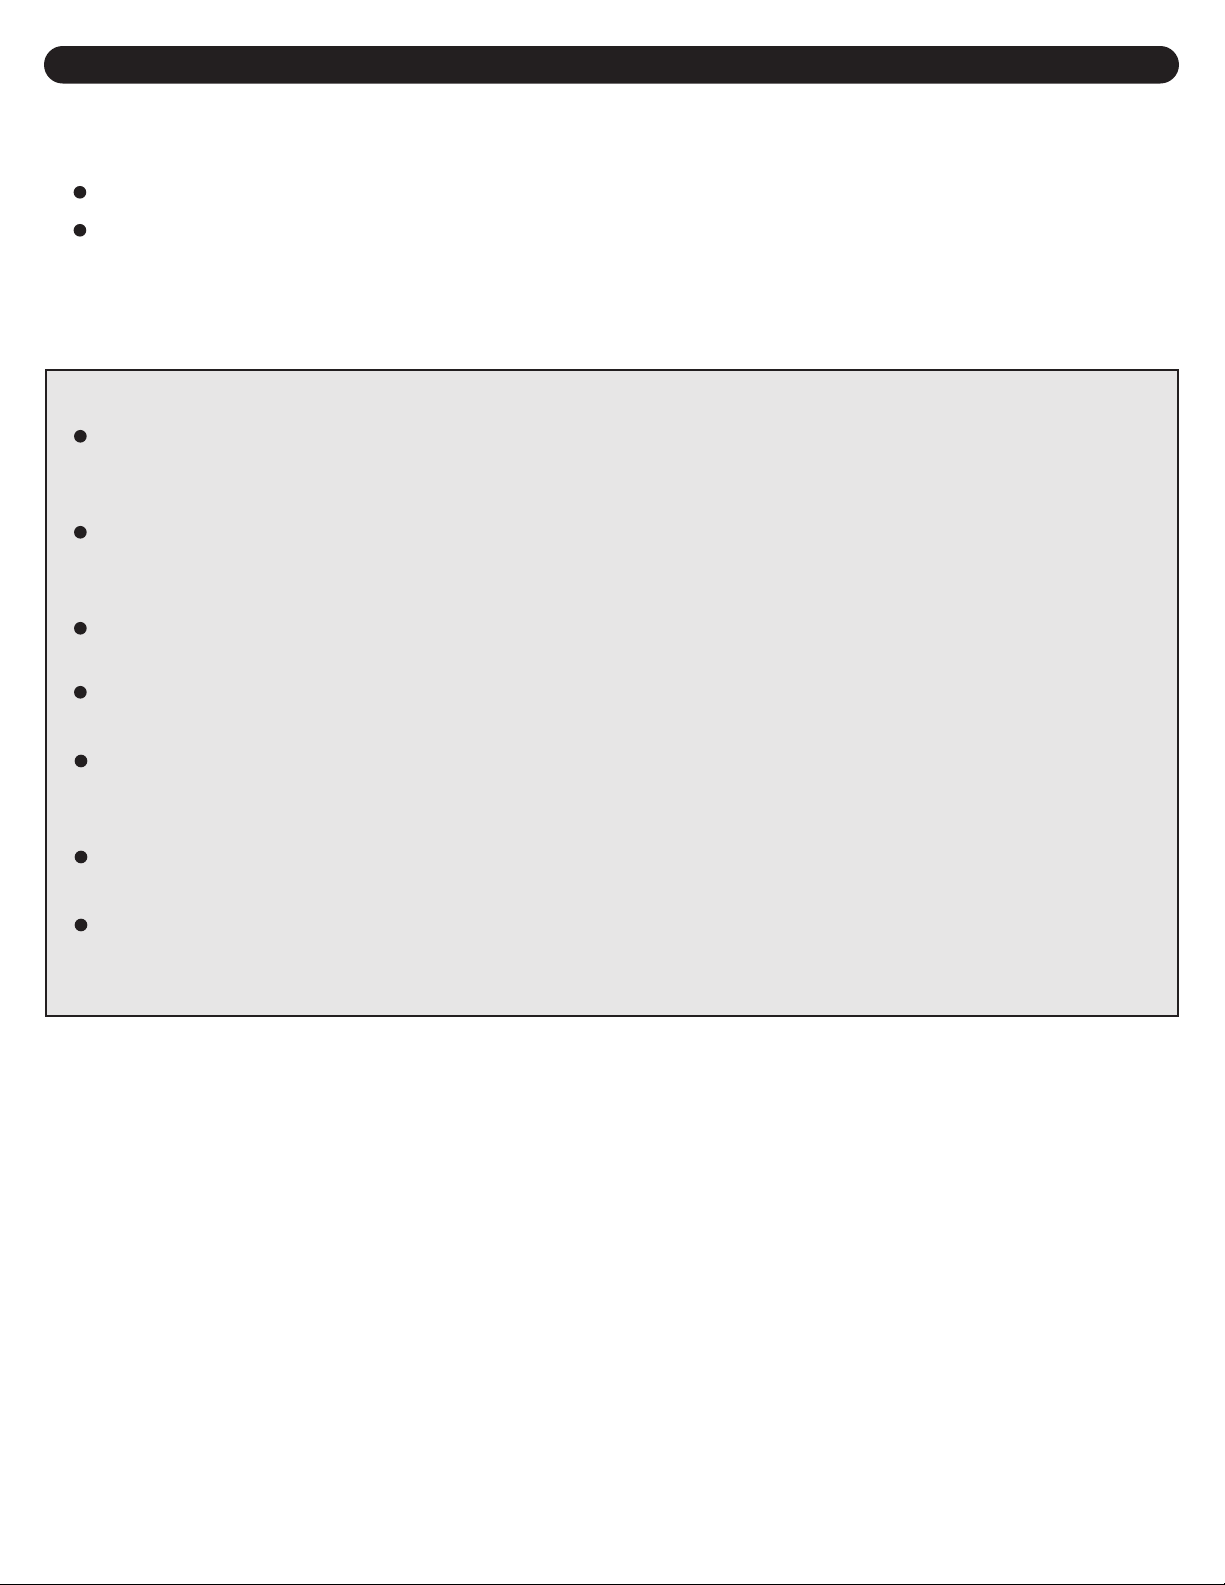
1.Turn OFF the electrical power at the main fuse or circuit
breaker.
DANGER: Failure to disconnect the power supply prior to
installation may result in serious injury or death.
ASSEMBLY INSTRUCTIONS
5
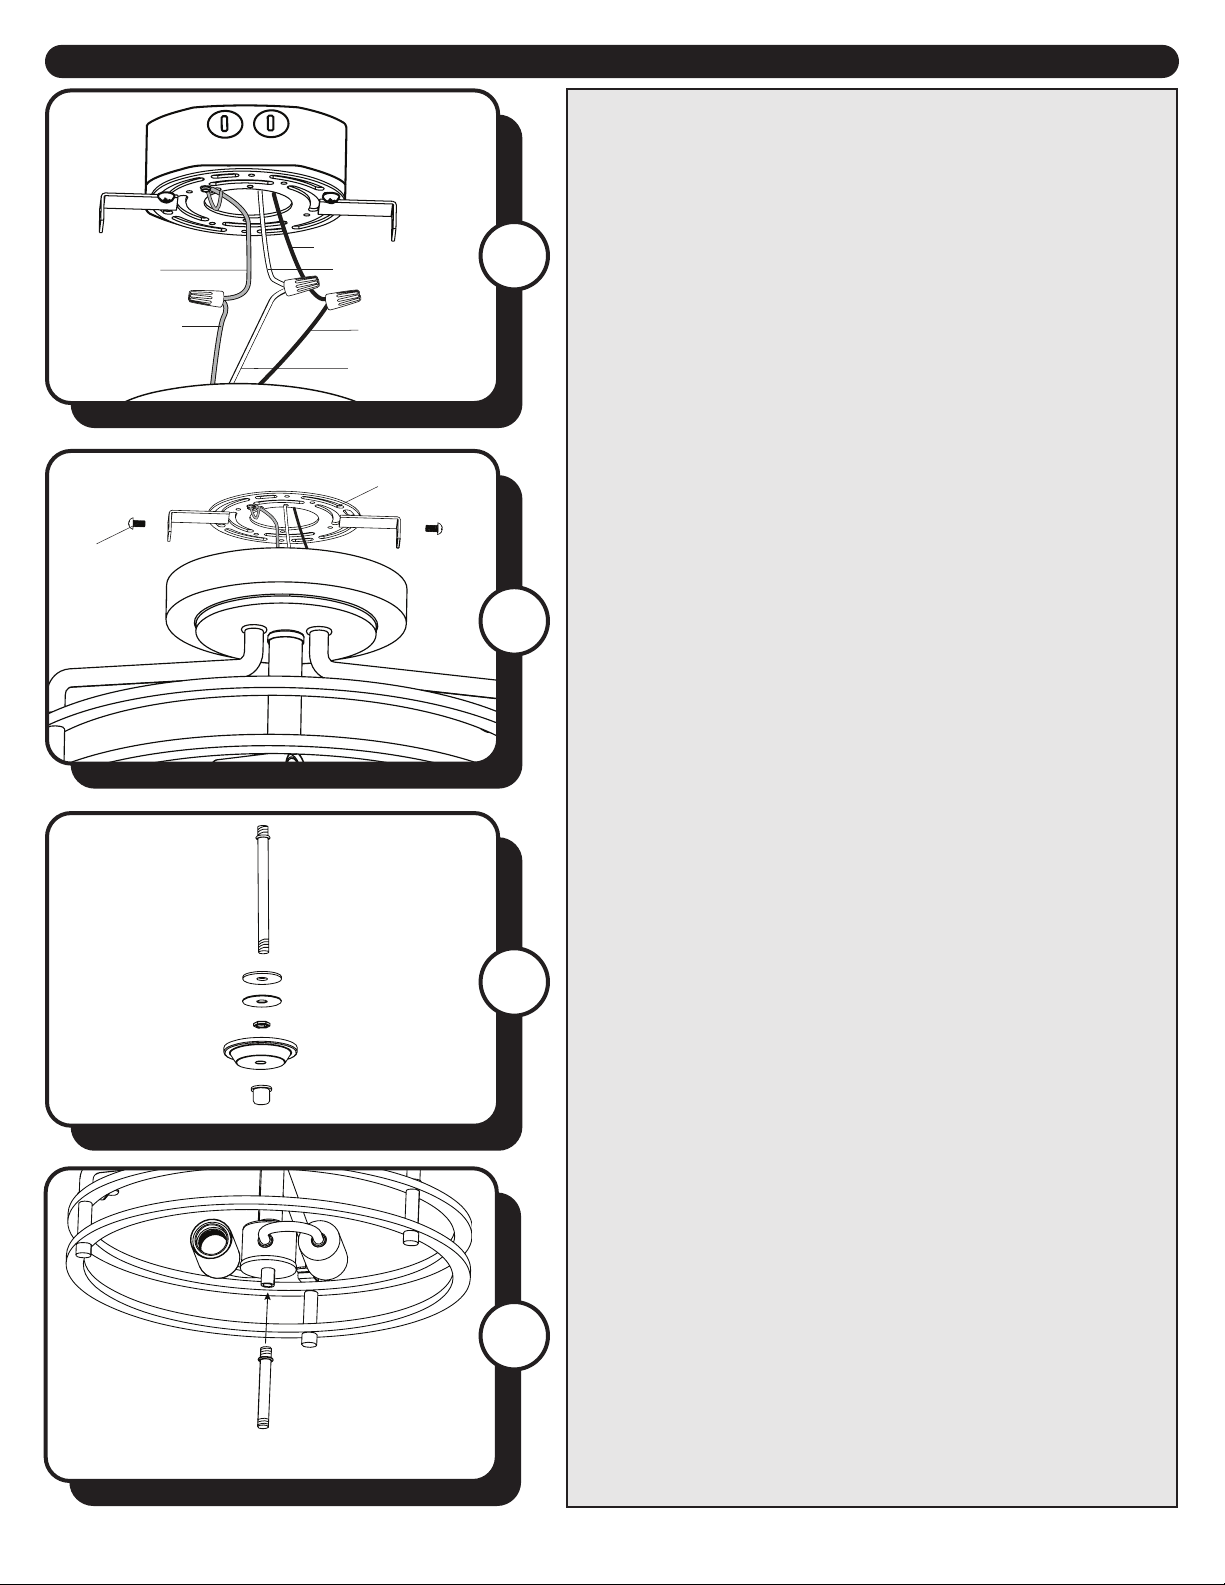
6. Lift the canopy up to the mounting bracket. Align
the holes in the canopy with the holes in the mounting
bracket. Use the previously removed mounting screws to
secure the canopy and xture to the mounting bracket.
7. Remove the nial, nial cap, hex nut, metal washer, and
rubber washer from the threaded rod.
8. Insert the threaded rod into the center of the light kit
and turn in a clockwise direction until secure.
Mounting
Screw
Mounting Bracket
Threaded Rod
Rubber Washer
Metal Washer
Finial Cap
Finial
Hex Nut
Canopy
6
7
8
Threaded Rod
Bare/Green
(ground)
Bare
White
Black
White (neutral)
Black (hot)
5. Connect supply and xture wires according to the
diagram and these steps:
• Connect the Bare wire from the xture to the Bare/Green
(ground) supply wire.
• Connect the White wire from the xture to the White
(neutral) supply wire.
• Connect the Black wire from the xture to the Black (hot)
supply wire.
Secure all wiring connections together with wire
connectors from hardware bag.
Note: If supply wire colors dier from these, contact a
professional electrician to determine proper wiring.
5
6
ASSEMBLY INSTRUCTIONS
11
12
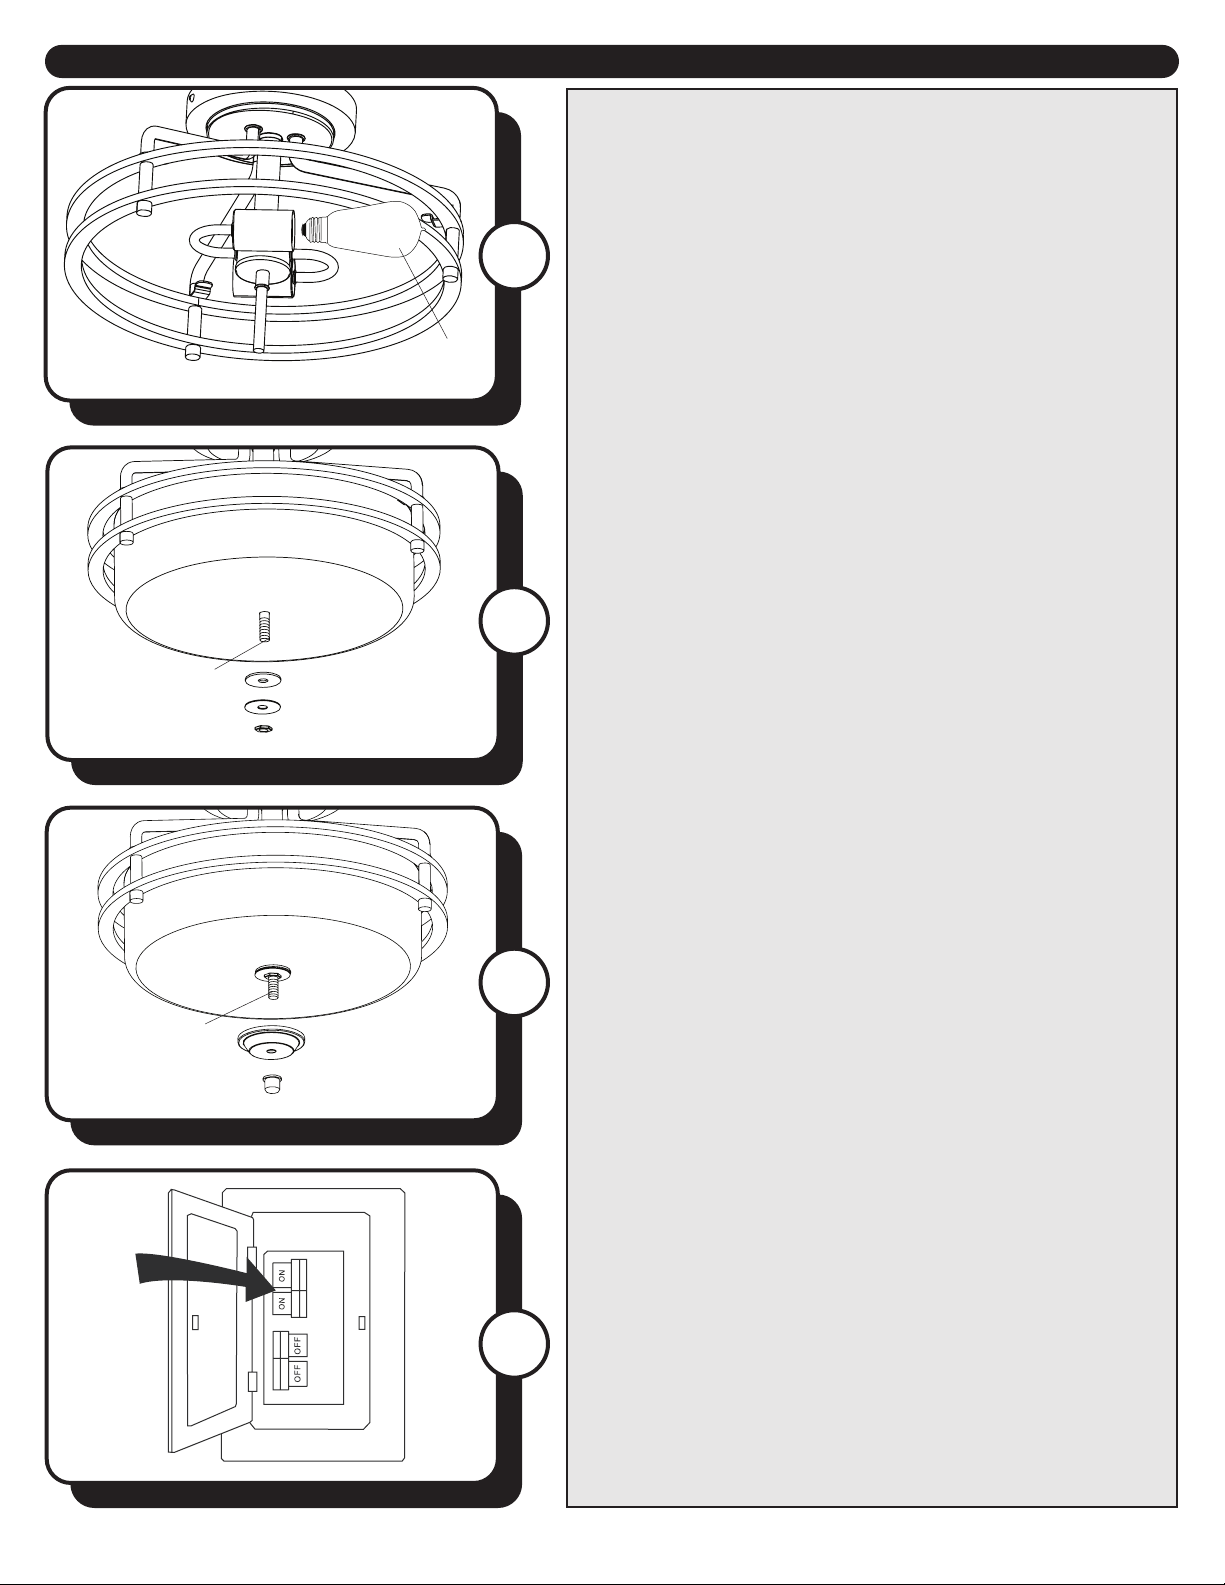
11. Lift the center hole in the nial cap over the threaded
rod and secure with the nial.
12. Restore the power at the fuse box and the wall
switch.
Assembly is complete.
Finial Cap
Threaded Rod
Finial
10. Lift the center hole in the glass bowl over the threaded
rod on the xture and secure with rubber washer, metal
washer, and hex nut.
Hole
Hex Nut
Rubber Washer
Metal Washer
Threaded Rod
10
Bulb
(sold separately)
9. Install two 60 watt max. E26-base bulbs (sold
separately). Note: It is not necessary to use Edison-shaped
bulbs (shown).
9

7
If you have diculty operating your new light xture, or have diculty with installation, please contact the
Service Department : 1-877-459-3267, 8 a.m. - 5 p.m. Central Time.
WARNING: Ensure the power is turned o to the light xture before performing any maintenance.
PROBLEM SUGGESTED REMEDY
Fixture does not light up. 1. Turn on wall switch, and check fuses or circuit breakers.
2. Check wire connections from outlet box to light xture, located in the canopy.
3. Install a new bulb.
TROUBLESHOOTING
TROUBLESHOOTING
5-YEAR LIMITED WARRANTY
To obtain service, please contact the Service Department:
1-877-459-3267, 8 a.m. - 5 p.m. Central Time.
Model Name: 2-Light Semi-Flushmount
Model No: 20710 - Brushed Nickel (SKU: 351-8391)
20731 - Matte Black (SKU: 351-8637)
The manufacturer warrants all of its lighting xtures against defects in materials and workmanship
for ve (5) years from the date of purchase. If within this period the product is found to be defective,
take a copy of the bill of sale as a proof of purchase and the product in its original carton to the place
of purchase. The manufacturer will, at its option, repair, replace or refund the purchase price to the
consumer. All costs of installation and removal of the xture is the responsibility of the consumer. This
warranty does not cover xtures becoming defective due to misuse, accidental damage or improper
handling and/or installation and specically excludes liability for direct, incidental or consequential
damages. As some states do not allow exclusions of limitations on an implied warranty, the above
exclusion and limitation may not apply. This warranty gives you specic rights and you may also have
other rights which may vary from state to state.