Loading ...
Loading ...
Loading ...
9
Smart Pause
Smart Pause reduces the power of each cooking zone that has been activated. Press on the desired zone
and it will reduce to level 1 and “II” will appear. Press
again to deactivate Smart Pause and “II” will disappear
and the zones will return to the previous level.
If Smart Pause has not been deactivated, the cooktop will turn off after 30 minutes.
The Cooking Zone Timer Function
The timer function can be set for individual cooking zones. First select a cooking zone and set the heat setting.
While the decimal point is flashing, press the
Timer Setting button . The timer display will show the current timer
setting (flashing) for that cooking zone (00), with a separate indicator to the side representing the particular cooking
zone. Slide your finger from left to right on the Slider
to increase the timer length (in minutes) or
the
Decrease the time by sliding from right to left to start from 60 minutes and decrease the
timer length. The function is selected for 10 seconds at which time the main display stops flashing and starts to
count down to 0. The light representing the cooking zone stays lit until this point. While the timer is working, heat
settings can be adjusted in the usual way, and the timer length adjusted as above. Note maximum time setting is
99.
Once finished, the timer display will flash “00” and the light representing the particular cooking zone will flash (with
the cooking zone display flashing “0” or “H”) with an audible alarm. This will continue for 30 seconds or until a
button is pressed.
Multiple timers can be set for different cooking zones as above, with the timer display cooking zone indicator
flashing to show which cooking zone is being adjusted at any time. In the case of multiple timers, after the 10
seconds, the shortest timer is always displayed. Once the alarm has run for 30 seconds (or a button is pressed)
the next shortest timer is displayed.
The timer can also be used as a general timer. To do this, press the
Timer Setting button without selecting a
cooking zone, and adjust the time period as is described above.
Pressing the
Timer Setting button a second time, or decreasing the time to 0 will turn off the timer functions.
Child Lock
The child lock is used to set the appliance up so when it is first turned on, it is in a locked mode (which must be
unlocked before a cooking function can take place). While locked, touch modifications (e.g. increase heat settings)
and others will not be possible. It is only possible to switch the appliance off.
Turn the appliance on, but do not activate any functions. To activate the child lock, simultaneously operate the
right and the left of the slider button and then operate the right of the slider button again. "L" meaning
LOCKED will appear in all heater displays and the control cannot be changed.
To deactivate the child lock, first switch on the hob. Simultaneously operate the right and the left of the slider
button and then operate left of slider button again. "L" will disappear in the display and the hob will be
switched off.
Key Lock
The key lock is used to set the appliance up so that it cannot be adjusted while in use (only turned off), or cannot
be turned on without disabling the lock.
To lock the appliance while operating, turn on the appliance and set all functions as above. Press the
Key lock
button for 3 seconds to activate the key lock (the Key lock active LED display will light up). From this point,
only the
On/off Power Touch Control will operate. Unlock by pressing the Key lock button for another 3
seconds.
To lock when not in operation, press the
Key lock button for 3 seconds and no functions operate. Unlock the
same way as above.
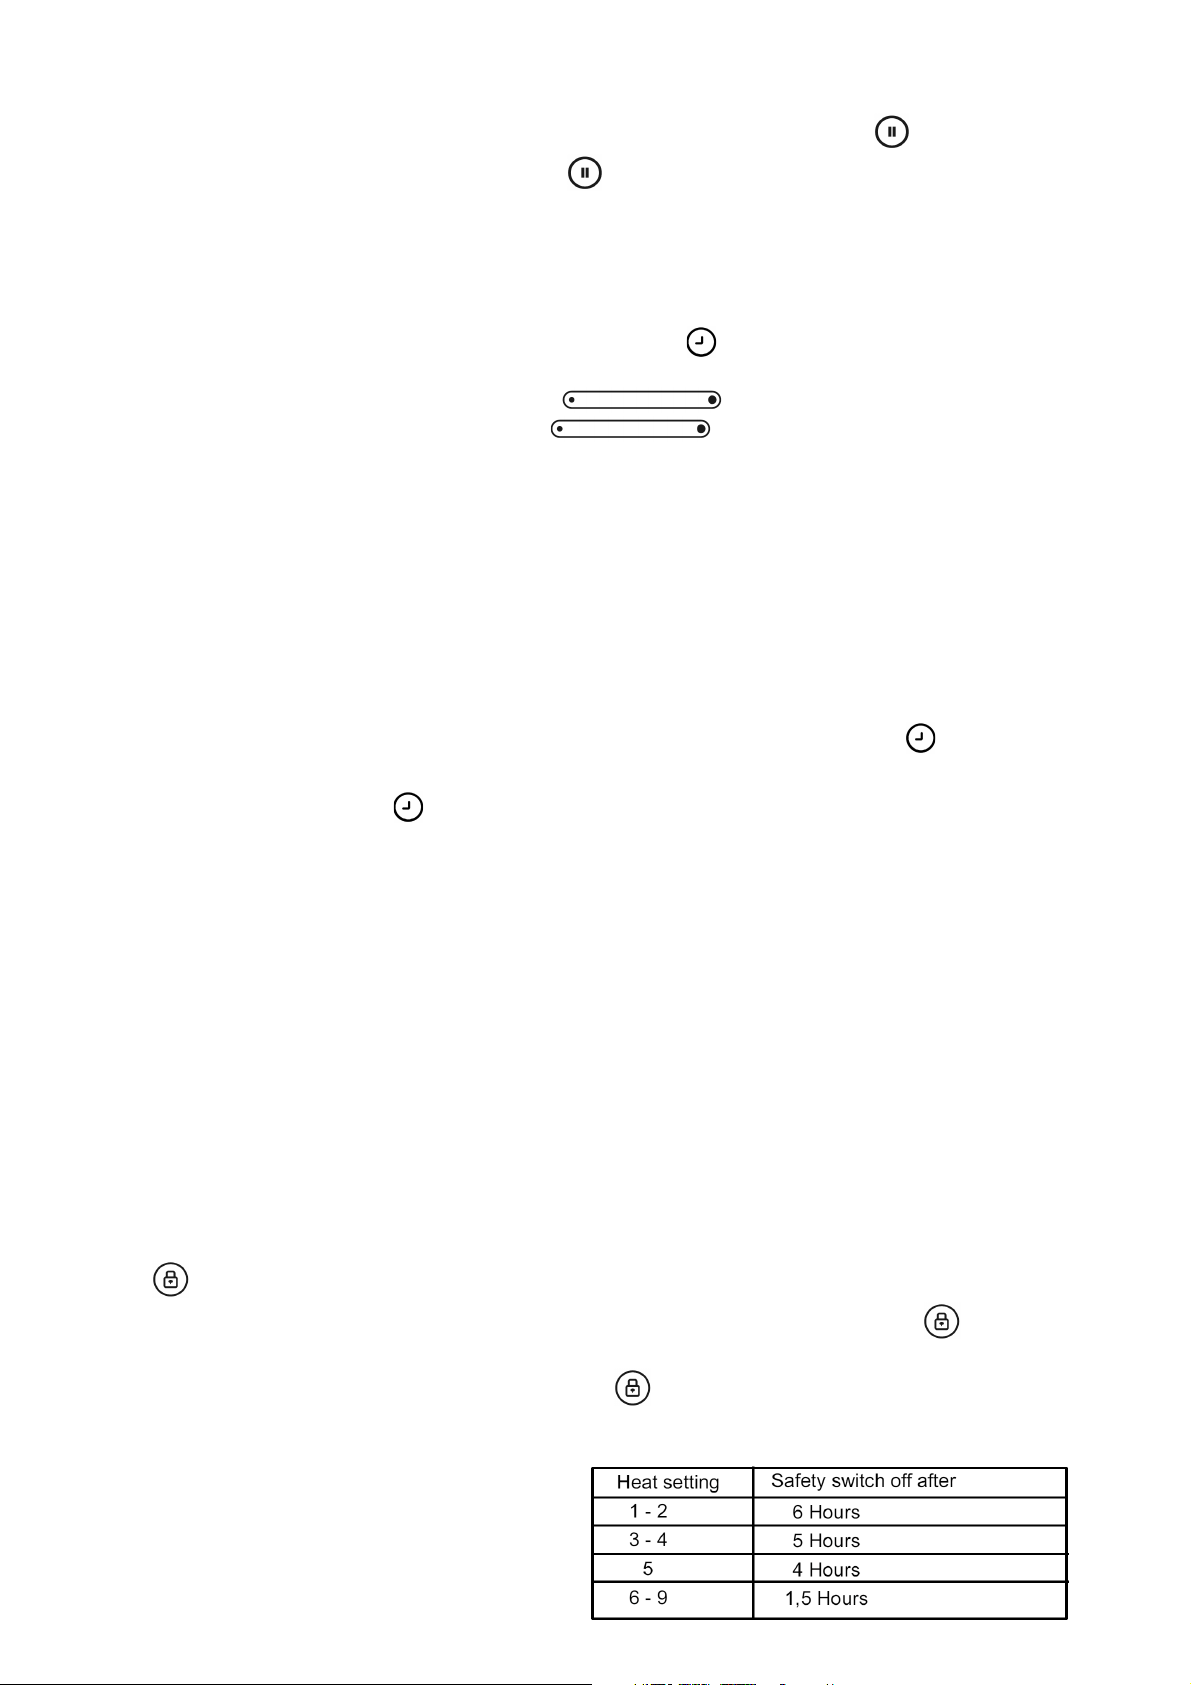
Safety Switch Off Function
Each cooking zone will switch off after a maximum
operating time if the heat setting is not modified. The
maximum operation time depends on the selected
temperature level.
Loading ...
Loading ...