Loading ...
Loading ...
Loading ...
4
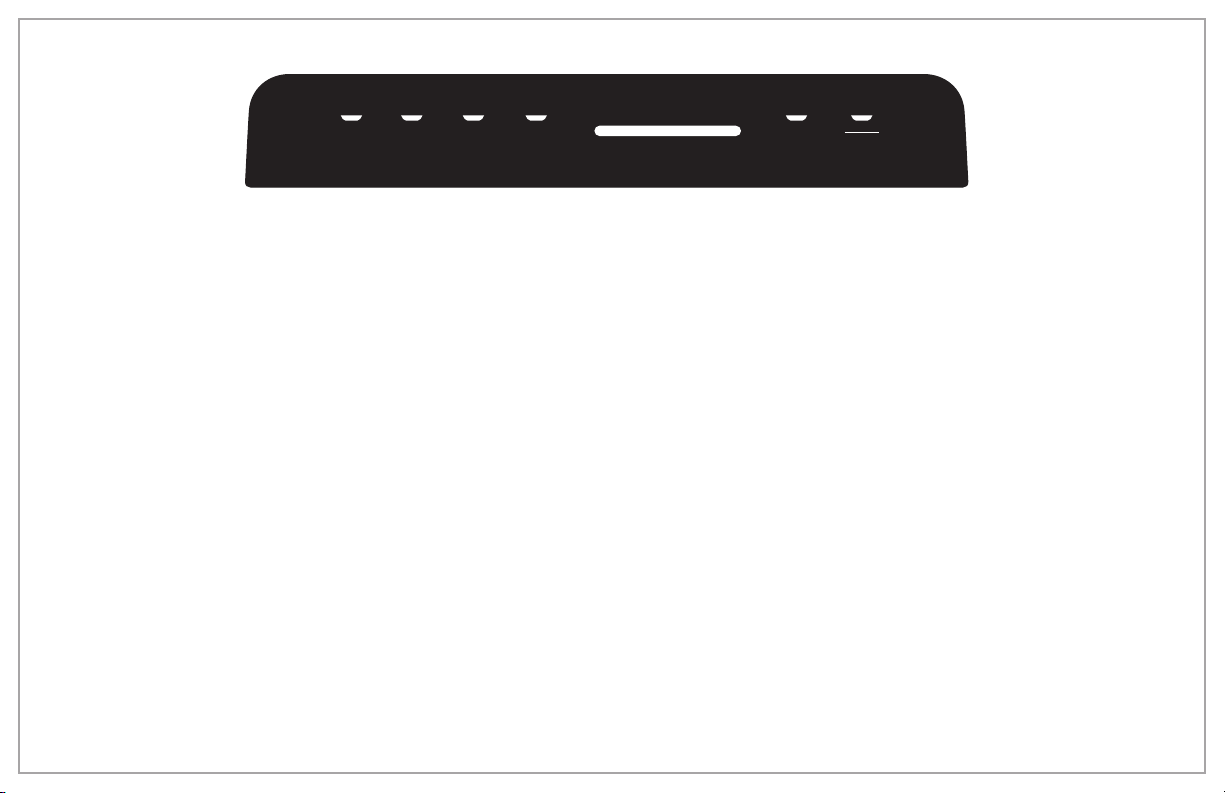
Control Panel
SEAL Button: Start heat-seal operation. Use to make bags from rolls or seal bag in PULSE mode.
DRY VAC & SEAL Button: Start vacuum and seal operation for dry foods.
WET VAC & SEAL Button: Start wet vacuum for liquids or moist foods.
ACCESSORY Button: Operate Accessory Port on Lid of appliance. Use with vacuum hose, special canisters, and zipper bags (not included).
PROGRESS Bar: Lights indicate progression of selected function.
DATE CODE: DATE CODE function may be used with either DRY VAC & SEAL or WET VAC & SEAL. To set date on Date Coder, open Lid and
rotate date wheels until desired date lines up with indicator arrows.
PULSE/CANCEL Button (pause/cancel button): Allows to manually vacuum and seal delicate foods or nonfoods or stops any function at
any time.
Indicator Lights: Blue indicator lights will flash when Lid is locked and unit is ready to seal. Once desired function is selected, blue light will
stop flashing and become solid. The green PROGRESS Bar will slowly illuminate. When cycle is complete, a beep will sound and PROGRESS
Bar lights will be illuminated. This indicates that you may unlock Lid and remove sealed bag. Red lights indicate an error has occurred. Refer
to Troubleshooting section.
SEAL
ACCESSORY
DATE CODE
PROGRESS
DRY VAC
& SEAL
WET VAC
& SEAL
PULSE
CANCEL
Before first use:
• The Vacuum Sealer is intended to be used only with heat-seal bags which have at least one side that is textured for airflow. Do not use
household plastic bags.
• A vacuum bag is sealed when two layers of the bag are heated from Heat-Seal Strip, causing bag to be permanently sealed.
• Wait at least 20 seconds between operations for Heat-Seal Strip to cool to prevent overheating and premature melting of bag.
• You may use the Vacuum Sealer with or without the roll caddy when sealing dry foods or nonfood items.
• Avoid sharp items around heat-seal bags or rolls when vacuum-sealing. Punctured bags will not seal properly.
Loading ...
Loading ...
Loading ...