Loading ...
Loading ...
Loading ...
STARTING A WARM ENGINE
1. Move ON/OFF switch to the ON posi-
tion.
2. Move the choke lever to the HALF
CHOKEposition.
3. Squeeze and hold the throttle trig-
ger. Keep throttle trigger fully
squeezed until the engine runs
smoothly.
4. Pull starter rope sharply until engine
runs, but no more than 5 pulls.
5. Allow engine to run 15 seconds,
then move the choke lever to the
OFF CHOKEposition.
NOTE: If engine has not started, pull
starter rope 5 more pulls. If engine still
does not run, it is probably flooded.
STARTING A FLOODED ENGINE
Flooded engines can be started by
placing the choke lever in the OFF
CHOKE position; then, pull the rope to
clear the engine of excess fuel. This
could require pulling the starter handle
many times depending on how badly
the unit is flooded.
If the unit still doesn't start, refer to
TROUBLESHOOTING TABLE or call
1-800-235-5878.
OPERATING INSTRUCTIONS
OPERATING POSITION
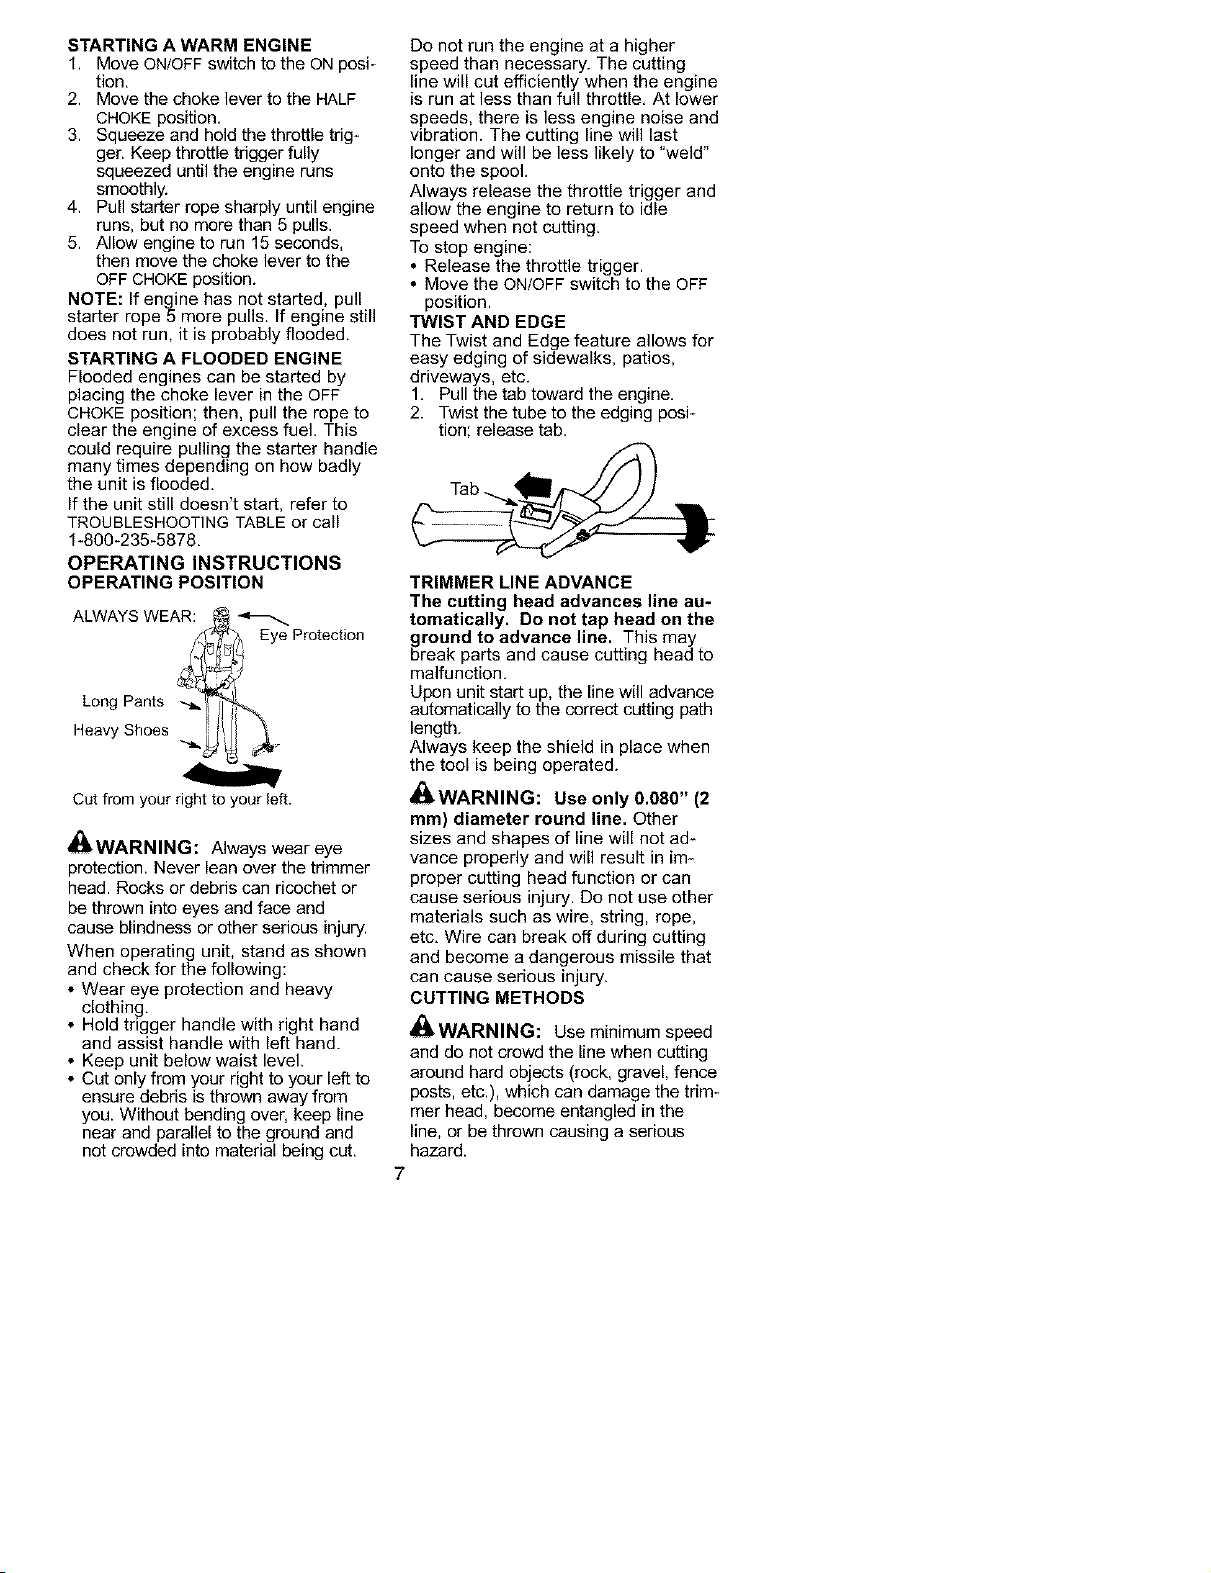
ALWAYS WEAR:
__ Eye Protection
/. I
Long Pants
Heavy Shoes ._! _
Cut from your right to your left.
41;It.WARNING: Always wear eye
protection. Never lean over the trimmer
head. Rocks or debris can ricochet or
be thrown into eyes and face and
cause blindness or other serious injury.
When operating unit, stand as shown
and check for the following:
• Wear eye protection and heavy
clothing,
• Hold trigger handle with right hand
and assist handle with left hand.
• Keep unit below waist level.
• Cut only from your right to your left to
ensure debris is thrown away from
you. Without bending over, keep line
near and parallel to the ground and
not crowded into material being cut.
Do not run the engine at a higher
speed than necessary. The cutting
line will cut efficiently when the engine
is run at less than full throttle. At lower
speeds, there is less engine noise and
vibration. The cutting line will last
longer and will be less likely to "weld"
onto the spool.
Always release the throttle trigger and
allow the engine to return to idle
speed when not cutting.
To stop engine:
• Release the throttle trigger.
• Move the ON/OFF switch to the OFF
position.
TWIST AND EDGE
The Twist and Edge feature allows for
easy edging of sidewalks, patios,
driveways, etc.
1. Pull the tab toward the engine.
2. Twist the tube to the edging posi-
tion; release tab.
Tab
TRIMMER LINE ADVANCE
The cutting head advances line au-
tomatically. Do not tap head on the
gbroundto advance line. This may
reak parts and cause cutting head to
malfunction.
Upon unit start up, the line will advance
automatically to the correct cutting path
length.
Always keep the shield in place when
the tool is being operated.
_kWARNING: Use only 0.080" (2
mm) diameter round line. Other
sizes and shapes of line will not ad*
vance properly and will result in im-
proper cutting head function or can
cause serious injury. Do not use other
materials such as wire, string, rope,
etc. Wire can break off during cutting
and become a dangerous missile that
can cause serious injury.
CUTTING METHODS
_lk WARNING: Use minimum speed
and do not crowd the line when cutting
around hard objects (rock, gravel, fence
posts, etc.), which can damage the trim-
mer head, become entangled in the
line, or be thrown causing a serious
hazard.
7
Loading ...
Loading ...
Loading ...