Loading ...
Loading ...
Loading ...
INSTALLATION - 5591477A166/B
e
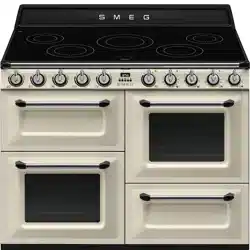
Levelling the appliance
The appliance must be level on the floor in order
to ensure greater stability:
• Screw or unscrew the feet at the bottom until
the appliance is stable and level on the
floor.
Assembling the upstand
The upstand must always be positioned and
secured correctly on the appliance.
1. Loosen the 6 screws (A) on the back of the
hob and unscrew the two screws (B)
underneath.
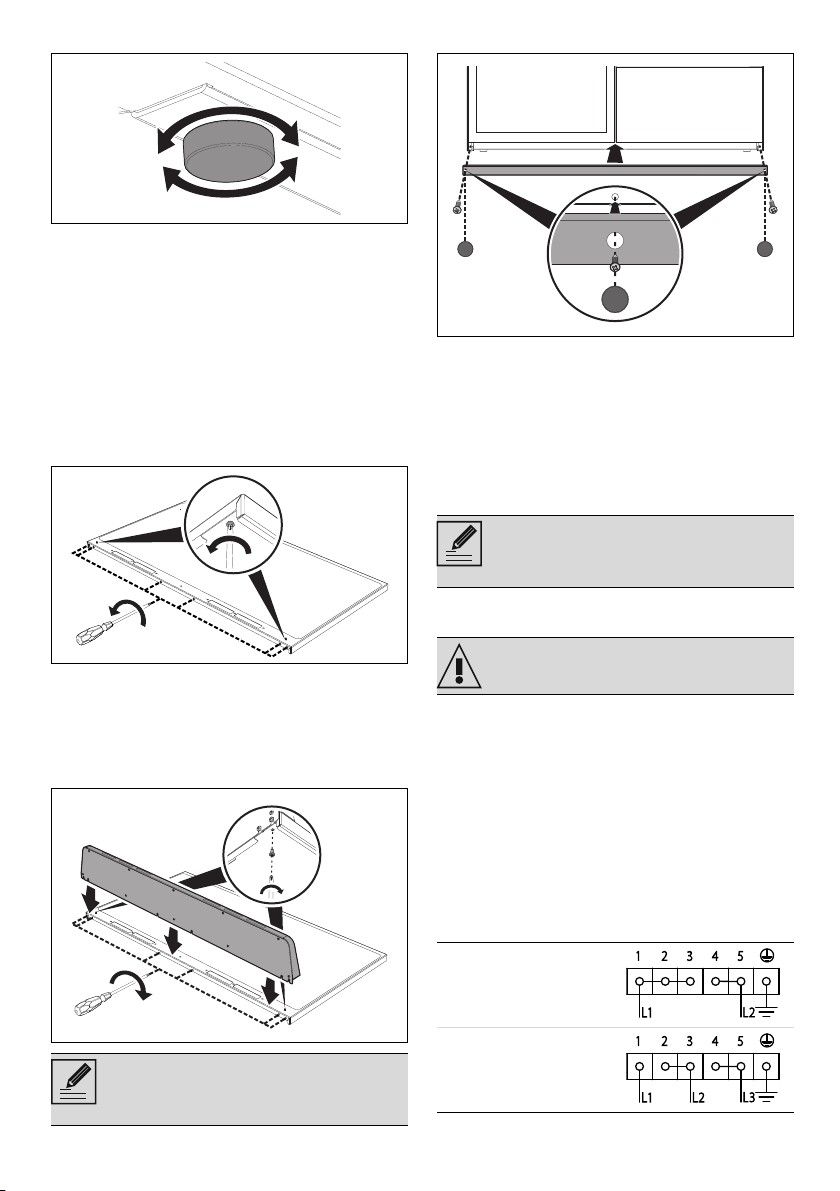
2. Place the upstand on the hob. Align the 6
bottom slots of the upstand with the 6 screws
on the back of the hob that were previously
loosened.
3. Tighten the 6 screws on the back of the hob
and the 2 screws underneath.
Mounting the plinth
The plinth must always be positioned and
secured correctly on the appliance.
1. Place the plinth in the front bottom part of the
appliance.
2. Screw the two side screws to fasten the
plinth to the appliance.
3. Cover the holes of the plinth with the plugs
provided.
Electrical connection
General information
Check the mains characteristics against the data
indicated on the plate.
The identification plate bearing the technical
data, serial number and brand name is visibly
positioned on the appliance.
Do not remove this plate for any reason.
The appliance must be connected to ground
using a wire that is at least 20 mm longer than
the other wires.
The appliance can work in the following modes:
The upstand provided is an integral part
of the product. It must be fastened to the
appliance prior to installation.
A
B
B
A
The plinth provided is an integral part of
the product; it must be fastened to the
appliance prior to installation.
See General safety instructions.
220-240 V 2~
3 x 10 mm ²
three-core cable
220-240 V 3~
4 x 6 mm ²
four-core cable
Loading ...