Loading ...
Loading ...
Loading ...
LUBRmCATmON
Use only high quality detergent oil rated
with API service classification SF-SJ. Se-
lect the oil's SAE viscosity grade accord-
ing to your expected operating tempera-
ture.
SAE VISCOSITY GRADES
F -20 0 30 32 40 60 80 100
c -_o -2_ -1_ _ 1'o _o _o 4_
TEMPERATURE RANGE ANTICIPATED BEFORE NEXT OIL CHANGE
oi_viscchar t I e
NOTE: Although multi-viscosity oils
(5W30, 10W30 etc.) improve starting in
cold weather, these multi-viscosity oils will
result in increased oil consumption when
used above 32°R Check your engine oil
level more frequently to avoid possible
engine damage from running low on oil.
Change the oil after every 25 hours of
operation or at least once a year if the unit
is not used for 25 hours in one year.
Check the crankcase oil level before
starting the engine and after each five (5)
hours of continuous use. Tighten oil plug
securely each time you check the oil level.
TO CHANGE ENGINE OIL
NOTE: Before tipping trimmer to drain oil,
drain fuel tank by running engine until fuel
tank is empty.
1. Disconnect spark plug wire from spark
plug and place wire where it cannot
come in contact with spark plug.
2. Remove engine oil cap; lay aside on a
clean surface.
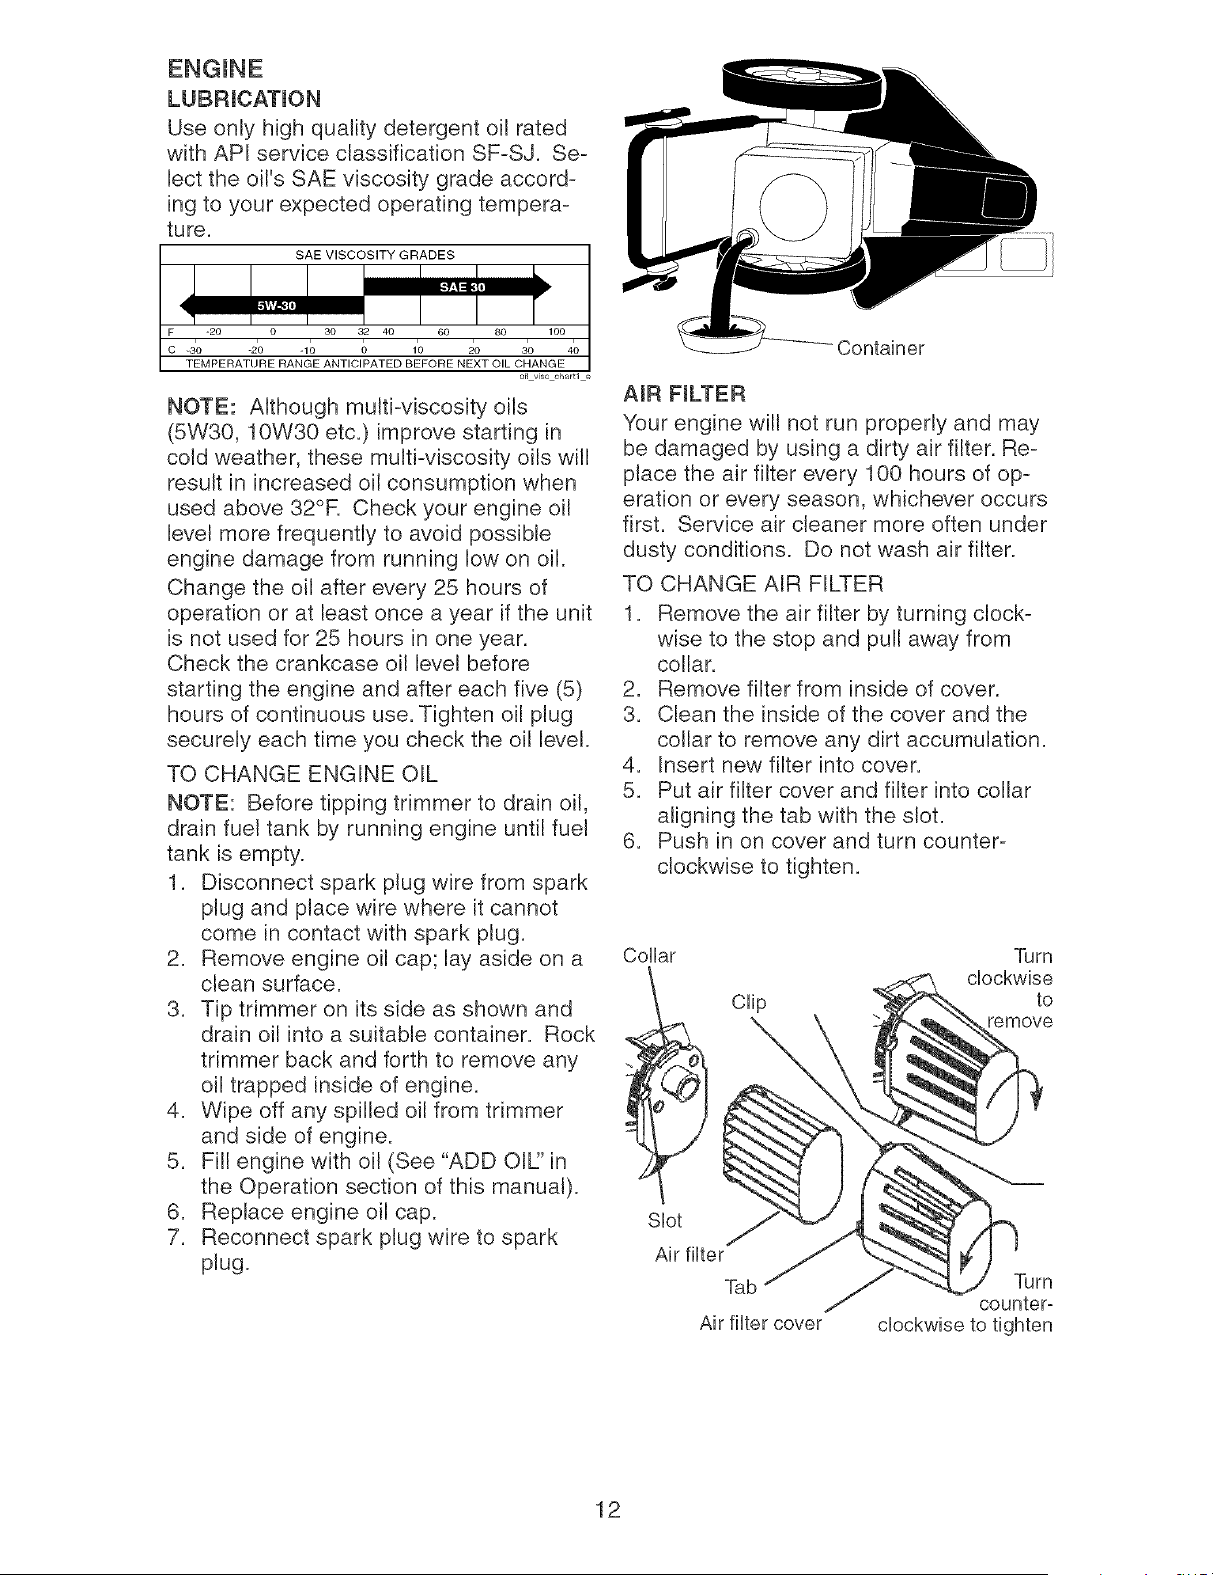
3. Tip trimmer on its side as shown and
drain oil into a suitable container. Rock
trimmer back and forth to remove any
oil trapped inside of engine.
4. Wipe off any spilled oil from trimmer
and side of engine.
5. Fill engine with oil (See "ADD OIL_' in
the Operation section of this manual).
6. Replace engine oil cap.
7. Reconnect spark plug wire to spark
plug.
Container
AmR FmLTER
Your engine will not run properly and may
be damaged by using a dirty air filter. Re-
place the air filter every 100 hours of op-
eration or every season, whichever occurs
first. Service air cleaner more often under
dusty conditions. Do not wash air filter.
TO CHANGE AIR FILTER
1. Remove the air filter by turning clock-
wise to the stop and pull away from
collar.
2. Remove filter from inside of cover.
3. Clean the inside of the cover and the
collar to remove any dirt accumulation.
4. Insert new filter into cover.
5. Put air filter cover and filter into collar
aligning the tab with the slot.
6. Push in on cover and turn counter-
clockwise to tighten.
Collar
Clip
Turn
clockwise
to
remove
Slot
Air filter
Tab
Air filter cover
Turn
counter°
clockwise to tighten
12
Loading ...
Loading ...
Loading ...