Loading ...
Loading ...
Loading ...
15
Care And Cleaning
Clean your air conditioner to keep it looking new and to minimize dust build up.
AIR FILTER CLEANING
The air filter should be checked at least once every month to see if it needs cleaning. Trapped
particles and dust can build up in the filter and may decrease airflow as well as cause the cooling
coils to accumulate frost. To clean the air filter:
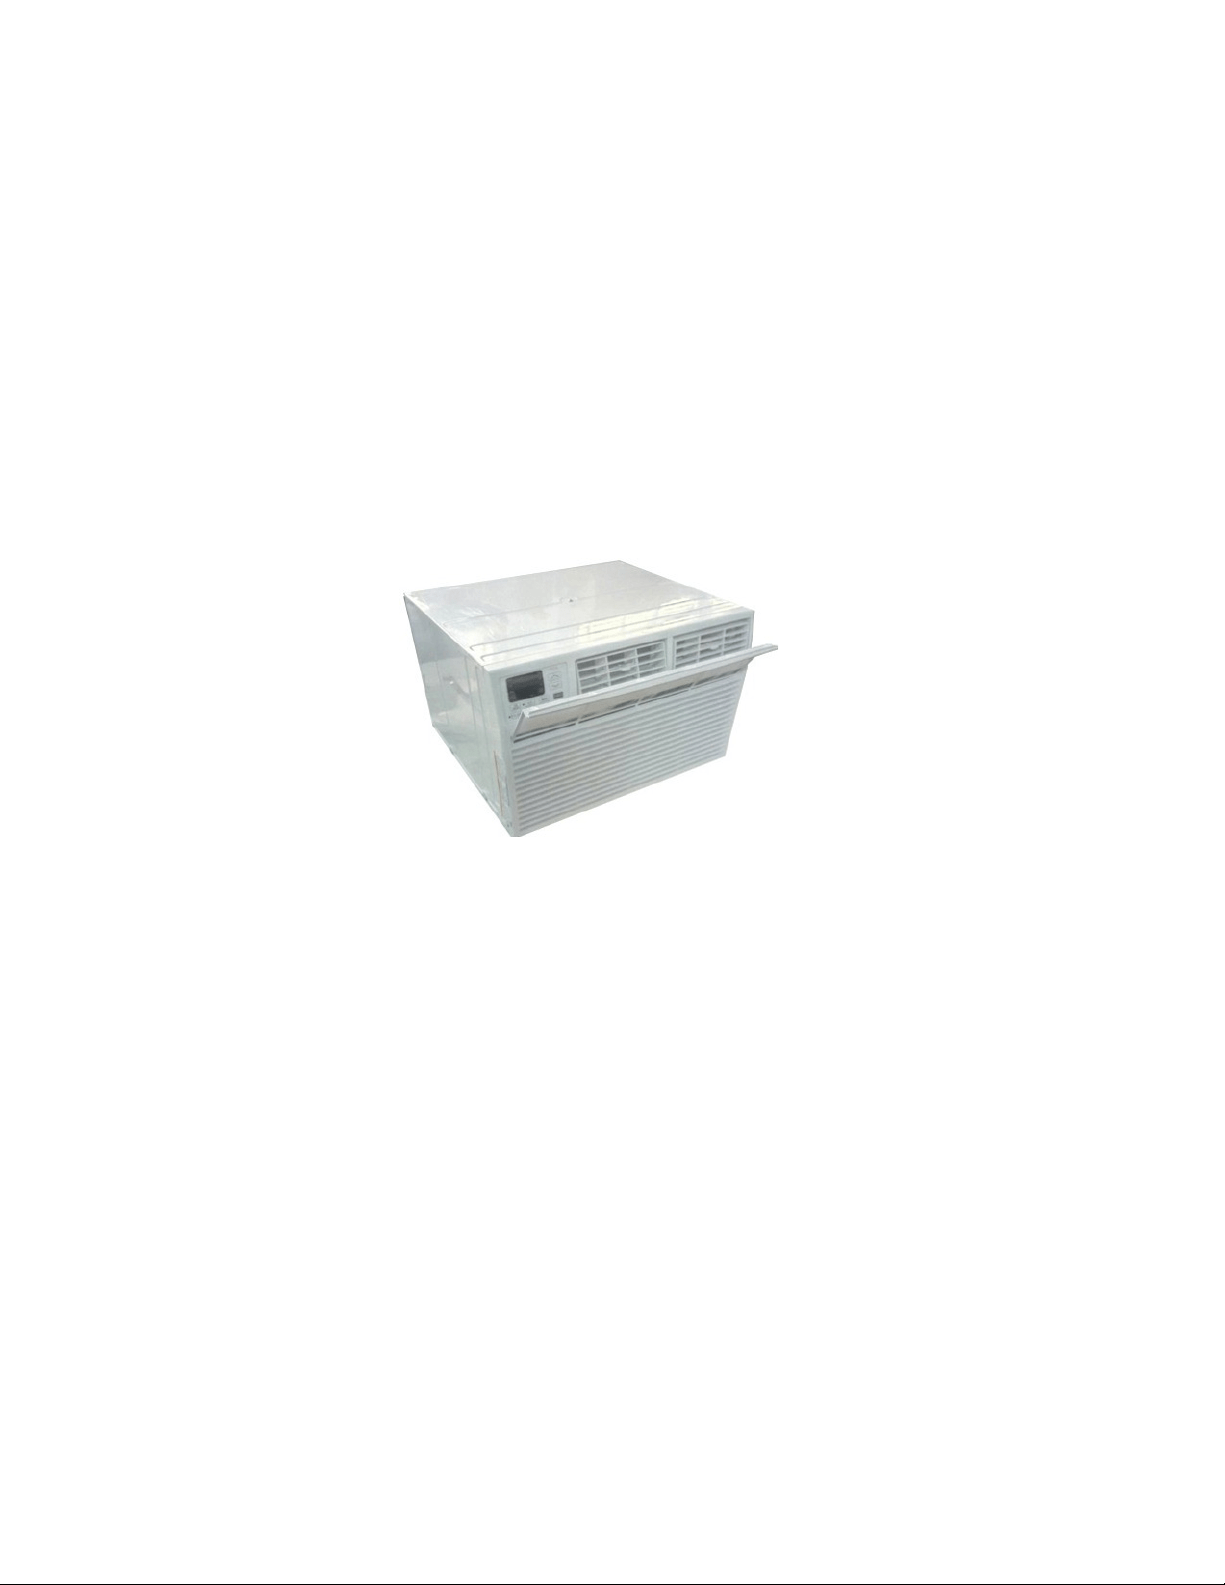
1. Remove the filter by pulling down on the tab of the filter door on the front of the unit.
(See FIG.21)
2. Wash the filter using liquid dish soap and warm water. Rinse the filter thoroughly. Gently shake
the filter to remove excess water.
3. Let the filter dry completely before placing it into the air conditioner.
4. If you do not wish to wash the filter, you may vacuum the filter to remove the dust and other
particles.
WEAR AND TEAR
To minimize wear and tear on the air conditioner, always wait at least 3 minutes before changing
modes. This should help prevent the compressor from overheating and the circuit breaker from
tripping. Periodically inspect the unit to ensure it is free of debris, objects, or damage. If damage is
observed, make sure professionally inspected prior to use.
CABINET CLEANING
To clean the air conditioner cabinet:
• Unplug the air conditioner to prevent shock or a fire hazard. The cabinet and front panel of
the air conditioner may be dusted with an oil free cloth or washed with a cloth dampened in a
solution of warm water and mild liquid soap. Rinse thoroughly with a damp cloth and wipe dry.
• Never use harsh cleaners, wax or polish on the cabinet front.
• Be sure to wring excess water from the cloth before wiping around the controls. Excess water
in or around the controls may cause damage to the air conditioner. Do not use hydrocarbon-
based cleaners (e.g. acetone, benzene, naphtha, gasoline, etc.)
WINTER STORAGE
To store the air conditioner when it is not in use for an extended period of time, remove it carefully
from the window according to the installation instructions and cover it with plastic or place it in the
original box.
FIG. 2.1
Loading ...
Loading ...
Loading ...