Loading ...
Loading ...
Loading ...
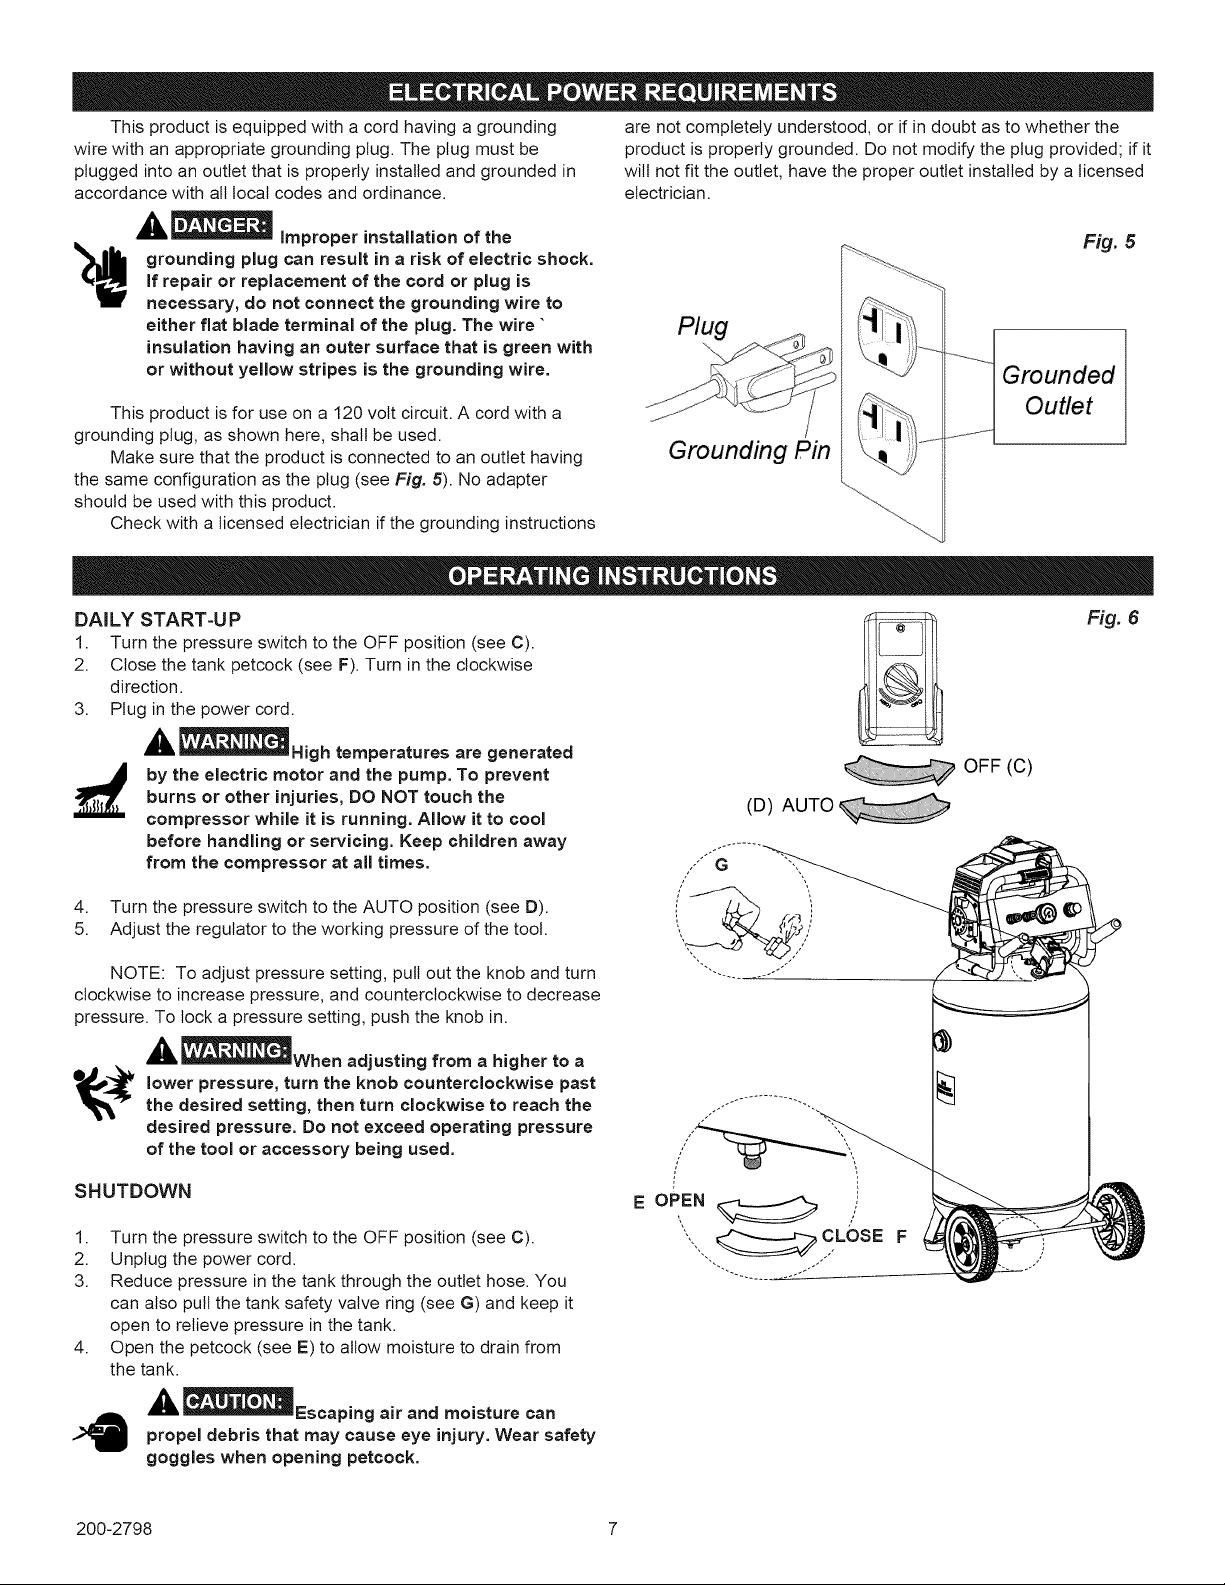
Thisproductisequippedwithacordhavingagrounding arenotcompletelyunderstood,orifindoubtastowhetherthe
wirewithanappropriategroundingplug.Theplugmustbe productisproperlygrounded.Donotmodifytheplugprovided;ifit
pluggedintoanoutletthatisproperlyinstalledandgroundedin wiltnotfittheoutlet,havetheproperoutletinstalledbya licensed
accordancewithalllocalcodesandordinance, electrician.
_li,_ Improper installation of the Fig. 5
grounding plug can result in a risk of electric shock.
If repair or replacement of the cord or plug is
necessary, do not connect the grounding wire to
either flat blade terminal of the plug. The wire"
insulation having an outer surface that is green with ,.
or without yellow stripes is the grounding wire. Grounded
This product is for use on a 120 volt circuit. A cord with a Outlet
grounding plug, as shown here, shall be used.
Pin
Make sure that the product is connected to an outlet having rounuln9
the same configuration as the plug (see Fig. 5). No adapter
should be used with this product.
Check with a licensed electrician if the grounding instructions .....,..
DALLY START=UP
1. Turn the pressure switch to the OFF position (see C).
2. Close the tank petcock (see F). Turn in the clockwise
direction.
3. Plug in the power cord.
_ll _High temperatures are generated
by the electric motor and the pump. To prevent
burns or other injuries, DO NOT touch the
compressor while it is running. Allow it to cool
before handling or servicing. Keep children away
from the compressor at all times.
4. Turn the pressure switch to the AUTO position (see D).
5. Adjust the regulator to the working pressure of the tool,
NOTE: To adjust pressure setting, pull out the knob and turn
clockwise to increase pressure, and counterclockwise to decrease
pressure. To lock a pressure setting, push the knob in.
_i' _When adjusting from a higher to a
._ lower pressure, turn the knob counterclockwise past
the desired setting, then turn clockwise to reach the
desired pressure. Do not exceed operating pressure
of the tool or accessory being used.
SHUTDOWN
1. Turn the pressure switch to the OFF position (see C).
2. Unplug the power cord.
3. Reduce pressure in the tank through the outlet hose. You
can also pull the tank safety valve ring (see G) and keep it
open to relieve pressure in the tank.
4. Open the petcock (see E) to allow moisture to drain from
the tank.
'_ _Escaping air and moisture can
propel debris that may cause eye injury. Wear safety
goggles when opening petcock.
OFF (C)
(D) AUTO
/ G
,," ,,
/' "i
Fig. 6
EopE. /
", CL()SE
200-2798 7
Loading ...
Loading ...
Loading ...