Loading ...
Loading ...
Loading ...
18
IMPORTANT : Adjust in small increments to keep from
damaging the cabinet trim and causing problems with
the door alignment or top grille fit. To avoid damage to
the cabinet or leveling legs, do not apply more than
50 inch-pounds (5.65 Nm) of torque to the leveling bolts.
The leveling legs can be extended to a maximum of
1⁄" (3.18 cm) below the rollers.
1. After leveling the refrigerator, again use a straight
edge or 4-ft level across the front of the refrigerator
installation blocks to the cabinets to check that the
refrigerator is still flush.
INSTALL PANELS
Refer instructions received with full height door panel
kit /Armoire kit to install stainless steel / Custom Wood
Overlay Panels.
IMPORTANT : JennAir is not responsible for the removal
or addition of molding or wood overlay panels that would
not allow access to the refrigerator for service.
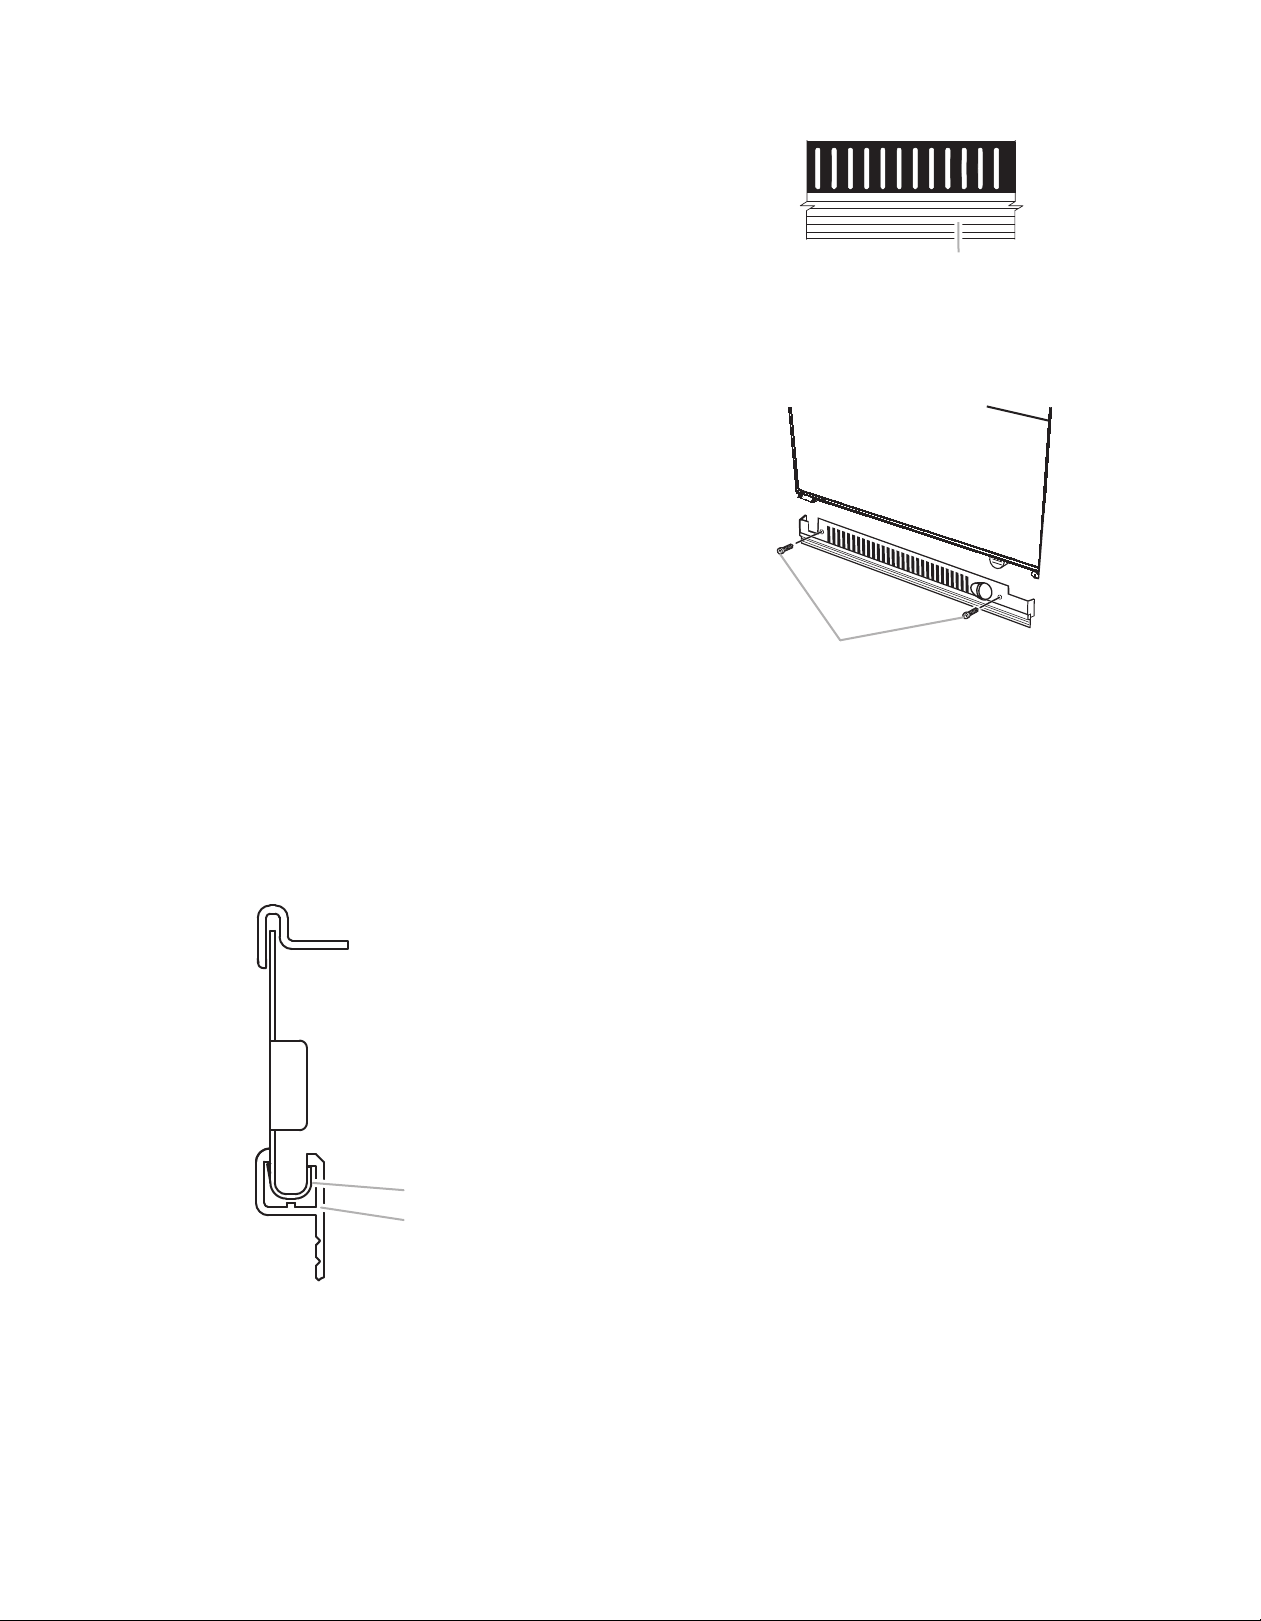
INSTALL BASE GRILLE
There are two pieces to the base grille to allow for a
custom fit: the base grille itself and the skirt. The skirt can
be added to the base grille in order to extend it all the
way to the floor.
1. To see whether the skirt is needed, place the base
grille into position. Do not attach the base grille to
the refrigerator. Measure the distance between the
bottom of the base grille and the floor. The gap must
be a minimum of 1/2" (1.27 cm) in order to add the
skirt.
NOTE : If the gap measures less than 1/2" (1.27 cm),
skip steps 3 and 4 of the instructions, and install the
base grille only.
2. Remove the film from the base grille.
3. Snap the skirt onto the base grille.
4. Trim the skirt by scoring the proper “V” groove with a
utility knife. Break the skirt at the score line.
5. Using the 2 screws, attach the base grille assembly to
the refrigerator as shown.
NOTE : Drive in the right side screw first.
COMPLETE INSTALLATION
1.
Turn the water supply line valve to the “Open”
position.
2. Turn the refrigerator switch to the ON position. See
“Power On/ Off Switch” in the Use & Care Guide for
instructions. Wait a few minutes. Check the water line
connections for leaks.
3. Remove all boxes, parts packages and packing
materials from the interior of the refrigerator. See
the “Cleaning” section in the Use & Care Guide for
instructions. Remove the film and cardboard from
the grille and doors or door frame, depending on your
model.
4. Install the shelves and bins in the refrigerator and
freezer compartments.
5. The controls are preset at the factory to the midpoint
setting. Check that the compressor is operating
properly and that all the lights are working.
6. Flush the water system before use. See “Water
System Preparation.”
To get the most efficient use from your new built-in
refrigerator, read the Use & Care Guide. Keep Installation
Instructions and Use & Care Guide near the built-in
refrigerator for easy reference.
A
B
A. Base grille
B. Skirt
A
A. “V” groove
A
A. Screws
Loading ...
Loading ...
Loading ...